Thinking about lightening your hair at home? Before you mix that bleach, it’s important to separate fact from fiction. This article covers what bleaching actually does to your hair, the exact tools and steps you need, common mistakes to avoid, and how to care for your strands afterward.
Whether you’re going for subtle highlights or a full head of blonde, knowing the process and its risks can save you from damage and disappointment. I’ll walk you through everything you need to know before you lighten.
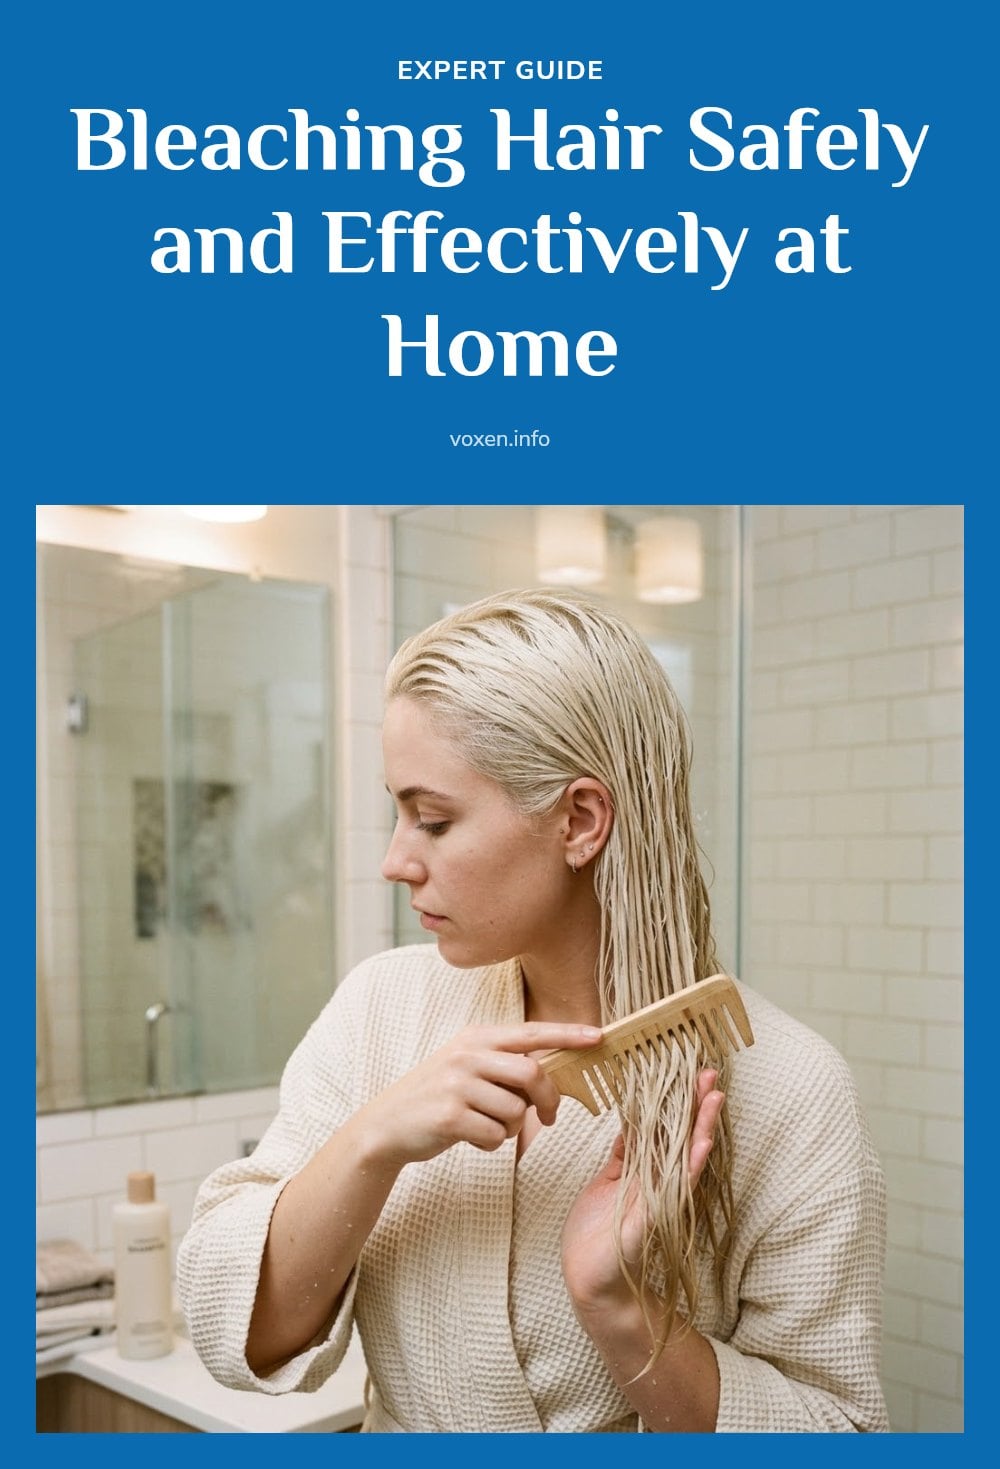
Key Takeaways
- Bleaching permanently removes natural pigment; it does not reverse.
- Always perform a patch test 48 hours before and a strand test before full application.
- Use a lower volume developer (10 or 20) for less damage when bleaching at home.
- Never overlap bleach onto previously lightened hair to avoid severe breakage.
- Deep condition weekly and use sulfate-free shampoo after bleaching to restore moisture.
What Bleaching Hair Really Does
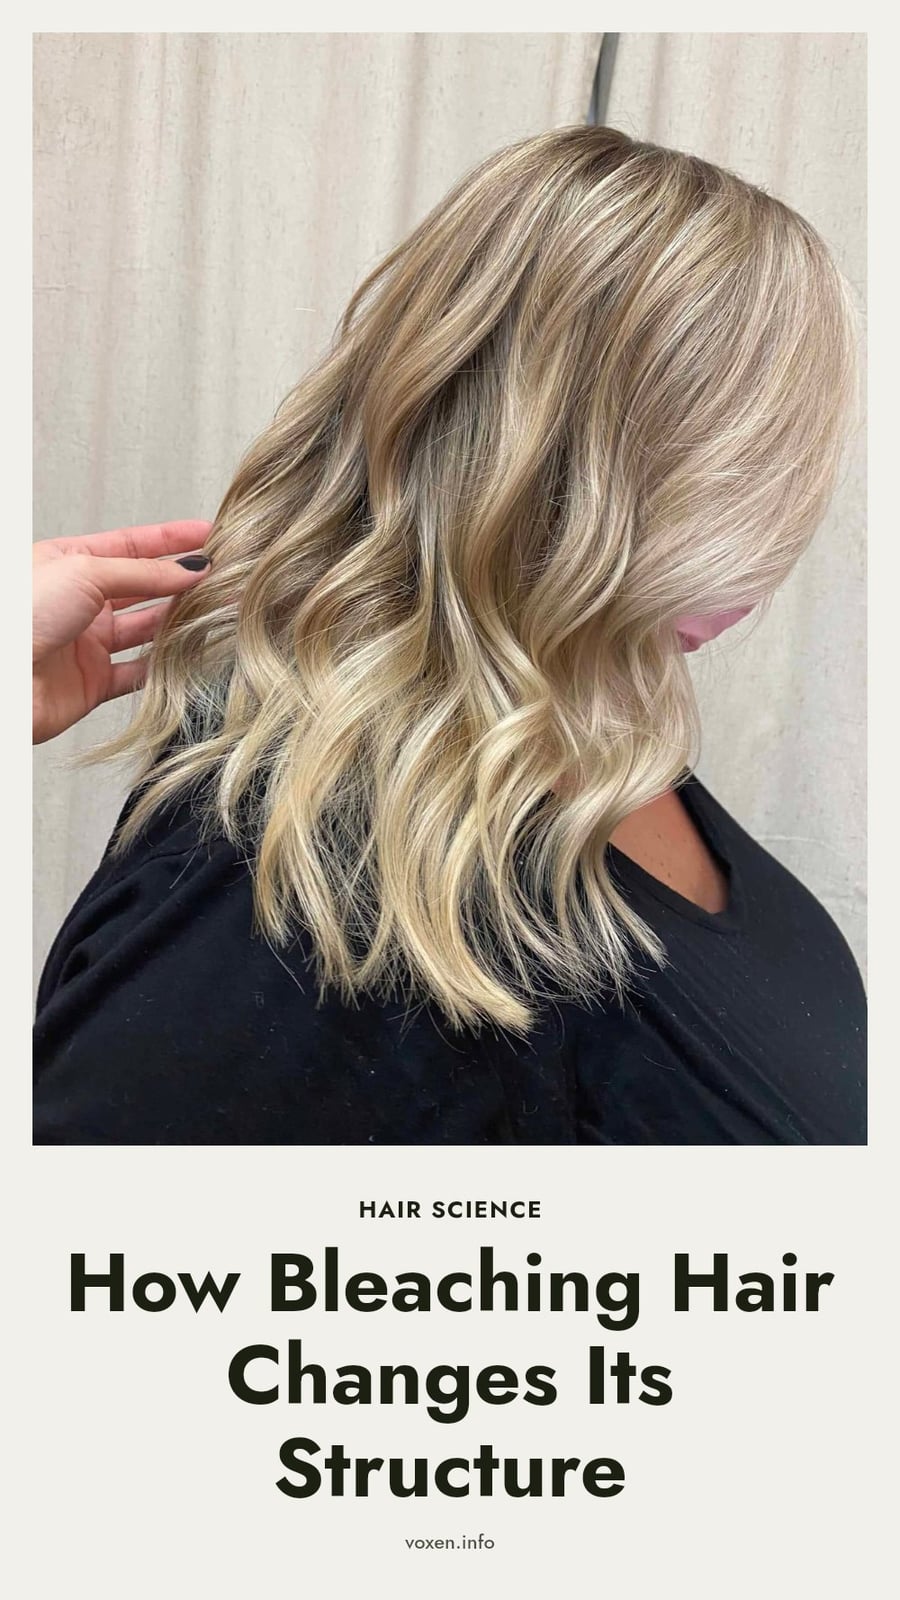
Bleaching hair is a chemical process that permanently removes your natural pigment through oxidation. The bleach mixture penetrates the hair shaft and breaks down melanin, making it colorless. This is not something that reverses, once pigment is gone, it stays gone. That permanent change is why damage is a real risk. If the process goes wrong, you can end up with dry, brittle strands and breakage. Safe at-home bleaching comes down to three things: proper preparation, choosing the right products, and following every step carefully. Skip any of those, and you are gambling with your hair’s health.
Your Bleaching Hair Toolkit
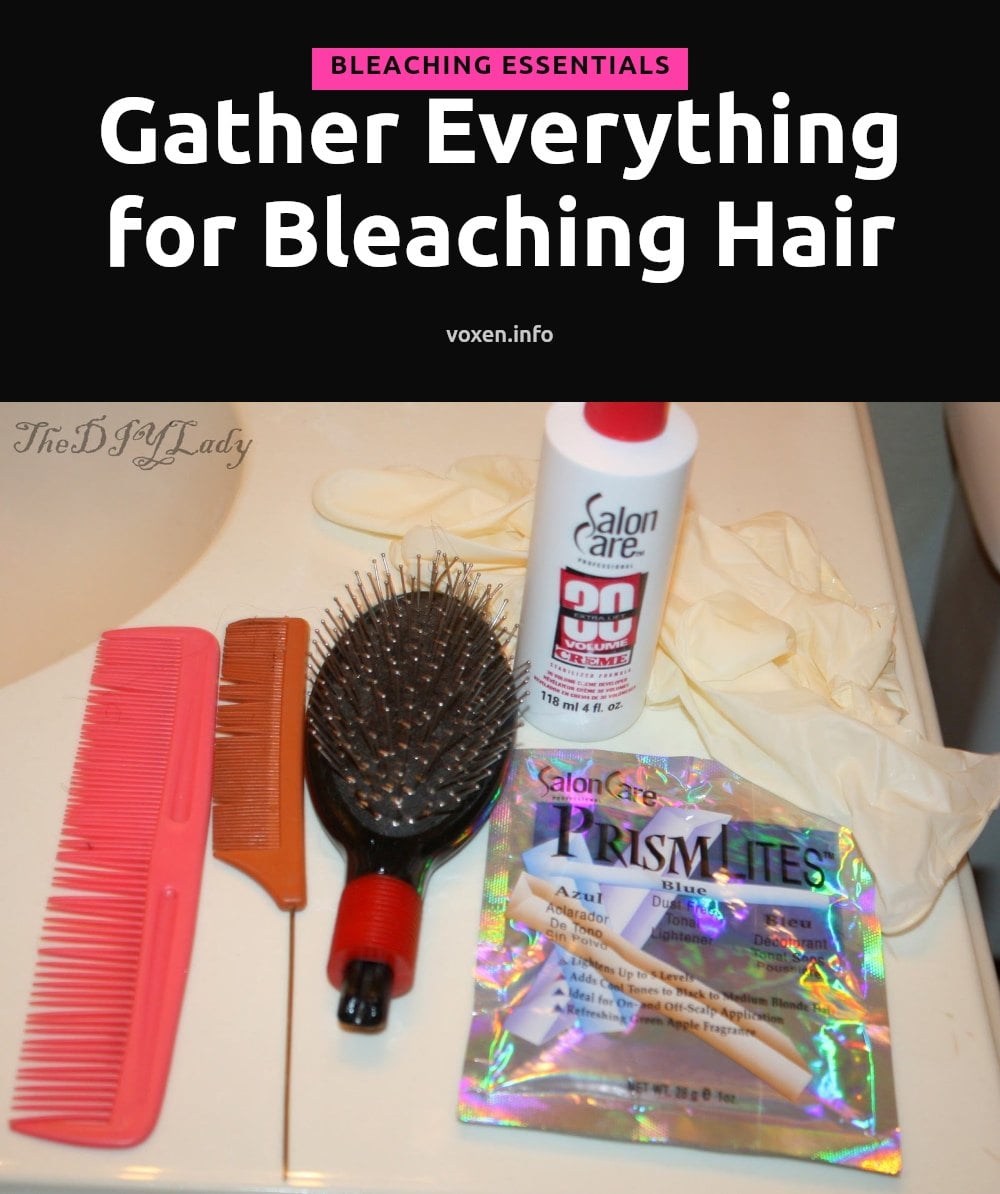
Having everything ready before you start makes the process smoother and safer. Here is what you need for a bleach session at home.
- Bleach powder: The lightening agent that lifts pigment.
- Developer: A peroxide liquid that activates the bleach. Lower volumes (10 or 20) are gentler.
- Non-metallic mixing bowl: Metal can react with bleach and cause unwanted results.
- Non-metallic applicator brush: For precise, even application.
- Gloves: Protect your hands from chemical irritation.
- Hair clips: To section your hair for even coverage.
- Timer: To track processing time accurately.
- Old towels or a cape: Bleach stains fabric permanently.
- Toner (optional): Neutralizes yellow or orange undertones after bleaching.
- Deep conditioner or hair mask: Restores moisture post-bleach.
Step-by-Step: Bleaching Your Hair at Home
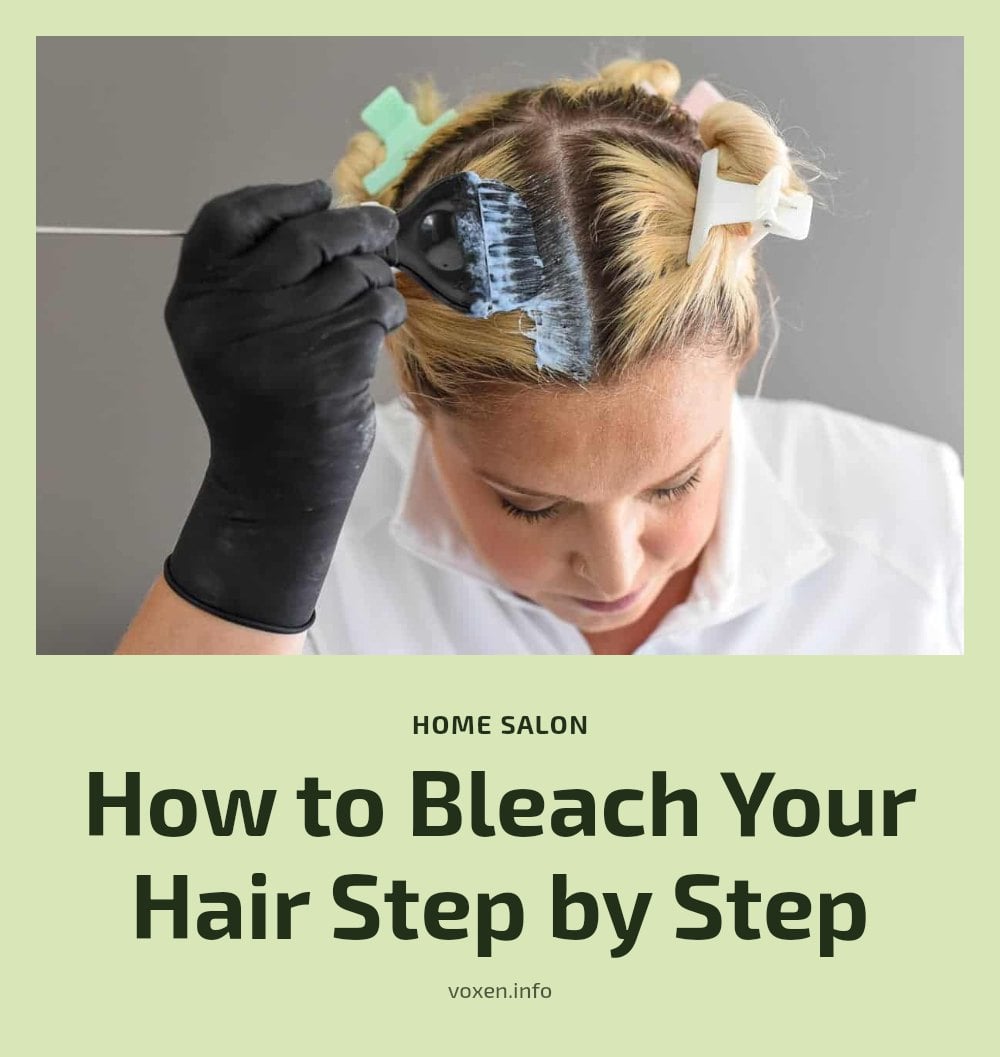
- Perform a patch test: Apply a small amount of mixed bleach behind your ear or on your inner arm 48 hours before your session. This checks for allergic reactions. If you experience redness, itching, or swelling, do not proceed.
- Conduct a strand test: Snip a small, hidden section of hair (about an inch long) and apply the bleach mixture. Time it to see how fast your hair lifts and what color it reaches. This tells you the exact processing time you need and prevents surprises.
- Prepare your hair: Do not wash your hair the day of bleaching. The natural oils from 1-2 days of unwashed hair help protect your scalp. Brush out any tangles gently.
- Set up your space: Work in a well-ventilated area. Lay down old towels. Put on gloves and old clothes. Have your timer and all tools within reach.
- Mix the bleach: In a non-metallic bowl, combine bleach powder and developer according to the manufacturer’s instructions. Stir until smooth with no lumps. Do this right before you apply, mixed bleach loses potency over time.
- Section your hair: Divide your hair into 4-8 sections using clips. Start with the back sections, as they take longer to process.
- Apply the bleach: Using your applicator brush, apply the mixture to each section starting about half an inch from the scalp (the heat from your scalp speeds up processing). Work quickly but thoroughly, saturating each strand evenly. Do not overlap onto previously lightened hair, that causes breakage.
- Set the timer: Follow the time from your strand test, but never exceed the manufacturer’s maximum (usually 45-60 minutes). Check the color every 10 minutes toward the end by wiping a small strand with a paper towel.
- Rinse thoroughly: Once the desired lightness is reached, rinse your hair with cool water until the water runs clear. Do not shampoo, shampoo strips the hair further. Apply a deep conditioner or hair mask and leave it on for the recommended time.
Common Bleaching Mistakes and How to Avoid Them
- Skipping patch and strand tests: This is the most common mistake. Without a patch test, you risk an allergic reaction. Without a strand test, you have no idea how fast your hair lifts or what undertones will show up. Always do both.
- Using too high a developer volume: A 40-volume developer lifts faster but causes more damage. For at-home bleaching, stick to 10 or 20 volume to reduce breakage and get more predictable results.
- Uneven application: Rushing or working in large sections leads to patchy color. Take the time to section your hair into small parts and apply bleach evenly from root to tip.
- Leaving bleach on too long: Over-processing makes hair gummy and prone to breakage. Set a timer and never exceed 45-60 minutes, even if your hair is not light enough.
- Bleaching damaged hair: If your hair is already dry, brittle, or breaking, do not bleach it. Bleach will worsen the damage and could cause significant hair loss.
- Attempting drastic color changes at home: Going from dark brown to platinum blonde in one session requires high-volume developers and precise technique. This is best left to a professional to avoid severe damage.
Essential Aftercare for Bleached Hair
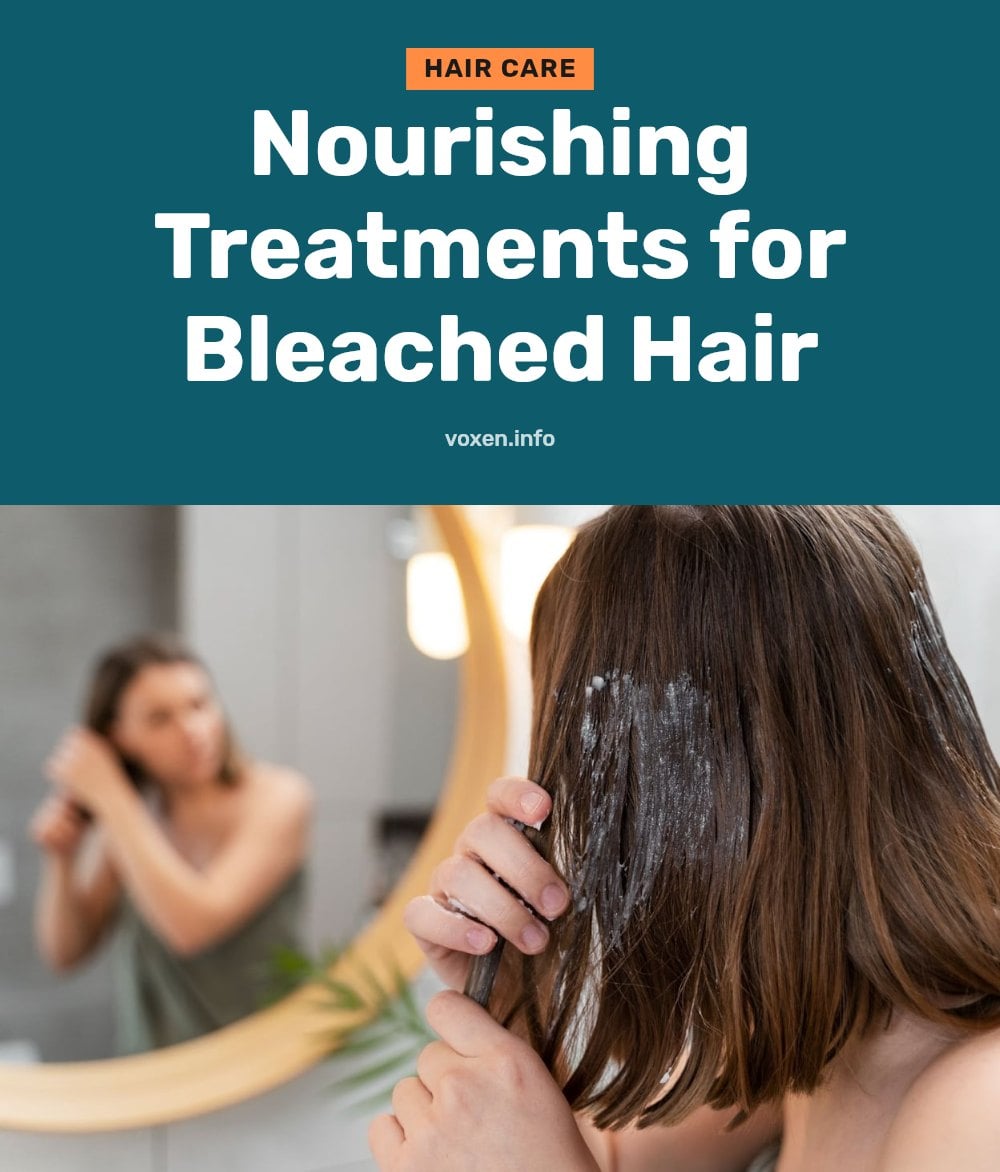
After bleaching, your hair’s cuticle is lifted and more porous, so it needs extra moisture and protein. Use a deep conditioning mask or a bond-repairing treatment once a week to restore strength and elasticity. For daily care, switch to a sulfate-free shampoo and a leave-in conditioner formulated for color-treated or damaged hair.
Minimize heat styling, air-dry when possible, and always apply a heat protectant before using hot tools. If you want to neutralize brassy yellow or orange undertones, apply a purple or blue toner or a pigmented shampoo once a week. This keeps your shade cool and fresh without additional chemical processing.
Pro Tips for a Successful Bleach Session

Start with unwashed hair that is 1-2 days dirty. The natural oils on your scalp act as a barrier against irritation from the bleach. Before you open any product, lay out all your tools: bleach powder, developer, non-metallic bowl and brush, gloves, clips, timer, and an old towel. This prevents scrambling mid-application.
My tip: Beginners should stick with a 20-volume developer. It lifts slowly enough to give you control and causes less damage than higher volumes. Work in small sections and apply the mixture quickly and evenly, speed matters for uniform lift. Finally, open a window or turn on a fan. Bleach fumes are strong, and good ventilation reduces inhalation and keeps you comfortable.
When to Call in a Professional
DIY bleaching has limits. If you want to go from dark brown to platinum blonde in one session, see a professional. That level of lift requires multiple steps and careful monitoring to avoid severe breakage. The same goes for hair that is already damaged, brittle, or chemically treated. A stylist can assess its condition and choose the safest approach.
If you experience scalp irritation, burning, or signs of an allergic reaction during or after bleaching, stop immediately and consult a doctor. Complex jobs, such as correcting a previous home bleach mistake or lightening very dark hair evenly, are best left to an expert who has the tools and experience to minimize harm.
Frequently Asked Questions
How long does it take to bleach hair?
The bleaching process itself typically takes 20 to 60 minutes, depending on your starting color and the developer volume used. Results are visible immediately after rinsing and drying, but processing time should never exceed the manufacturer’s recommended maximum.
Can I bleach my hair if it’s already colored?
Yes, but it is riskier. Previously colored or chemically treated hair lifts less predictably than virgin hair and is more prone to damage. Overlapping bleach onto previously lightened hair can cause severe breakage, so it is best to consult a professional for color corrections.
How do I choose the right developer volume?
For at-home bleaching, a lower volume developer (10 or 20) is safest because it provides lift with less damage. Higher volumes like 30 or 40 lift more but also increase the risk of dryness, breakage, and scalp irritation. Start low and only go higher if your strand test shows you need more lift.
What should I do if my scalp burns during bleaching?
If you feel burning, itching, or severe discomfort on your scalp, rinse the bleach off immediately with cool water. Do not wait for the full processing time. If irritation persists or blisters form, see a doctor or dermatologist. Always do a patch test 48 hours before to check for sensitivity.
How often can I bleach my hair?
You should wait at least 4 to 6 weeks between bleach sessions to give your hair time to recover and to avoid over-processing. Bleaching more frequently can lead to severe dryness, brittleness, and breakage. Focus on deep conditioning and bond-repairing treatments between sessions.
Is it better to bleach hair wet or dry?
Bleach should always be applied to dry hair. Bleaching wet hair dilutes the product and can lead to uneven lifting and increased damage. For best results, start with clean, dry hair that is 1-2 days unwashed so natural oils can protect your scalp.
Final Thoughts
Bleaching your hair at home can be done safely if you follow the right steps and respect your hair’s limits. My tip: start with a low-volume developer and always do a strand test before committing to the whole head. Realistically, you will need to invest time in aftercare with weekly deep conditioning and sulfate-free products to keep your hair healthy.
Know when to stop and when to call a professional, especially for drastic color changes or damaged hair. Your hair will thank you.
This article is for general informational purposes only and does not constitute medical or professional hair care advice. Bleaching involves chemicals that can cause allergic reactions, burns, or hair damage. Always perform a patch test, follow product instructions, and consult a dermatologist or licensed hairstylist for persistent or serious concerns.