If you’re tired of spending forever with a blow dryer in your hand, you’re not alone. The secret to a faster routine isn’t a magic tool. It’s how you prepare and work through each section. This article breaks down the most effective ways to cut your drying time, from the first squeeze with a towel to the final cool shot, so you can get out the door with healthier, frizz-free hair.
You’ll learn the exact steps that save the most minutes, including rough drying, sectioning, and directing airflow downward. I’ll also share common mistakes to avoid and tips for a smooth finish.
Key Takeaways
- Remove excess water with a microfiber towel or cotton t-shirt before you start blow drying.
- Rough dry your hair with your fingers until it’s 70-80% dry before using a brush.
- Always direct the airflow downward from roots to ends to prevent frizz.
- Use the cool shot button at the end to set your style and add shine.
- Clean your blow dryer’s filter regularly to maintain efficiency and prevent overheating.
Speed Up Your Blow Dry Routine
The biggest time-saver in blow drying happens before you turn on the dryer. Remove as much excess water as possible with a microfiber towel or cotton t-shirt. Then rough dry your hair with your fingers until it is 70-80% dry before you pick up a brush. This step alone cuts your styling time dramatically. Always start at the roots, where hair holds the most moisture, and direct airflow downwards for a smooth, fast finish.
Your Blow Drying Arsenal
Having the right tools and products makes all the difference. Here is what you need in your arsenal:
- Microfiber towel or cotton t-shirt: Gently removes water without causing frizz.
- Heat protectant spray: Creates a barrier against thermal damage.
- Powerful blow dryer with concentrator nozzle: Directs airflow for efficient drying and less frizz.
- Hair clips or ties: Keep sections separated for focused drying.
- Paddle or round brush: Choose based on your desired style; round brushes add volume or waves.
- Lightweight leave-in conditioner or styling cream: Helps detangle and smooth hair before drying.
Step-by-Step: The Fastest Way to Blow Dry Your Hair
- Squeeze out excess water: Gently press your hair with a microfiber towel or cotton t-shirt to remove as much moisture as possible without rubbing.
- Apply heat protectant: Spray evenly from mid-lengths to ends to shield your hair from heat damage.
- Rough dry your hair: Use your fingers to dry your hair until it is about 70-80% dry. For fine hair, flip your head upside down and lift the roots with your fingers to add fullness.
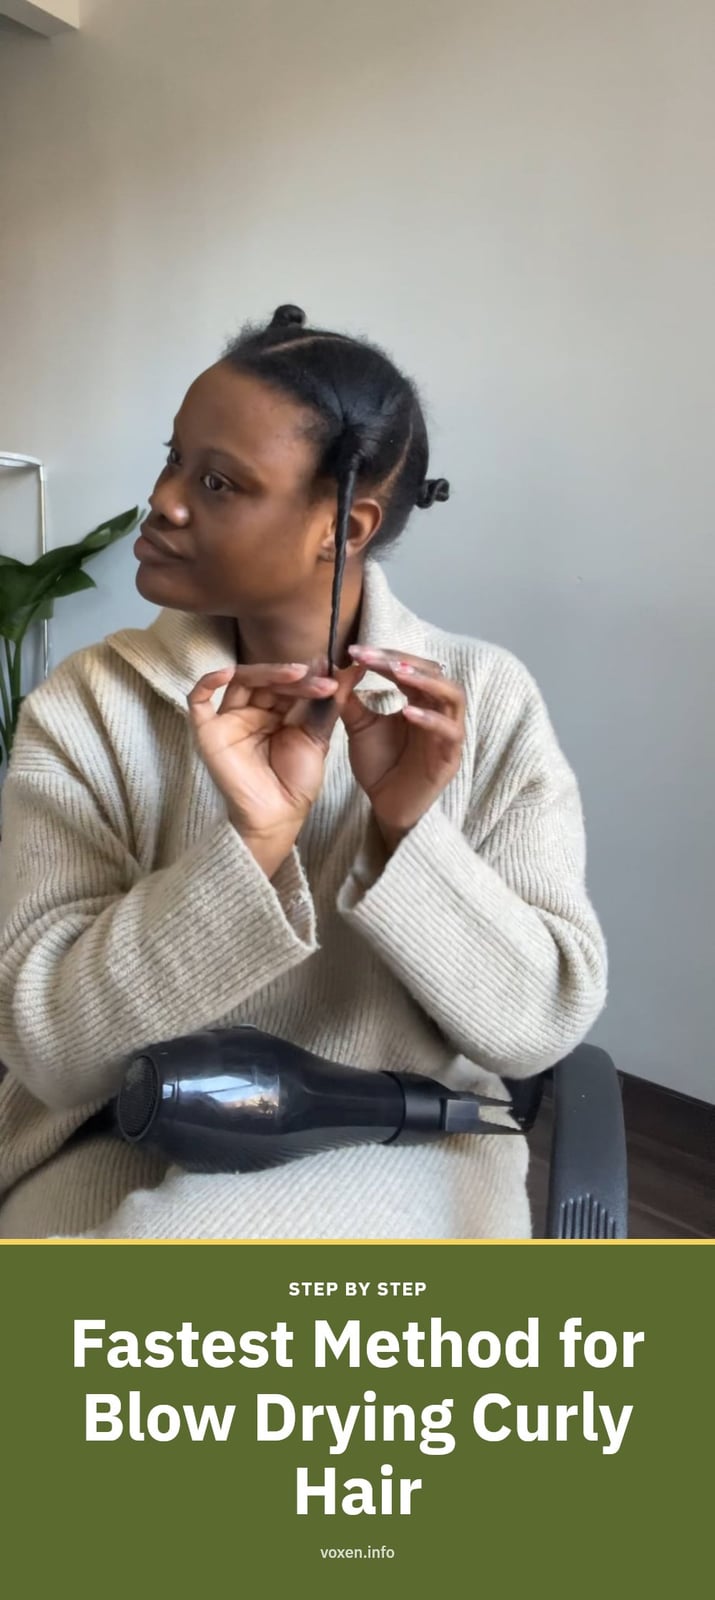
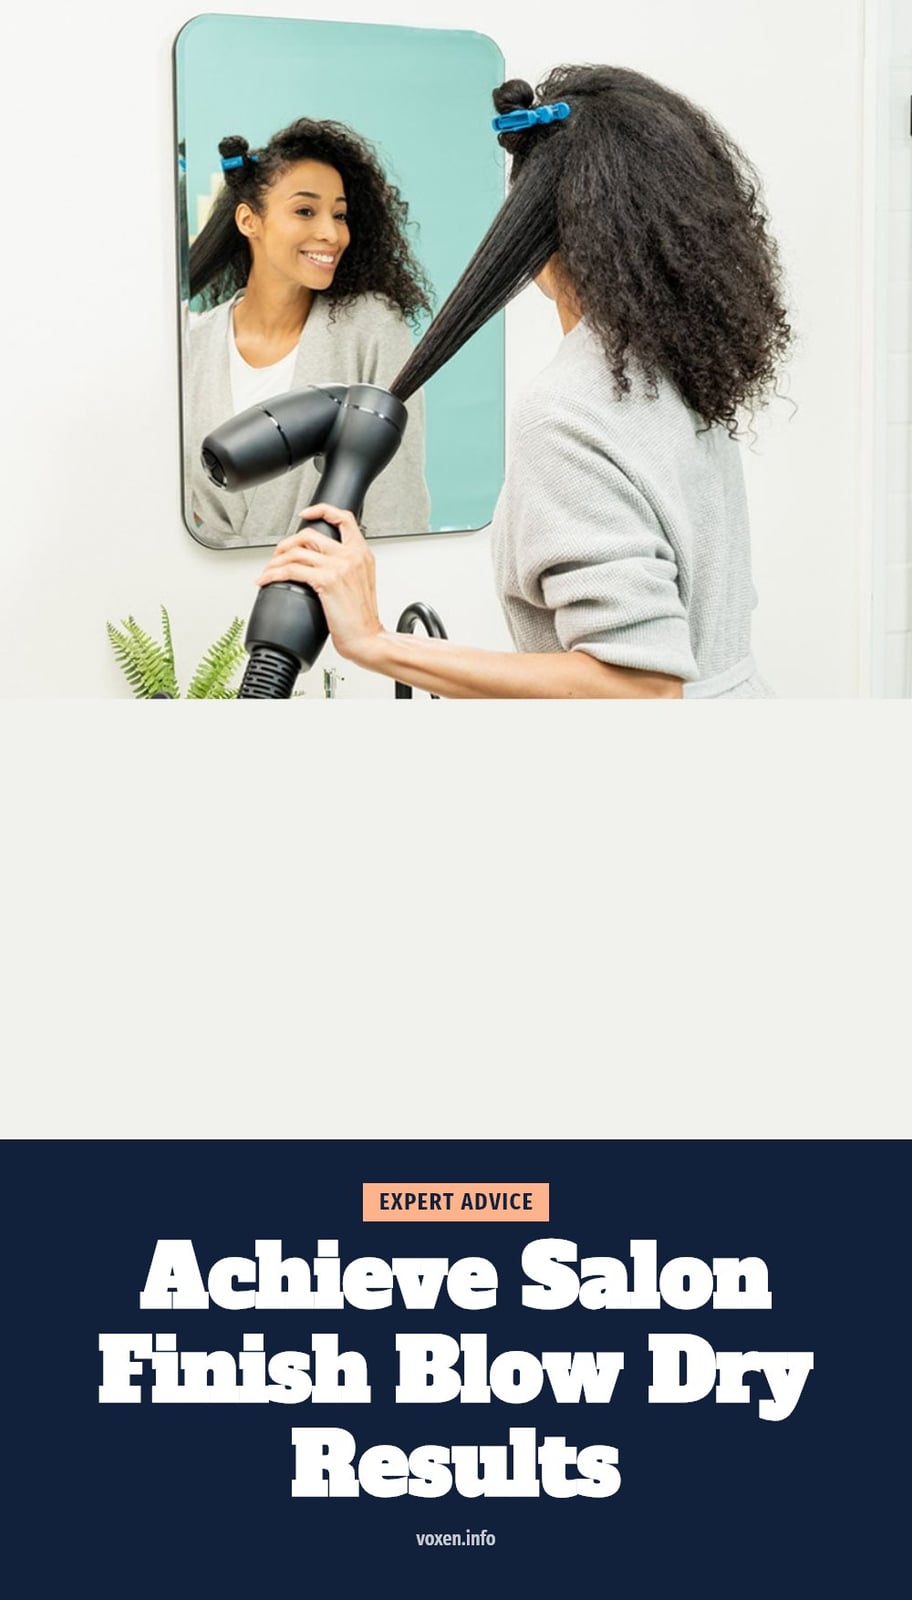
- Section your hair: Clip your hair into manageable parts so you can dry each section thoroughly without missing spots.
- Focus on the roots after rough drying: With a round brush, start at the roots and direct the airflow downwards. The roots account for about 90% of the drying for that section, so concentrate your effort there first.
- Maintain tension and roll the ends: Keep the brush taut as you move down the section, then roll the brush at the ends to smooth them. Always point the dryer nozzle downwards to prevent frizz.
- Set the style with cool air: Use the cool shot button on your dryer to close the hair cuticle, lock in the shape, and add shine.
- Smooth frizz around the face: Place the brush at your hairline and brush backward, directing the airflow to smooth those pieces for a polished finish.
Here is the method in action: Howcast demonstrates it in about 5 minutes.
Common Blow Drying Blunders to Avoid
Even small mistakes can lead to frizz, damage, or wasted time. Here are the most common blunders to avoid:
- Not removing enough water: Start with hair that is already mostly dry to cut drying time and reduce heat exposure.
- Using too high a heat setting: Medium heat is usually sufficient and less damaging. Reserve high heat only for very thick, resistant hair, and use it sparingly.
- Skipping heat protectant: Always apply a heat protectant to create a barrier against thermal damage.
- Drying hair in random directions: This lifts the cuticle and causes frizz. Always direct airflow down the hair shaft.
- Focusing on ends first: Ends dry quickly and are more prone to damage. Always start at the roots.
- Not cleaning the blow dryer filter: A clogged filter reduces efficiency and can cause your dryer to overheat.
Pro Tips for a Salon-Quality Finish
Choose the Right Brush: A smaller round brush creates more wave and root lift, while a larger one helps achieve straighter hair. My tip: I keep a few sizes on hand so I can switch based on my mood that day.
Focus on the Face-Framing Sections: The hair around your face is what people notice first, so give it extra attention for a polished look. My tip: Pull these sections down and create a slight movement for a soft finish that frames your face naturally.
Clean Your Filter Regularly: A clean filter ensures optimal airflow and prevents your dryer from overheating, extending its lifespan. Make it a habit to clean your blow dryer’s filter regularly, at least once a month, or more often if you use it daily, to keep performance high.
Don’t Over-Dry: Stop when your hair is dry, not crispy. Over-drying can lead to frizz and damage. My tip: If it feels hot to the touch, you’ve gone too far, so pull the dryer away.
How Long Does Blow Drying Take?
Time: With proper technique, blow drying can take anywhere from 5 to 20 minutes, depending on your hair’s length, thickness, and texture. My tip: Practice makes perfect. The more you do it, the faster you’ll get.
Frequency: Most people blow dry their hair after every wash. To minimize heat exposure, I aim for 2-3 times a week, often stretching my style with dry shampoo between washes.
Cost: The main investment is in your tools. A good quality blow dryer can range from $50 to $200+, and brushes are typically $10-$40. Products like heat protectant are usually $10-$30 and last a while.
Frequently Asked Questions
How can I prevent frizz when blow drying?
To prevent frizz, always direct the airflow downward from roots to ends, following the natural direction of hair growth. Make sure to apply a heat protectant spray before you start, and finish with the cool shot button to seal the cuticle. Avoid rubbing your hair with a towel and never aim the dryer upward.
What heat setting is best for blow drying?
Medium heat is usually sufficient for most hair types and helps minimize heat damage. If you have fine or damaged hair, stick with low or medium heat. High heat can be used sparingly for very thick or coarse hair, but avoid holding the dryer too close to your hair or scalp for extended periods.
How often should I clean my blow dryer’s filter?
You should clean your blow dryer’s filter at least once a month, or more often if you use it daily. A clogged filter reduces airflow, making the dryer less efficient and causing it to overheat. Simply remove the filter cover and use a small brush or your fingers to remove any lint or dust.
Can I air dry my hair part-way before blow drying?
Yes, air drying your hair until it’s just damp can save time and reduce heat exposure. Just make sure your hair is still evenly damp (not completely dry) before you start blow drying. This works well if you have a little extra time in the morning before you need to style.
Final Thoughts
My top recommendation is to focus on rough drying with your fingers until your hair is mostly dry before you ever pick up a brush. This single change can cut your drying time significantly. Realistically, even with the best technique, plan for about 5 to 20 minutes depending on your hair’s length and thickness. With practice, you’ll get faster and your results will look better every time.