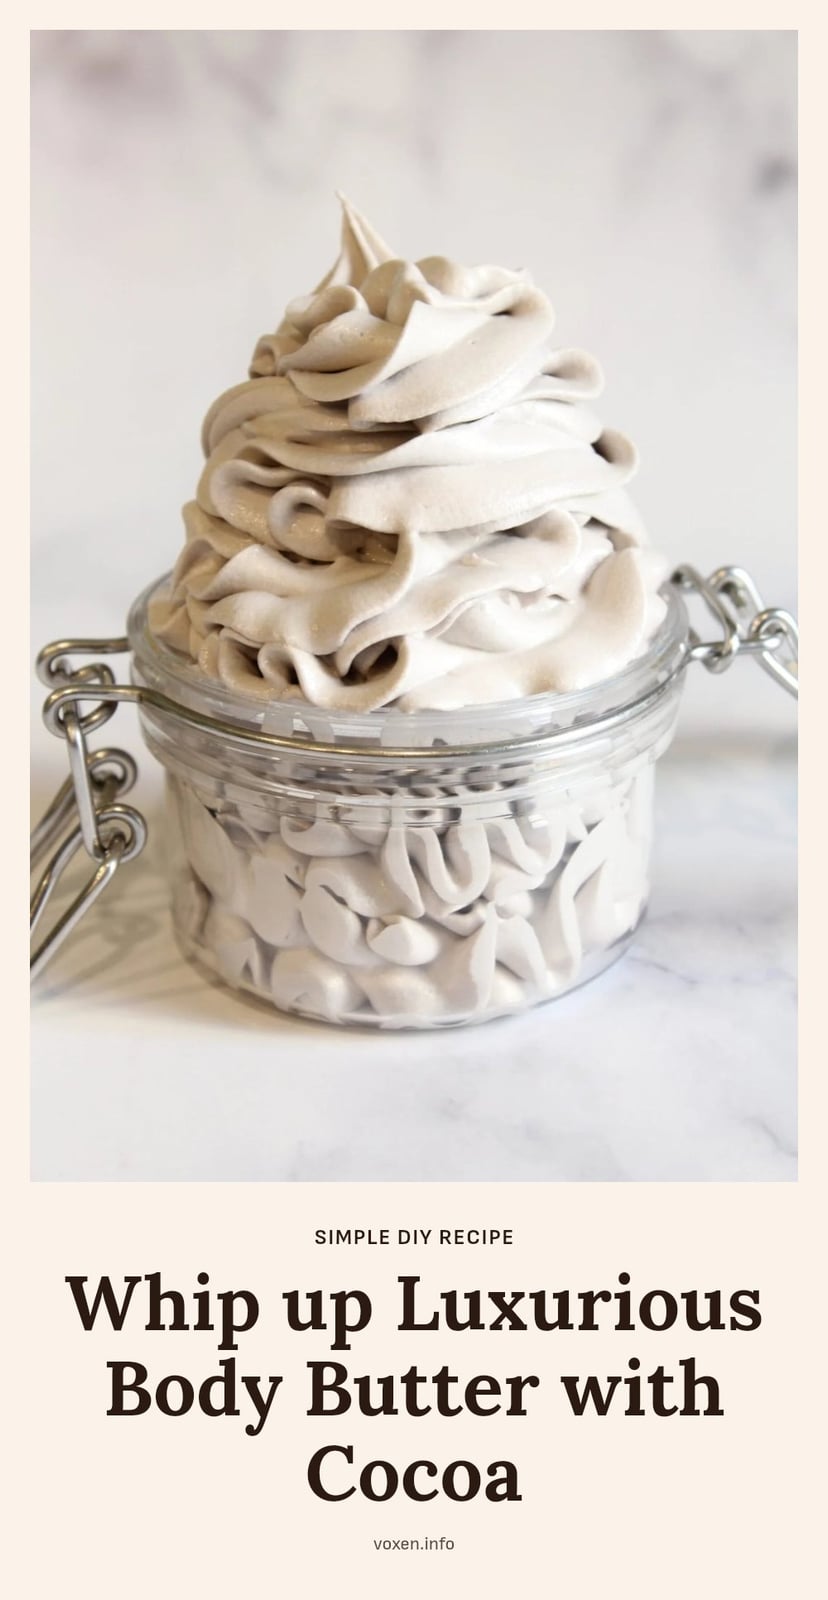
If you have dry skin that craves deep moisture, you have probably tried lotions and creams that just don’t cut it. Body butter is the answer, and making your own at home lets you control exactly what goes on your skin. This article walks you through a simple cocoa butter body butter recipe that skips beeswax, giving you a rich, fluffy moisturizer that melts right into your skin.
Key Takeaways
- Use unrefined cocoa butter as the main solidifying agent for a firm, skin-melting texture.
- Let the melted mixture cool completely in the refrigerator before whipping for a light, fluffy result.
- Store your body butter in an airtight glass jar in a cool, dark place to keep it fresh for 6 to 12 months.
- Adjust the ratio of solid butters to liquid oils to get a firmer or softer consistency.
- Add essential oils only after the mixture has cooled to preserve their scent and benefits.
Why This Beeswax-Free Body Butter Recipe Works
This recipe creates a rich, deeply moisturizing body butter without beeswax, perfect for those who prefer a different texture or want to avoid it. Cocoa butter acts as the primary solidifying agent, giving a firm structure that melts beautifully on contact with skin. The whipping process incorporates air, transforming the melted oils into a light, fluffy, and easily spreadable moisturizer. Because body butter is anhydrous (contains no water), it has a longer shelf life than water-based lotions.
Ingredients for Your DIY Cocoa Butter Body Butter
For this DIY cocoa butter body butter, you will need:
- Unrefined Cocoa Butter: 1/2 cup (provides structure and a chocolatey scent)
- Shea Butter (optional, but recommended): 1/4 cup (adds extra creaminess)
- Liquid Carrier Oil: 1/4 cup (e.g., sweet almond oil, jojoba oil, or fractionated coconut oil)
- Essential Oils (optional): 10-20 drops (e.g., lavender, frankincense, vanilla)
Step-by-Step: Making Your Whipped Body Butter
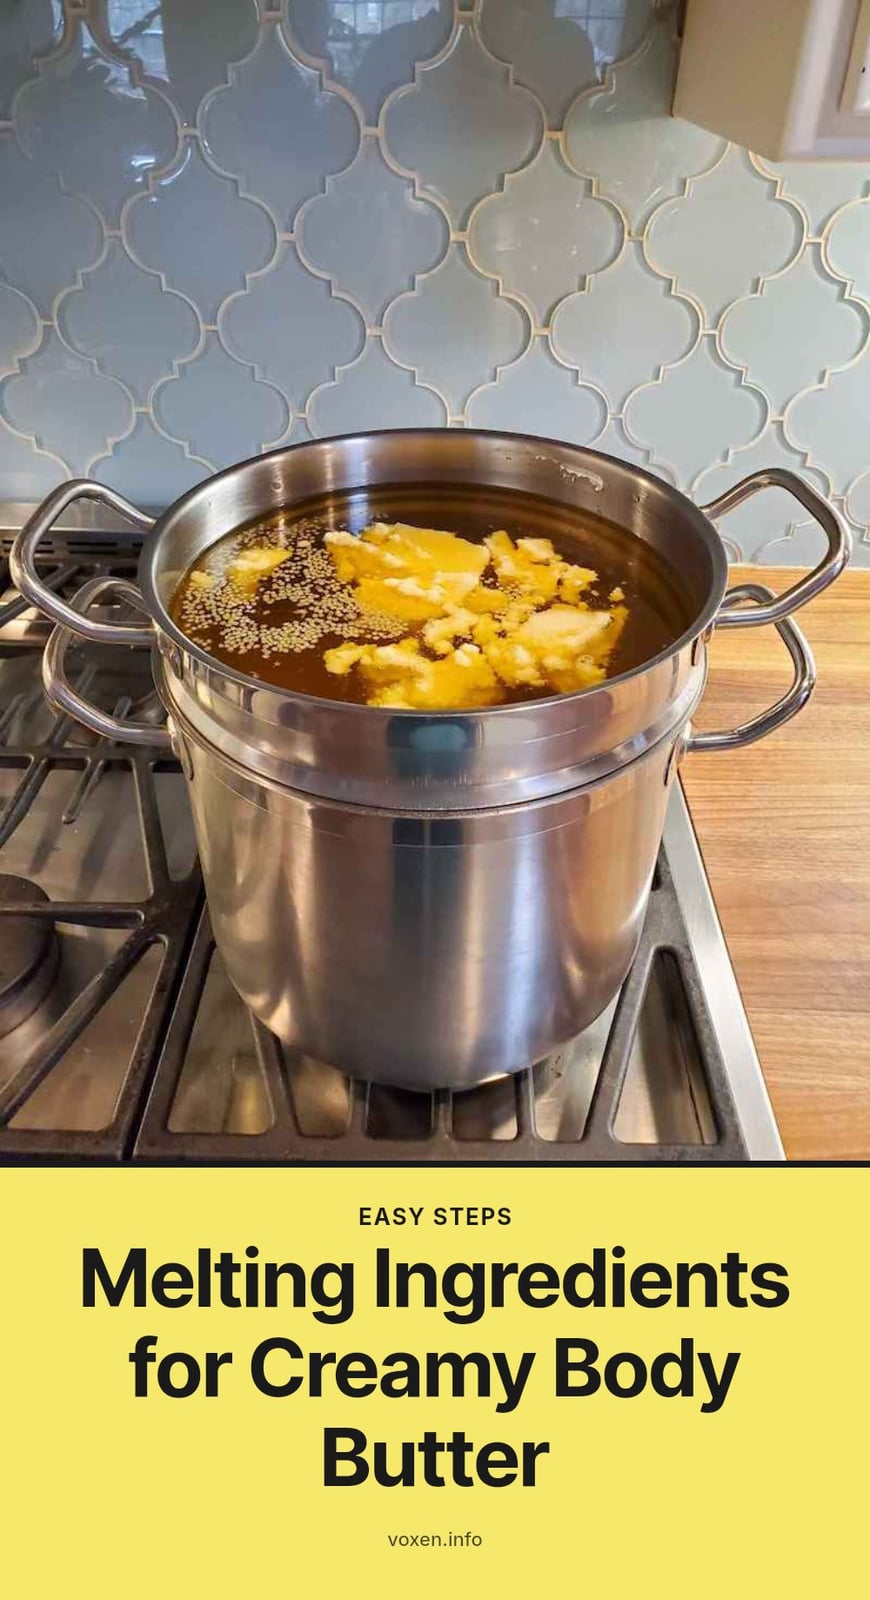
- Melt the butters and oils: Combine the cocoa butter, shea butter (if using), and carrier oil in a heat-safe bowl set over a pot of simmering water (double boiler method). Stir gently until fully melted. Avoid overheating to preserve nutrients.
- Cool until solid: Remove the bowl from heat and let the mixture cool completely. Place it in the refrigerator for 1-2 hours until it is firm and opaque.
- Whip the mixture: Using an electric hand mixer or stand mixer, whip the chilled mixture on medium speed for 5-10 minutes until it becomes light, fluffy, and resembles whipped cream.
- Add essential oils: Once the mixture is whipped and still cool, add 10-20 drops of your chosen essential oil. Mix briefly to combine. Adding after cooling preserves the fragrance and therapeutic properties.
Caution: The bowl and ingredients will be hot after melting. Handle with care to avoid burns.
Here is the method in action: WholeElise demonstrates it in about 11 minutes. The how-to part starts at 3:31.
Pro Tips for Perfect Homemade Body Butter
- Choose Quality Ingredients: Always opt for high-quality, unrefined butters and oils for maximum skin benefits and a better final product.
- Patch Test: Before widespread use, especially with new essential oils, perform a patch test on a small skin area to check for sensitivities.
- Cleanliness is Key: Ensure all equipment is thoroughly clean and sanitized to prevent contamination, as this product contains no preservatives.
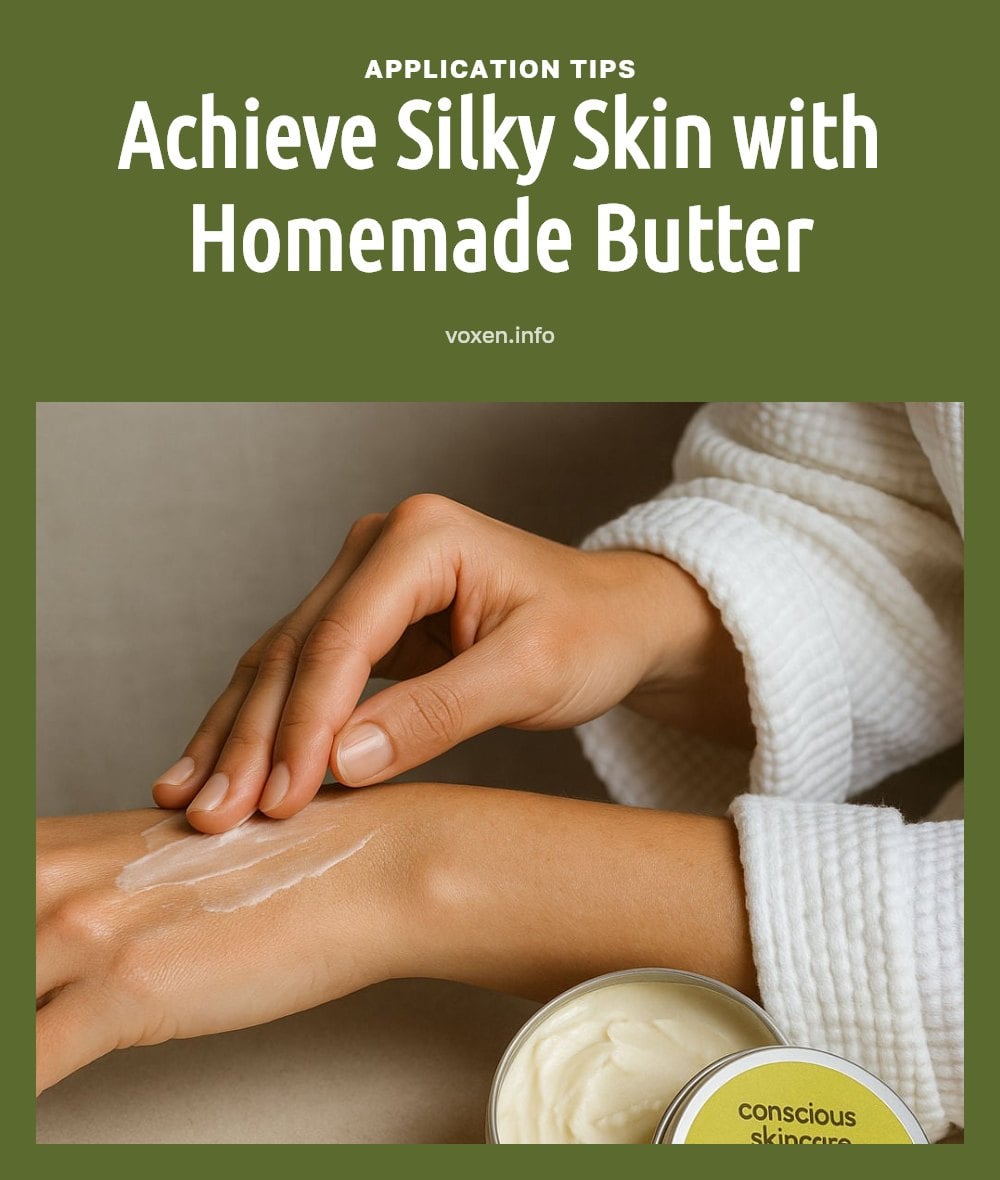
- Application Best Practice: For optimal absorption, apply your body butter to slightly damp skin right after showering or bathing.
Customizing Your Body Butter: Variations to Try
The best part of making your own body butter is tailoring it exactly to your preference. To change the consistency, adjust the ratio of solid butters to liquid oils. More solid butter, like cocoa or shea, creates a firmer product that holds its shape at room temperature. More liquid oil makes it softer and more spreadable.
My tip: Try swapping the carrier oil for avocado oil if your skin needs extra nourishment, or grapeseed oil if you prefer a lighter, faster-absorbing feel. For different textures and skin benefits, introduce other solid butters like mango butter or kokum butter. Just keep the total amount of solid butter similar to the original recipe to maintain a good balance.
Storing Your Homemade Body Butter for Longevity
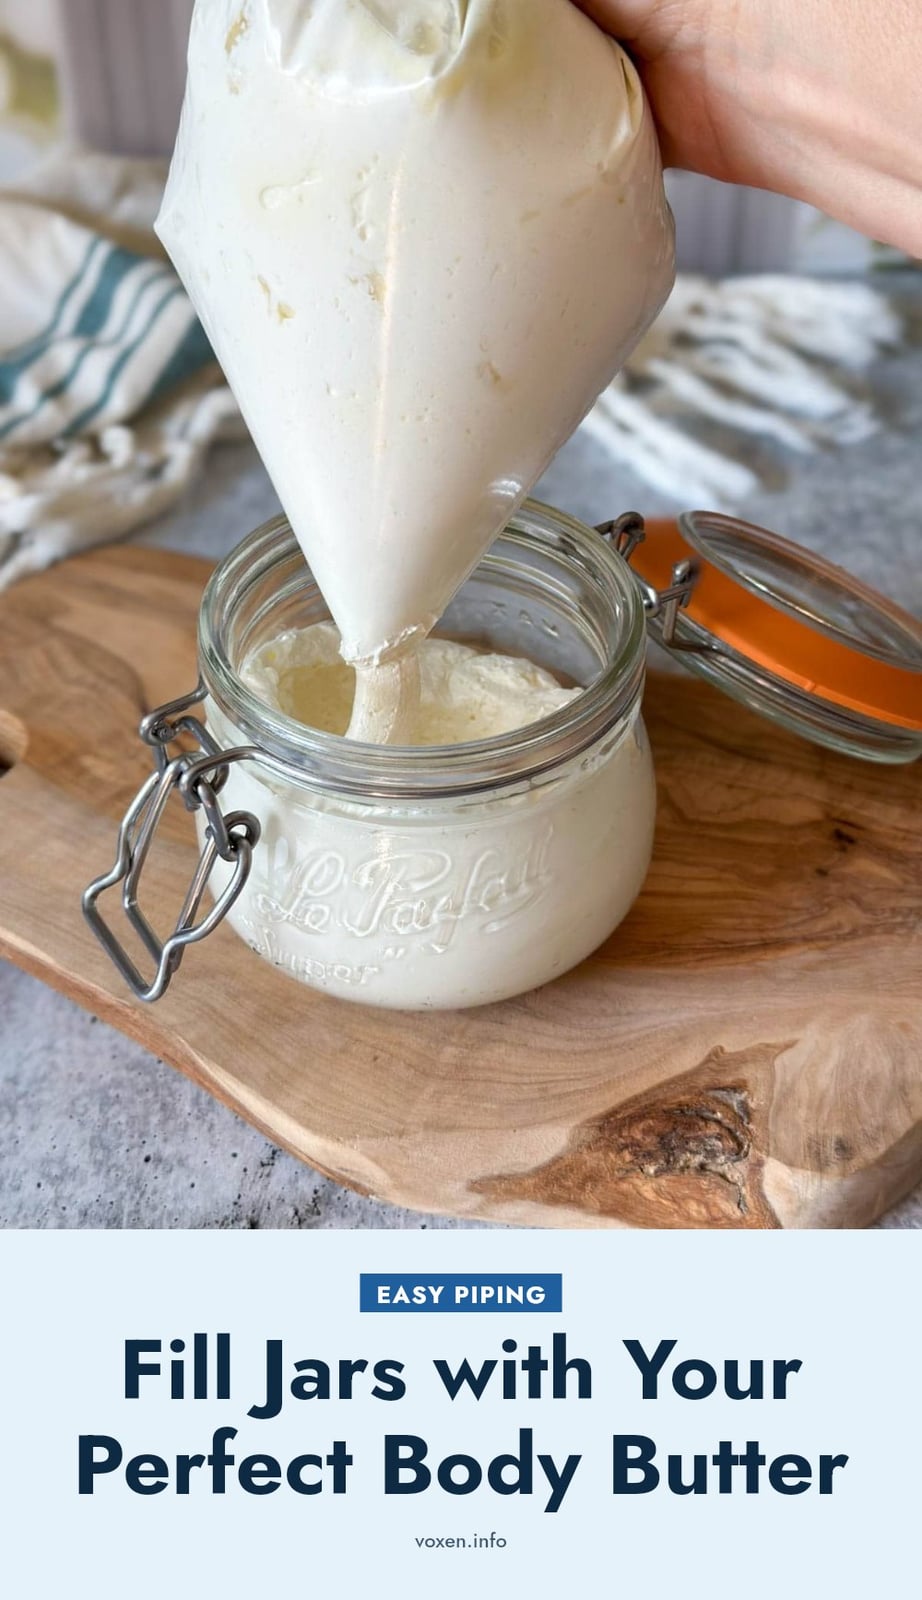
Proper storage keeps your homemade body butter fresh and usable for months. Transfer it to an airtight container, ideally a glass jar, to prevent air exposure. Store that jar in a cool, dark place away from direct sunlight and heat. High temperatures can melt your body butter and ruin its whipped texture.
Because this recipe is anhydrous (contains no water), it generally does not need a preservative. The key is to never introduce water during use. Scoop out only what you need with clean, dry fingers or a spatula. Any moisture can lead to mold or bacterial growth.
The shelf life is typically 6 to 12 months, depending on the freshness of the oils you used. Check for any changes in scent, color, or texture before each use. If it smells off or looks separated, it is time to make a new batch.
Frequently Asked Questions
How long does homemade body butter last?
Homemade body butter typically lasts 6 to 12 months when stored correctly. The shelf life depends on the oils you use, so check the expiration dates of your ingredients. Keep it in an airtight container in a cool, dark place, and never introduce water to prevent spoilage.
Can I use different essential oils in my body butter?
Yes, you can customize the scent by using any essential oil you like. Add them after the melted mixture has cooled significantly to keep their aroma and therapeutic properties intact. Always perform a patch test first if you have sensitive skin.
Why is my body butter grainy?
Graininess usually happens when the mixture cools too quickly or unevenly, causing the cocoa butter to crystallize. To avoid this, let the butters and oils melt gently and cool slowly at room temperature before refrigerating. If it turns grainy, you can gently remelt and re-cool it more carefully.
Is body butter better than lotion for dry skin?
Body butter is generally more effective for very dry skin because it is anhydrous (water-free) and packed with rich butters and oils that provide intense hydration. Lotions contain water and evaporate faster, so body butter offers longer-lasting moisture. It is especially good for areas like elbows, knees, and heels.
Do I need a preservative for homemade body butter?
No, you do not need a preservative because body butter contains no water, which prevents mold and bacteria from growing. As long as you keep it in an airtight container and avoid introducing water, it will stay safe to use. Just check for any changes in smell or texture over time.
Final Thoughts
For the best results, use high-quality, unrefined ingredients and always whip the mixture after it has fully chilled. You will notice softer, more hydrated skin right after the first application, especially if you put it on while your skin is still damp from a shower. With proper storage, your homemade body butter can stay good for up to a year, giving you a simple, natural way to care for your skin every day.