Figuring out the best eyebrow shape for your face can feel like a guessing game, but it doesn’t have to be. The secret is working with your natural features instead of against them. In this article, I’ll walk you through how to identify your face shape, use the classic three-point method to map your brows, and avoid the common mistakes that can throw off your whole look.
Key Takeaways
- Identify your face shape first, oval, round, long, square, or heart/diamond, to guide your brow style.
- Use the three-point method to map the start, arch, and end of each brow for balanced proportions.
- Pluck only from below the brow line to lift the eye area and avoid over-plucking the main body.
- Step back from the mirror frequently to check symmetry and avoid removing too many hairs.
- Maintain your brows every 2 to 4 weeks to keep the shape clean without starting from scratch.
Finding Your Ideal Eyebrow Shape
The right eyebrow shape doesn’t reinvent your face. It highlights what’s already there. I always start by figuring out my face shape, then use the three-point method to map the start, arch, and end of each brow. Trends change every season, but balancing proportion and symmetry is what gives you a timeless look that actually suits you.
Essential Tools for Eyebrow Shaping
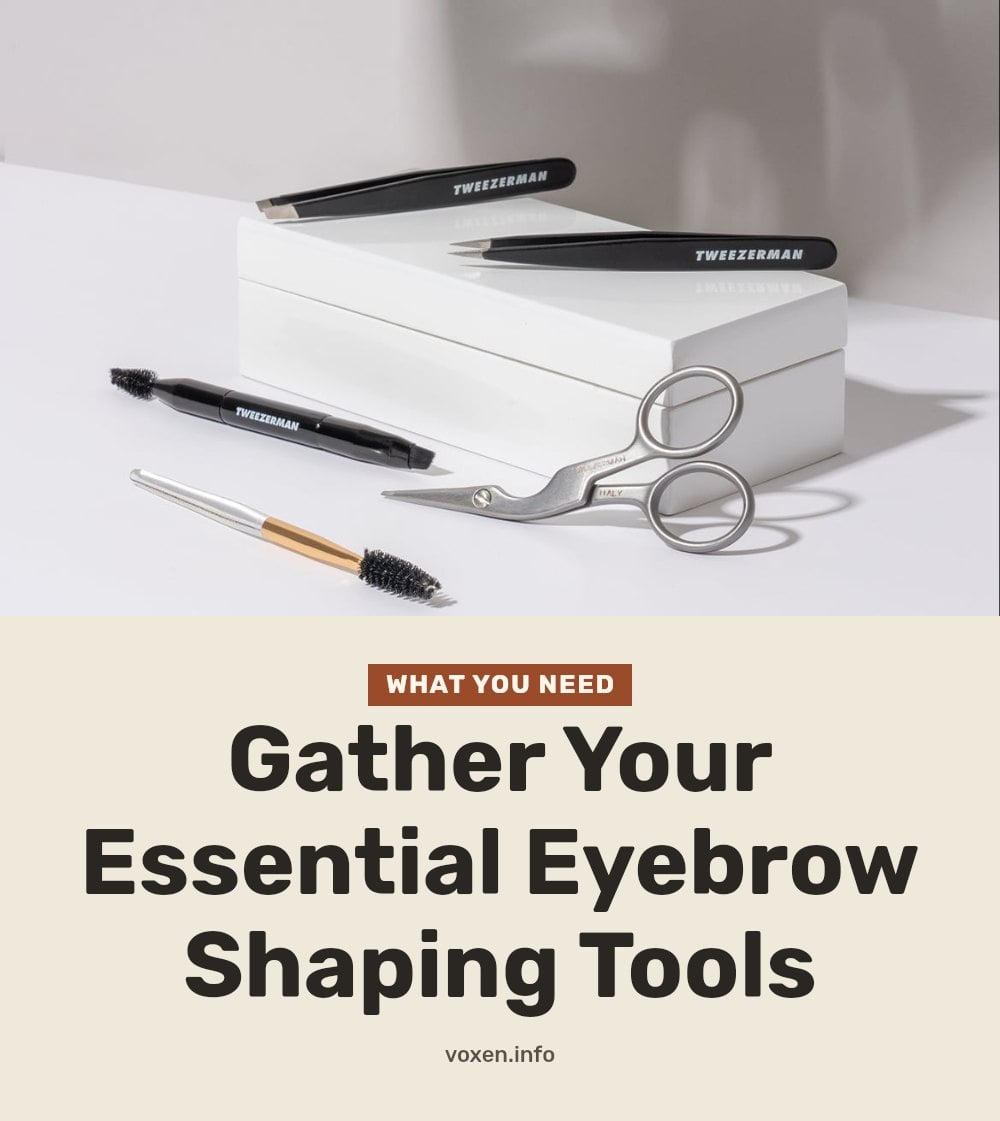
Before you start shaping, gather these basics. Each tool has a specific job, and I never skip any of them.
- Tweezers: The go-to for grabbing individual stray hairs with precision.
- Brow brush or spoolie: Brushes hairs into place and blends pencil or powder afterward.
- Small brow scissors: Trims extra-long hairs that stick up after brushing.
- Brow pencil or powder: Fills sparse spots and defines the final shape.
- White eyeliner or brow mapping string: Optional but handy for marking your start, arch, and end points.
Understanding Your Face Shape
Before you choose a brow style, you need to know your face shape. It makes the difference between a shape that works and one that fights your features. Most faces fall into one of five categories: oval, round, long, square, or heart/diamond. Each benefits from a different brow angle and arch height to create visual balance.
Best Eyebrow Shapes for Every Face Type
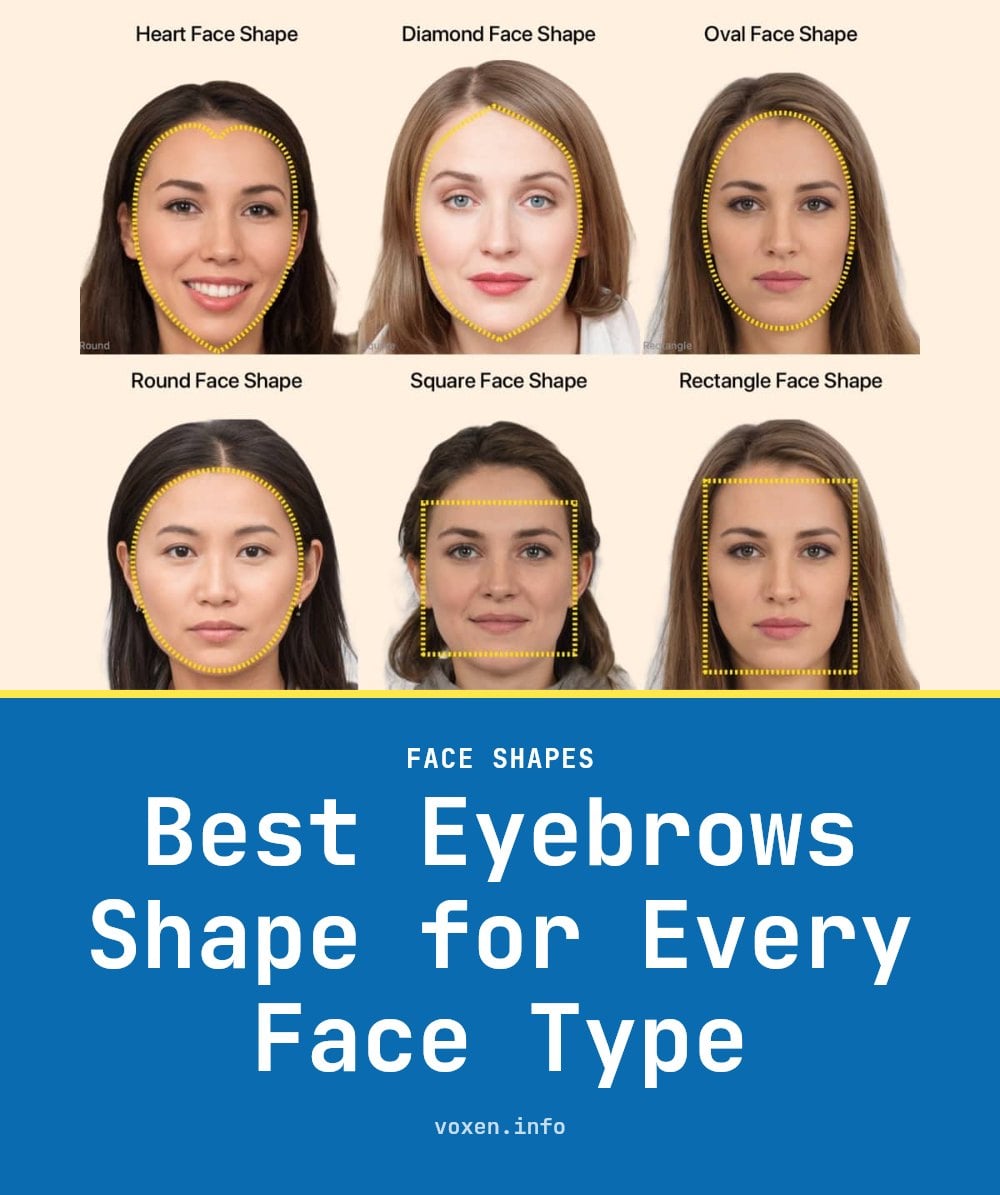
Once you know your face shape, match it to the brow style that brings out your best. Here is what I have found works for each one.
Oval Face
A soft, angled brow with a slight arch follows your natural line nicely. It keeps the balanced proportions an oval face already has.
Round Face
A higher arch adds length and definition. It breaks up the circular shape and makes the face appear longer and more sculpted.
Long Face
Straighter, flatter brows with a minimal arch draw the eye horizontally. This visually shortens a longer face.
Square Face
Softer, more rounded arches soften angular jawlines and cheekbones. Avoid sharp angles. They make a square face look harder.
Heart-Shaped Face
Soft, rounded arches that are not too thick balance a wider forehead with a narrower chin. Keep the thickness moderate.
Diamond-Shaped Face
Curved brows with a soft arch soften the widest part of the face at the temples. The curve draws attention inward.
Step-by-Step: Mapping Your Eyebrows with the Three-Point Method
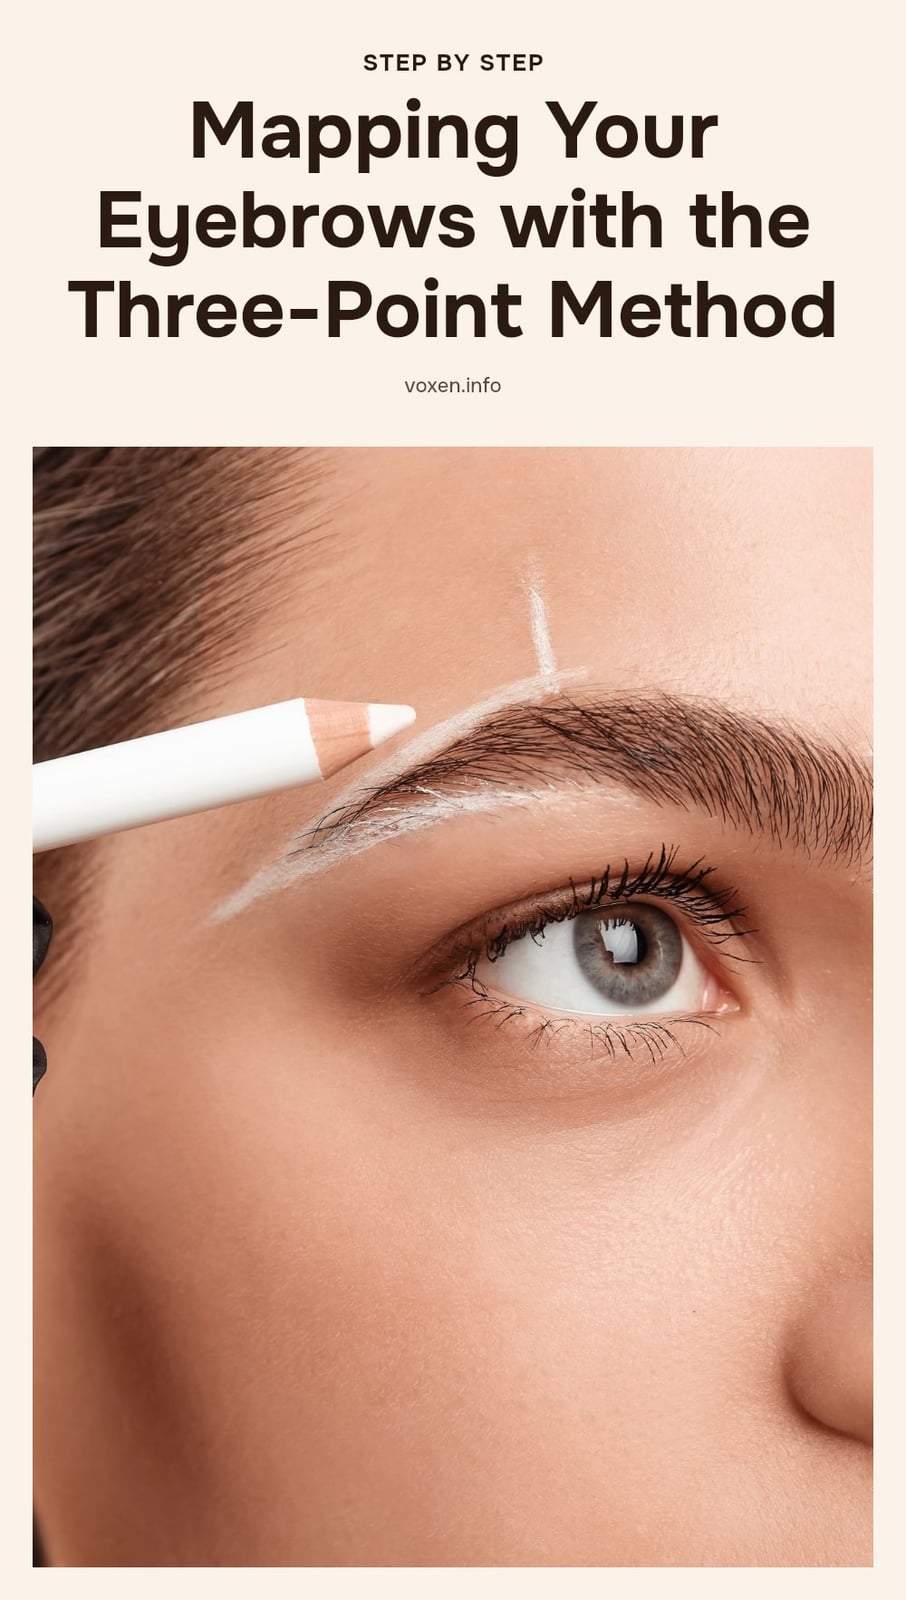
Brush your brows up: Use a spoolie to brush your brow hairs upward. This reveals your natural shape and shows you where the hairs naturally lie, which is your starting point.
- Mark the start: Place a thin tool like a brow pencil vertically against the side of your nose. Where it meets your brow bone is where your brow should begin. That spot aligns with the bridge of your nose.
- Find the arch: Pivot the pencil so it passes through the outer edge of your iris while you look straight ahead. The point where the pencil touches your brow is a guide for the highest point of your arch, typically two-thirds of the way out from the start. The final arch should be a smooth curve connecting the start, this point, and the end, so you may adjust it slightly to suit your natural brow shape.
- Locate the end: Angle the pencil from the outside of your nose through the outer corner of your eye. Where it hits your brow is where the tail should end. Mark that spot.
- Connect the dots: Using a brow pencil, lightly draw a line connecting the start, arch, and end points. This outline shows the shape you want. Keep the line soft and natural.
- Clean up below: Tweeze only the stray hairs that fall below your mapped outline. Avoid plucking the arch or tail area, only remove hairs that are clearly outside the line. Never pluck above the brow line. Step back often to check symmetry.
Common Eyebrow Shaping Mistakes to Avoid
I have made most of these mistakes myself, so I know how easy they are to fall into. Here is what to avoid.
- Over-plucking the arch or tail: Only remove hairs clearly outside your mapped shape. Sparse brows look unnatural and take months to grow back.
- Creating brows too thin or too thick: Aim for a thickness that balances your facial features, not a trend. Thicker brows can balance stronger features, thinner ones suit delicate features.
- Ignoring natural growth direction: Always pluck in the direction your hairs grow. Plucking against the grain can damage follicles and cause ingrown hairs.
- Trying for perfect symmetry: Brows are sisters, not twins. Slight differences are natural and rarely noticeable to anyone but you.
- Plucking hairs above the main brow line: Stray hairs above the brow line should generally be left alone unless they are significantly out of place and detract from the overall shape. If removal is necessary, pluck only those few obvious strays, not the entire upper line. Focus your main work on the underside.
- Shaping based on trends alone: What is popular may not suit your face. Prioritize your unique face shape over a viral look.
Top Tips for Flawless Eyebrow Shaping
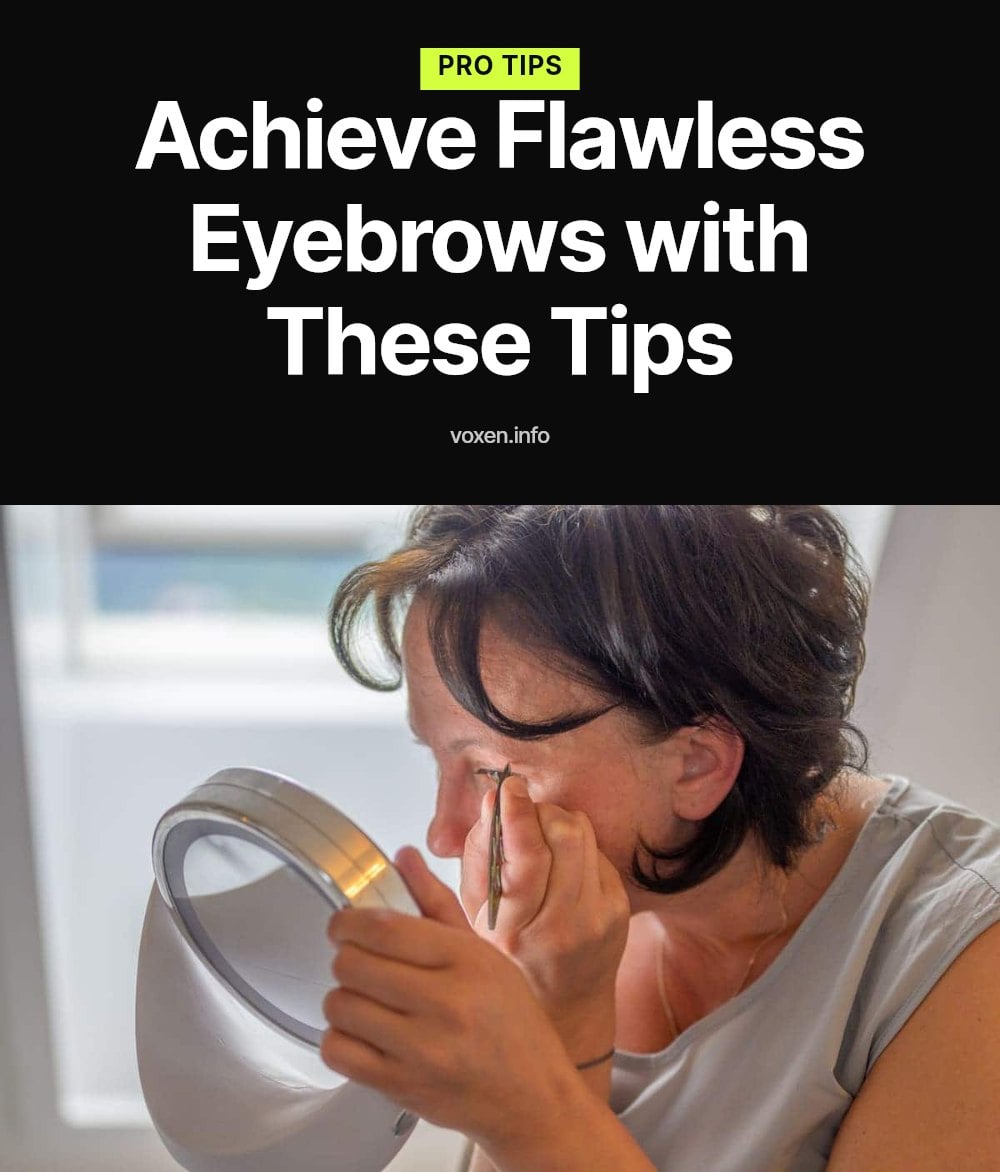
These small habits make a big difference in how your brows turn out. I use every one of them.
- Step back frequently: Every few tweezes, step away from the mirror. Close-up work can distort your view, and distance helps you see the overall shape and symmetry.
- Use good lighting: Natural, bright light is best. It shows every hair clearly and prevents you from missing stray ones or over-plucking in shadows.
- Clean tools regularly: Wipe your tweezers and scissors with rubbing alcohol before and after each use. Clean tools prevent infection and ensure precision.
- Consider a professional: If you are unsure, visit a brow specialist for an initial shaping. After that, you can maintain the shape at home with tweezers.
- Fill after shaping: Use a brow pencil or powder to fill in sparse areas only after you have finished shaping. Filling first can hide hairs you need to remove.
Eyebrow Shaping: Time and Maintenance
Knowing how long shaping takes and how often to maintain it helps you plan your routine.
- Initial shaping: Expect 10-20 minutes for a thorough at-home session. A professional appointment usually takes 30-60 minutes.
- Maintenance: Most people need to touch up every 2-4 weeks, depending on how fast their hair grows.
- Cost (DIY): Very low. You only need tweezers, a spoolie, and small scissors once. A brow pencil adds minimal ongoing cost.
- Cost (Professional): Varies by location and method. Basic shaping runs $20-$50 per session. Advanced services like microblading or lamination cost $100 or more.
When to See a Professional Brow Specialist
I have learned the hard way that some brow jobs are best left to the pros. If you are unsure about your face shape or ideal brow style, a specialist can map a custom shape for you. For significant transformations, like correcting over-plucked brows or starting from scratch, professional skill makes a big difference. Safety matters too. If you experience irritation, redness, or ingrown hairs after shaping at home, see a pro. Caution: If you use retinoids or certain acne medications, waxing or threading can tear skin. A specialist can recommend safe alternatives. For advanced techniques like tinting, lamination, or microblading, always go to a trained professional.
Frequently Asked Questions
How often should I shape my eyebrows?
Most people need to touch up every 2 to 4 weeks, depending on how fast their hair grows. The initial shaping session takes about 10 to 20 minutes at home. After that, a quick maintenance session every few weeks is usually enough to keep the shape clean without starting over.
Can I grow back over-plucked eyebrows?
Yes, it is possible, but it takes patience. Hair regrowth varies from person to person and can take several weeks to months. In the meantime, use a brow pencil or powder to fill in sparse areas and avoid plucking any new growth until the shape fills back in.
What if my eyebrows are naturally very thin?
Thin brows can still look great with the right shape. Focus on defining a clean arch and tail using the three-point method, then fill in sparse areas lightly with a brow pencil or powder. Avoid over-plucking, and consider a brow growth serum if you want more density over time.
Is waxing or threading better than plucking for shaping?
Each method has its pros. Tweezing gives you the most control for precise shaping at home. Waxing and threading remove multiple hairs at once and are often done by professionals. If you use retinoids or certain acne medications, avoid waxing and threading because they can cause skin tearing.
How do I choose the right brow product for my shape?
Pick a product that matches your hair color and the look you want. A brow pencil works well for precise strokes and filling gaps, while powder gives a softer, more natural finish. If your brows are sparse, try a tinted brow gel to add volume and hold the hairs in place.
Final Thoughts
My tip: start by mapping your ideal brow shape with the three-point method before you touch a pair of tweezers. It takes just a few minutes and saves you from over-plucking later. Expect your first at-home shaping session to take 10 to 20 minutes, with quick touch-ups every few weeks after that. A shape that balances your natural features will always look more polished than any trend.
This article is for general informational purposes only and does not constitute medical or professional beauty advice. Individual results may vary. If you have a persistent skin issue, irritation, or are unsure about a technique, consult a dermatologist or a professional brow specialist.