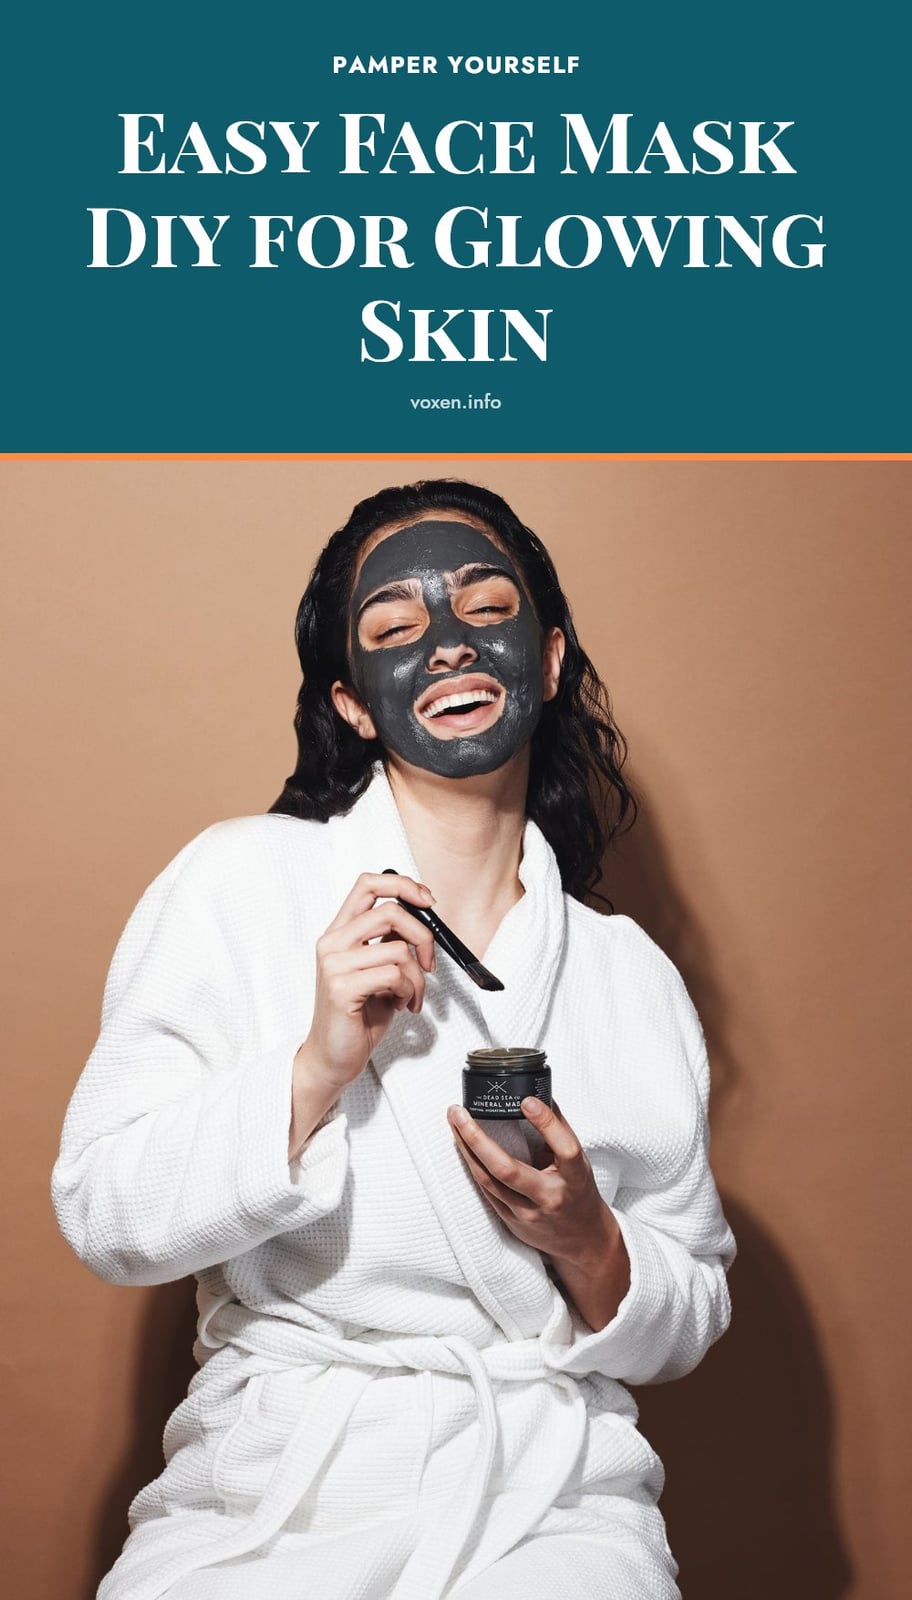
If you’re tired of spending money on store-bought masks full of ingredients you can’t pronounce, DIY face masks are a fun and affordable way to care for your skin. Using simple kitchen staples like honey, oatmeal, and clay, you can create a mask tailored to your skin’s needs, whether it’s dry, oily, or combination. In this article, I’ll share easy recipes, application tips, and common mistakes to avoid, so you can get the most out of your homemade treatments.
Key Takeaways
- Patch test every new mask on your inner arm or behind your ear first.
- Use honey and oatmeal for dry or sensitive skin; clay for oily skin.
- Apply masks for 10-20 minutes, then rinse with lukewarm water.
- Use masks 1-2 times per week; results take several weeks to appear.
- For combination skin, try multi-masking: clay on the T-zone, hydrating mask on dry areas.
Why DIY Face Masks Are Great for Your Skin
DIY face masks give you control over what goes on your skin, using ingredients you already have in your kitchen. You can target dryness, oiliness, or combination skin with a custom blend that hydrates, soothes, or gently exfoliates without harsh chemicals. My tip: always pick ingredients that match your skin type and do a patch test on your inner arm before applying anything to your face.
DIY Face Mask Recipes for Every Skin Type
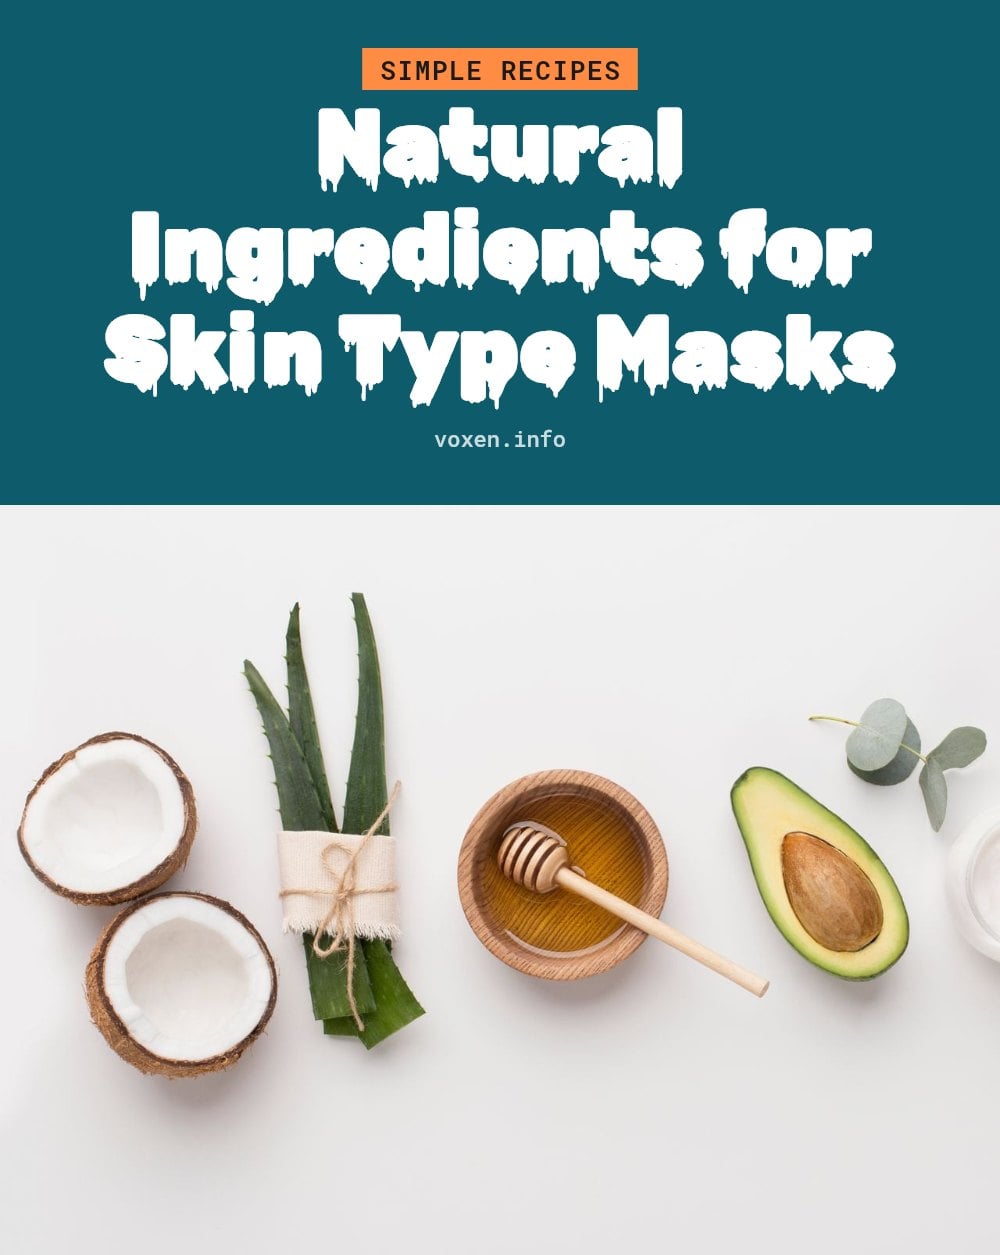
Honey and Oatmeal Mask for Dry/Sensitive Skin Mix 1 tablespoon of honey with 1 tablespoon of finely ground oatmeal. Honey is a humectant that pulls moisture into the skin, while oatmeal calms irritation. Apply for 15 minutes, then rinse. Yields one mask.
Clay and Yogurt Mask for Oily/Acne-Prone Skin Combine 1 tablespoon of bentonite or kaolin clay with enough plain yogurt to form a smooth paste. The clay absorbs excess oil, and the yogurt’s lactic acid provides gentle exfoliation. Leave on for 10 minutes, then rinse. Yields one mask.
Avocado and Aloe Vera Mask for Combination Skin Mash half a ripe avocado and mix with 2 tablespoons of aloe vera gel. Avocado nourishes dry areas with healthy fats, while aloe vera soothes and hydrates the entire face. Apply for 15 minutes, then rinse. Yields one mask.
How to Prepare and Apply Your Homemade Mask
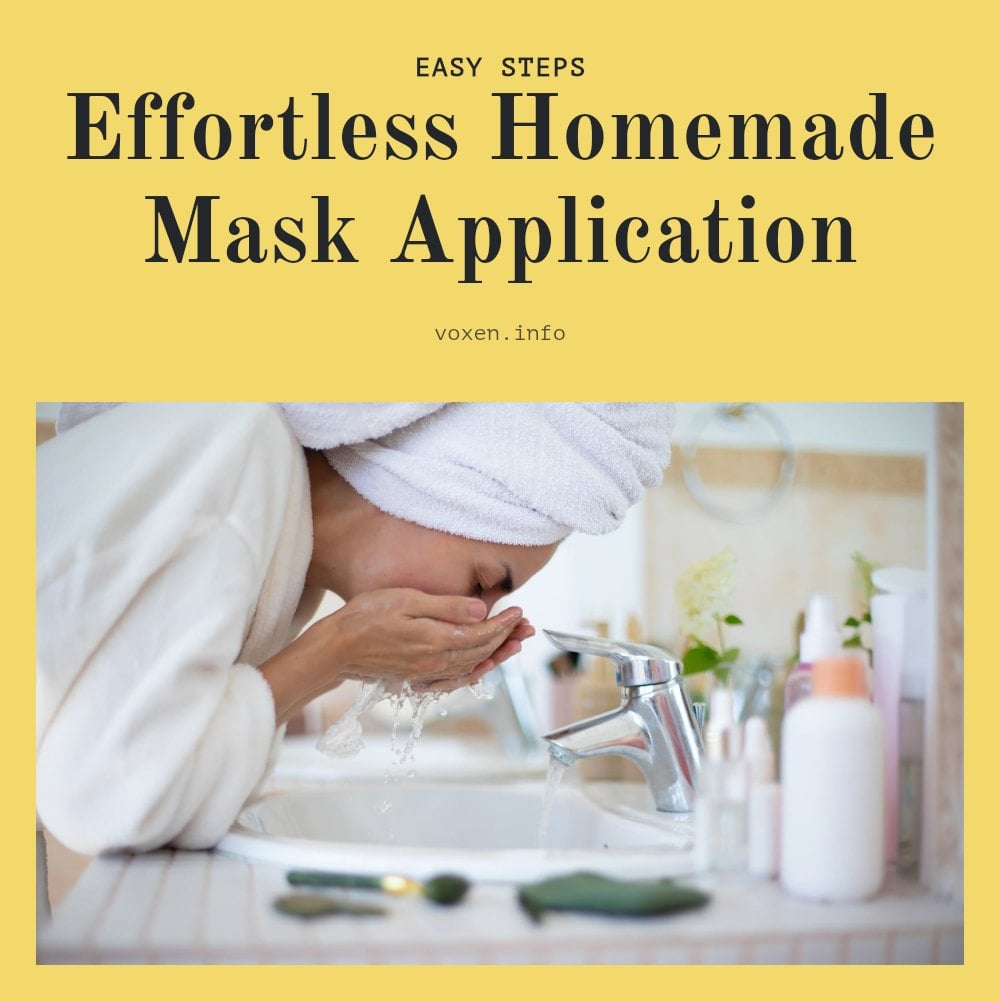
- Cleanse your face: Wash your face thoroughly with a gentle cleanser to remove dirt, oil, and makeup. A clean surface allows the mask ingredients to absorb better.
- Mix the mask: Combine the ingredients in a small bowl until you get a smooth, spreadable consistency. No clumps or dry spots.
- Apply evenly: Use clean fingers or a clean brush to spread the mask over your face, avoiding the delicate eye area. Keep the layer even and not too thick.
- Wait the right time: Leave the mask on for 10 to 20 minutes. Do not leave it longer, especially if the mask contains exfoliating ingredients like yogurt or clay.
- Rinse and moisturize: Rinse off with lukewarm water, gently pat your face dry, and follow with your usual moisturizer to lock in the benefits.
Common DIY Face Mask Mistakes to Avoid
- Skipping the patch test: Always test a small amount of the mask on your inner arm or behind your ear first. A full-face reaction is easy to avoid with a quick check.
- Using harsh ingredients: Lemon juice and strong essential oils can irritate your skin or make it more sensitive to sunlight. Stick to gentle, skin-safe ingredients.
- Leaving the mask on too long: More time does not mean better results. Exceeding 20 minutes can dry out or irritate your skin, especially with clay or acid-based masks.
- Applying to damaged skin: Never put a mask on broken, sunburned, or already irritated skin. Let your skin heal first.
- Expecting instant results: DIY masks support your skincare routine over time, not overnight. Consistent use once or twice a week is more effective than expecting a single mask to fix everything.
Pro Tips for Getting the Most Out of Your DIY Mask
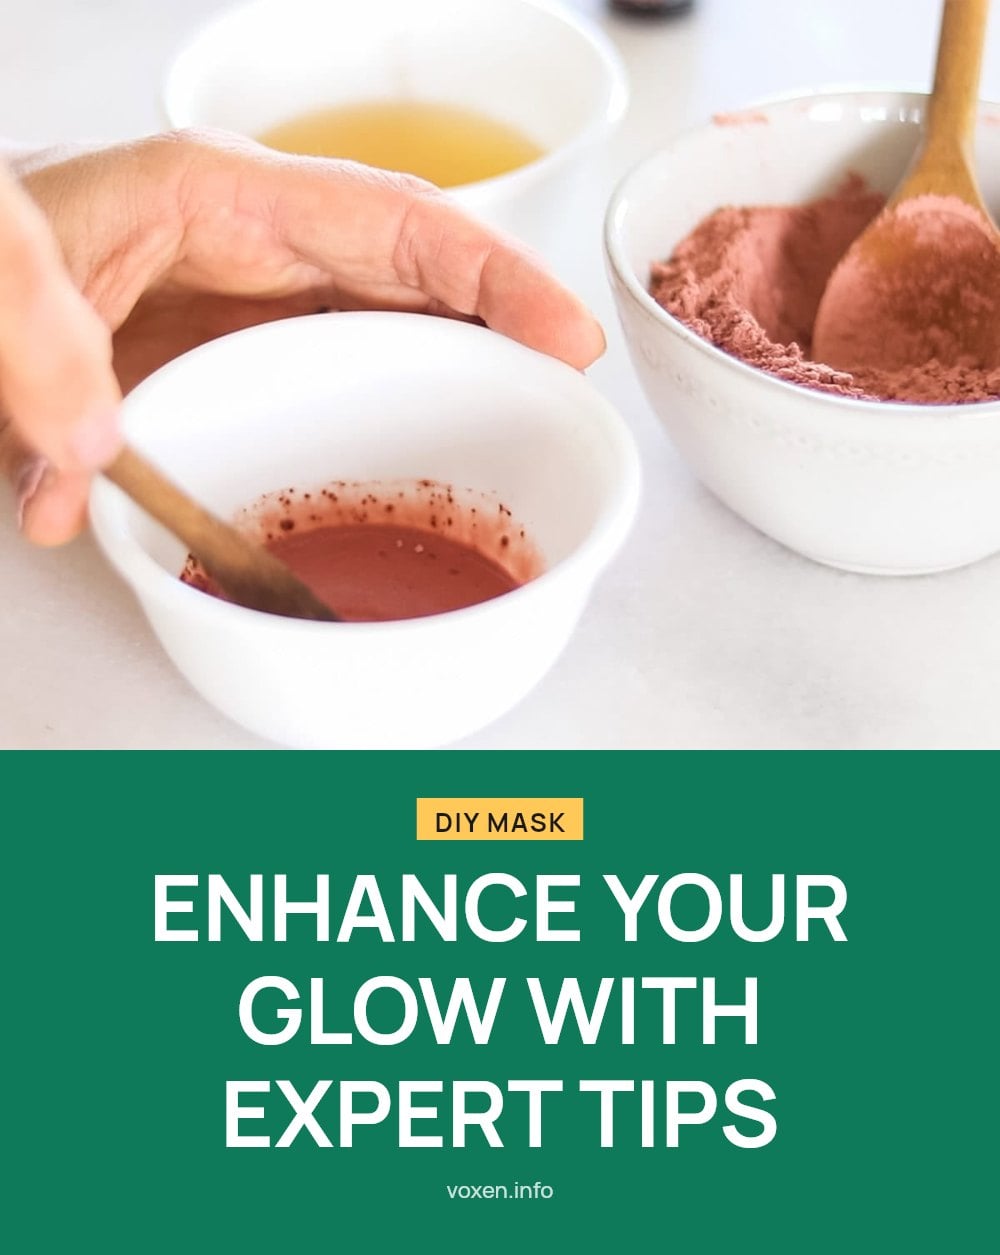
Choose fresh, organic ingredients when possible. This helps minimize exposure to pesticides or additives that could irritate your skin. My tip: for combination skin, try multi-masking. Apply an oil-absorbing mask (like clay) to your T-zone and a hydrating mask (like avocado or aloe) to dry areas.
Use clean tools every time. Mix and apply with clean hands or a clean brush to prevent introducing bacteria into the mask. After rinsing, follow up with your favorite serum or moisturizer to lock in the benefits.
When to Consult a Dermatologist
If you have sensitive skin, rosacea, eczema, or other pre-existing skin conditions, consult a dermatologist before trying DIY masks. Discontinue use immediately and seek professional advice if you experience burning, stinging, excessive redness, or itching. DIY masks are not a substitute for medical treatment for persistent skin issues like severe acne or chronic dryness.
Frequently Asked Questions
How often should I use a DIY face mask?
Most DIY face masks can be used 1-2 times per week. Applying them more often may irritate your skin, especially if the mask contains exfoliating acids like lemon juice or yogurt. Start with once a week to see how your skin responds, then adjust if needed.
Can I use store-bought ingredients for my DIY mask?
Yes, store-bought ingredients are generally fine as long as they are fresh and free of added sugars, flavors, or preservatives that could irritate your skin. For example, choose plain yogurt without fruit or sweeteners, and opt for pure honey. Fresh, organic ingredients are often recommended to minimize pesticide exposure, but they are not required.
What should I do if my skin feels irritated after a DIY mask?
Rinse your face immediately with cool, lukewarm water and stop using the mask. If you experience burning, stinging, excessive redness, or itching, discontinue use and consult a dermatologist, especially if symptoms persist. Avoid applying any other products until your skin calms down.
Are DIY face masks as effective as commercial ones?
DIY masks can be effective for hydration, soothing, and gentle exfoliation, but they are not a replacement for professional or clinical treatments. Commercial products may contain higher concentrations of active ingredients and preservatives for longer shelf life. For many people, DIY masks are a great addition to a regular routine, but don’t expect dramatic results from a single use.
Can I add essential oils to my DIY face mask?
You can, but use caution. Essential oils are potent and can cause irritation, especially if used in high amounts. If you choose to add them, use only a drop or two and dilute them well with a carrier oil like olive or coconut oil. Some essential oils also increase sun sensitivity, so avoid them if you’ll be in the sun. When in doubt, skip them.
How long do DIY face masks last?
Homemade masks are best used immediately because they lack preservatives. If you have leftovers, you can store them in the refrigerator for up to a day, but check for signs of spoilage before using. Discard any mask that changes color, smell, or texture. Always use fresh ingredients for each application.
Final Thoughts
DIY face masks are a simple, natural way to pamper your skin, but they work best when you choose ingredients that match your skin type and follow the safety rules. My tip: start with one mask that targets your main concern, use it once a week, and be patient. Visible improvements typically take several weeks of consistent use, not a single session. If you have sensitive skin or a skin condition, check with a dermatologist before mixing up your own treatments.
This article is for general informational purposes only and is not a substitute for professional medical or dermatological advice. Always patch test new ingredients, and if you have a skin condition or experience persistent irritation, consult a dermatologist or healthcare provider.