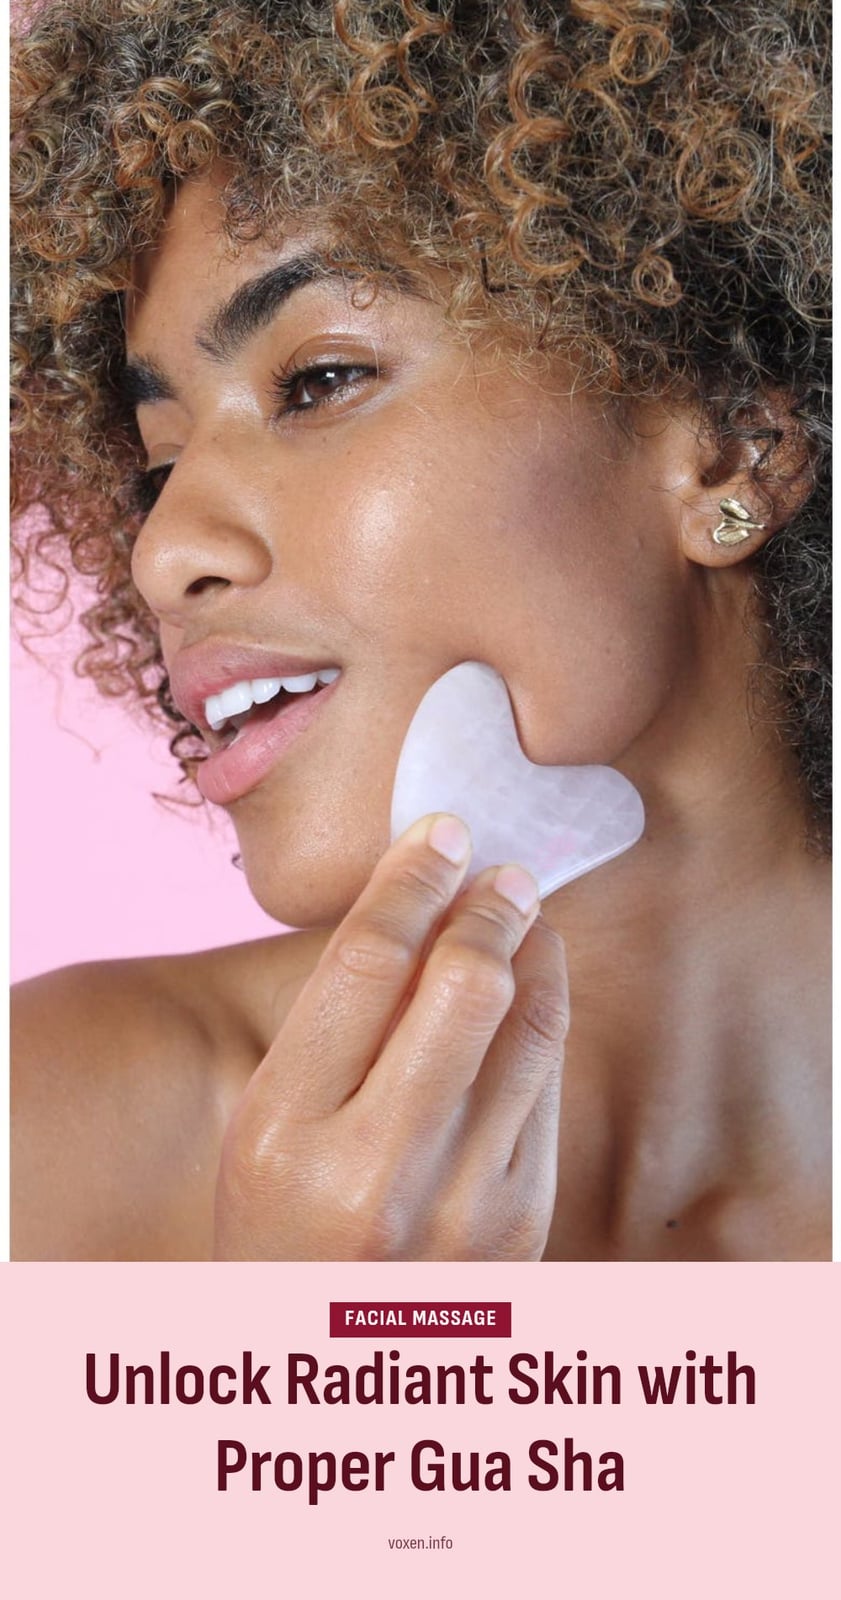
You might be wondering how to get that sculpted, glowing look without expensive treatments. Gua sha is a gentle facial massage technique that can help reduce puffiness, release tension, and boost your skin’s radiance. In this article, I’ll walk you through the correct strokes, pressure, and tips so you can try it at home with confidence.
Key Takeaways
- Use a facial oil or serum first to create slip and prevent tugging on the skin.
- Keep the tool at a 15-45 degree angle and use light to medium pressure, never enough to cause pain.
- Repeat each stroke 5 times per area, working upward and outward from the center of your face.
- Practice 2-3 times per week for 5-10 minutes; visible results may appear within a few weeks.
- Always clean your gua sha tool with warm water and soap before and after each use.
What Is Facial Gua Sha and How Does It Work?
Facial gua sha is a traditional East Asian technique that uses a smooth tool to gently scrape the skin. Unlike body gua sha, which uses firm pressure, facial gua sha is very light. This gentle scraping promotes circulation and lymphatic drainage, which helps reduce puffiness and improve skin radiance. The technique also relieves muscle tension in the face and neck, giving you a more relaxed appearance over time.
Essential Tools for Your Gua Sha Routine
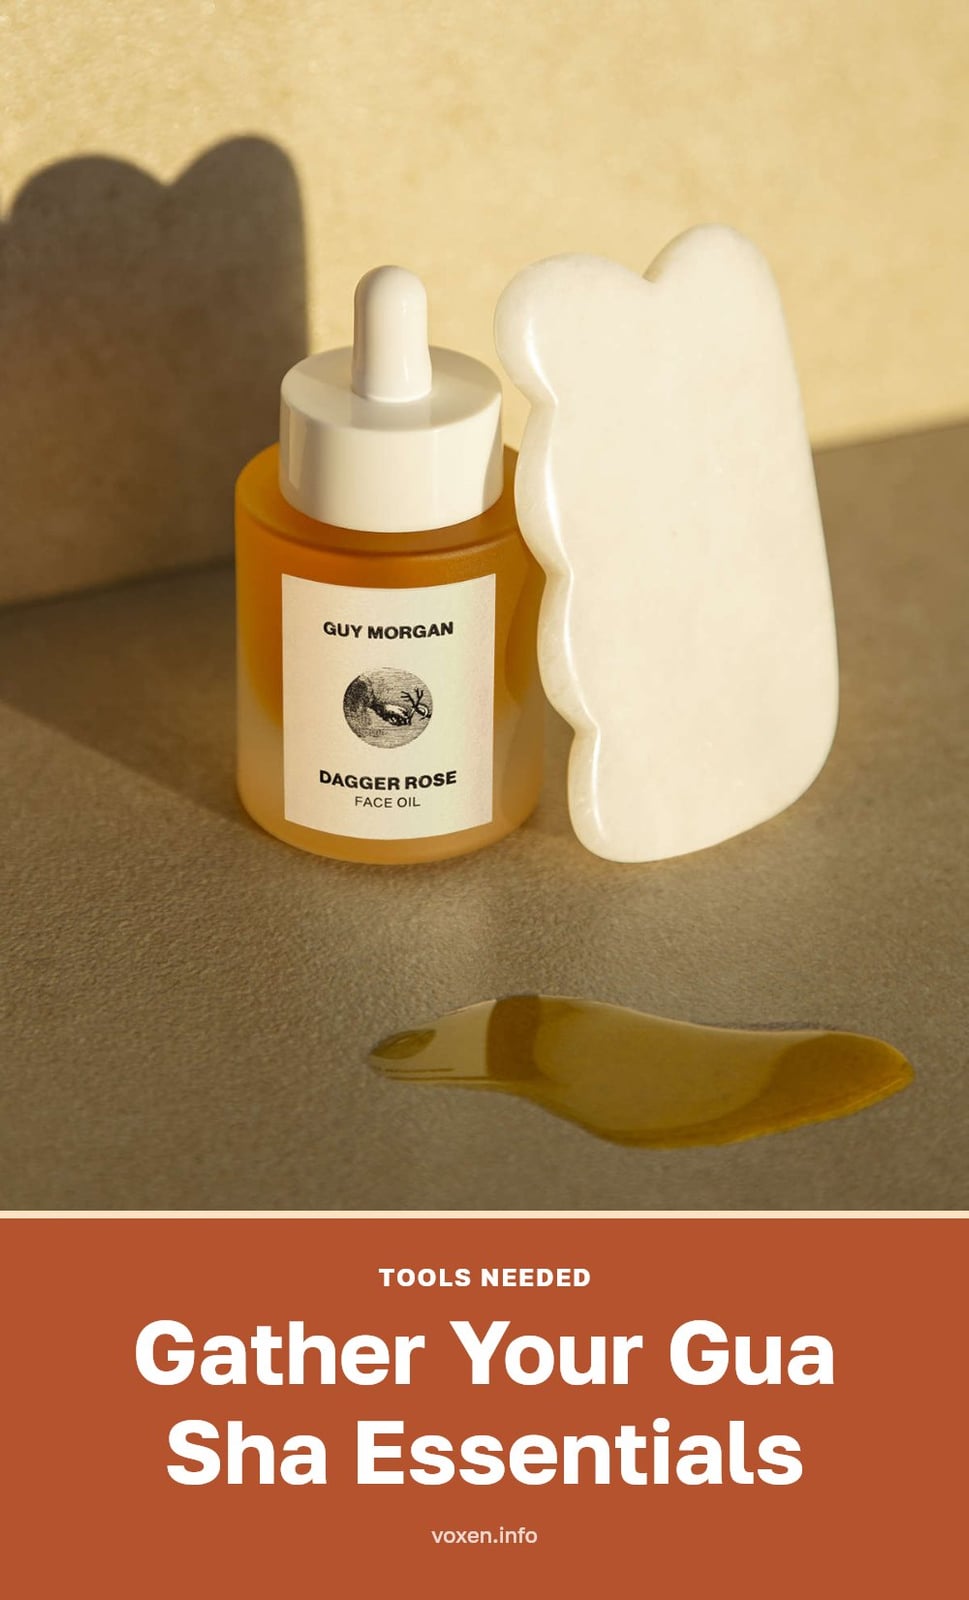
You only need a few items to start your gua sha routine. Here is what to have on hand:
- Gua sha tool: Choose one made from jade, rose quartz, or stainless steel. The shape matters: a heart-shaped or curved edge works well for different facial contours.
- Facial oil or serum: This creates slip so the tool glides smoothly without tugging your skin. Do not skip it.
- Gentle facial cleanser: Clean skin is essential before any gua sha session to avoid pushing dirt or makeup into your pores.
Step-by-Step Guide to Facial Gua Sha
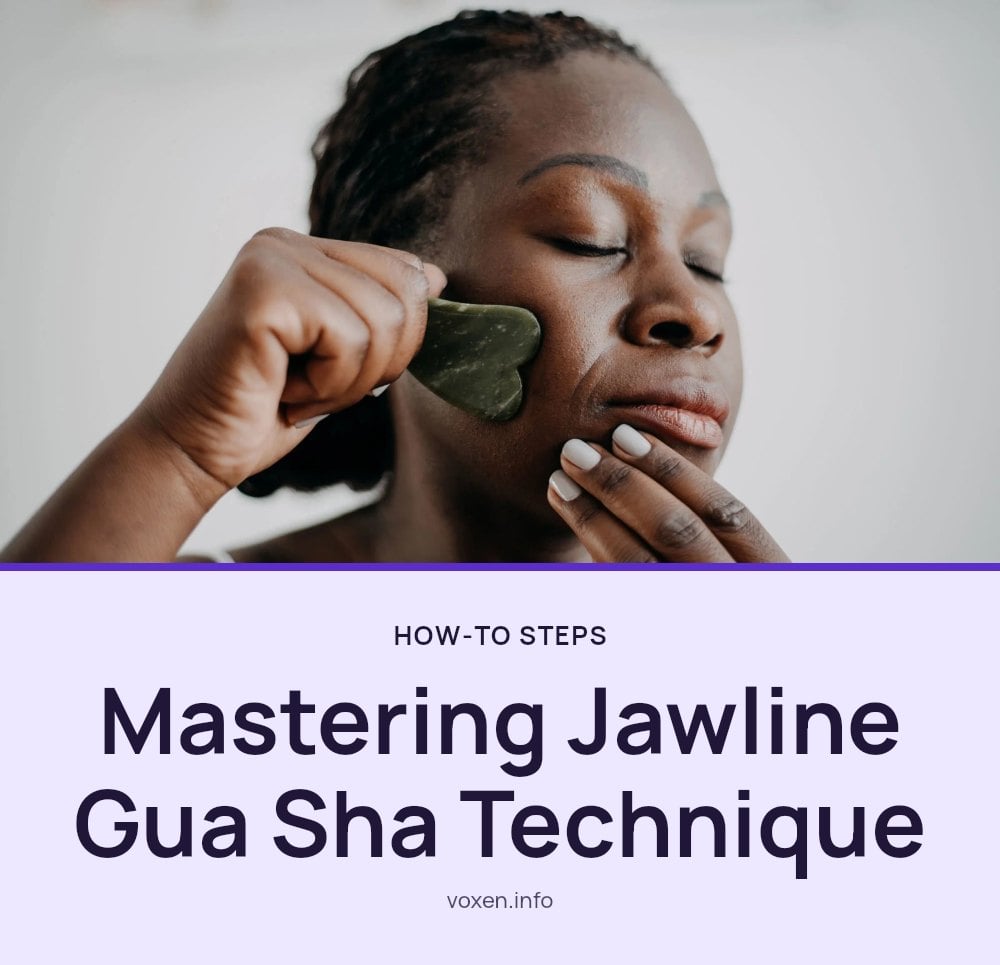
Follow this routine in order, repeating each step five times per side. Always keep the tool flat against your skin at a 15-45 degree angle.
- Cleanse and oil your face: Wash your face with a gentle cleanser, then apply a few drops of facial oil so the tool glides easily.
- Warm your tool: Run your gua sha tool under warm water or hold it in your hands for a minute. A warm tool enhances relaxation and circulation.
- Shoulders and neck: Using the heart-shaped part, glide the tool upward on your shoulders five times, wiggling at the end for tension relief. If you go downward, hold your skin with your free hand for support. Then place the tool above your collarbone and slide it up to your jawline five times.
- Chin to ears: Hold your chin with one hand for support. Using the curved part, slide the tool from your chin to below your ears five times.
- Depuff cheeks: Place two fingers on your chin for support. Use the flat side of the tool to drag it upward from your chin to your ears five times. Then, press lightly on your smile line and glide the tool up to your ears five times.
- Nose to brow bone: Place your fingers on the opposite side of your nose. Use the edge of the tool to slowly slide it up to your brow bone five times. Then, from the side of your nose, gently slide the tool upward five times, being extra gentle around the eye area. Wiggle the tool on your brow to relieve headaches.
- Brow bone and forehead: Place two fingers in the center of your forehead. Glide the tool along your brow bone, then up to your temples five times. Keep your fingers in place and make five upward swipes on your forehead. Move to the center and repeat.
- Jawline snatch: Place your fingers on your chin. Drag the tool flat against your skin upward toward your ears, then continue upward along your neck five times. Repeat all steps on the other side.
- Clean your tool: Wash your gua sha tool with warm water and soap after each use to prevent bacteria buildup.
If you learn better by watching, this 15-minute video from Tina Engeo shows every step.
Common Gua Sha Mistakes to Avoid
Avoid these common mistakes to get the most out of your gua sha practice:
- Using too much pressure: Facial gua sha is gentle, unlike body gua sha. Too much pressure can cause redness that lasts longer than 10 minutes or pain. If you feel discomfort, ease up.
- Not using enough facial oil: Dry skin can be tugged and irritated, leading to discomfort and potential damage. Always apply a generous amount of oil or serum before starting.
- Using the wrong angle: Keep the tool almost flat against your skin, at a 15-45 degree angle. This ensures effective lymphatic drainage and prevents scratching.
- Forgetting to clean your tool: A dirty tool can introduce bacteria to your skin. Wash it with warm water and soap before and after each use.
- Expecting immediate, dramatic results: Gua sha offers gradual improvements in puffiness and radiance over several weeks, not an instant facelift. Be patient and consistent.
Top Tips for an Effective Gua Sha Session
Warm Your Tool: My tip: Keeping your gua sha tool warm before use can enhance relaxation and improve circulation. Avoid keeping it in the fridge for a cooling effect, as this can constrict blood vessels.
Support Your Skin: When performing downward strokes on your shoulders, always hold your skin with your free hand for support. This prevents unnecessary dragging and tugging.
Listen to Your Skin: Pay attention to how your skin feels. Gua sha should never be painful; if you experience discomfort, reduce the pressure or adjust your technique.
Be Gentle Around the Eyes: The skin around your eyes is extremely delicate. Use very light pressure and slow, gentle strokes in this area.
Relax Your Jaw: While working on your jawline, try not to clench your teeth. A relaxed jaw allows for better tension release and more effective lymphatic drainage.
How Often Should You Do Gua Sha?
Frequency: For best results, I recommend practicing facial gua sha 2-3 times per week.
Duration: Each session should last approximately 5-10 minutes.
Visible Results: You may start to notice visible improvements in puffiness and skin radiance within a few weeks of consistent practice.
Cost: Gua sha tools are generally affordable, ranging from $10-$40, making it an accessible addition to your skincare routine.
When to Avoid Gua Sha or Consult a Professional
Stop immediately if you experience pain, excessive redness, or discomfort. Avoid gua sha on areas with active breakouts, eczema, rosacea flare-ups, or sunburn. Consult a doctor before use if you have certain medical conditions, such as blood clotting disorders, or are on blood thinners. Do not use on areas with fillers or Botox until cleared by your practitioner. If you have sensitive skin, start with very light pressure and shorter sessions to see how your skin reacts.
Frequently Asked Questions
What kind of oil should I use for gua sha?
Any facial oil or serum that provides enough slip for the tool to glide smoothly works well. Look for oils with a lightweight texture, such as jojoba, squalane, or rosehip oil. Avoid products that dry quickly or contain heavy waxes, as they can cause dragging.
Can gua sha help with acne?
Gua sha is not recommended on active breakouts, as the scraping can spread bacteria and worsen inflammation. However, once your skin has healed, gentle gua sha on surrounding areas may help reduce puffiness and improve circulation. Always consult a dermatologist for acne concerns.
Is it normal for my face to be red after gua sha?
Mild, temporary redness that fades within a few minutes can be normal due to increased blood flow. But if redness lasts longer than 10 minutes or feels painful, you are using too much pressure. Facial gua sha should not leave lasting red marks, so ease up on the pressure.
Does gua sha really work for wrinkles?
Gua sha is not a substitute for anti-aging treatments, but the improved circulation and lymphatic drainage can make skin appear firmer and more radiant. Some people find that regular practice helps relax facial muscles, which may soften the appearance of fine lines over time. Results vary and are not guaranteed to reduce deep wrinkles.
Final Thoughts
My tip: Start with the warm tool and a good facial oil, then follow the step-by-step routine exactly as shown. Expect subtle improvements in puffiness and radiance over a few weeks, not an instant facelift. The key is consistency and gentle technique, so take your time and listen to your skin.
This article provides general information about gua sha techniques and is not a substitute for professional medical or skincare advice. If you have a medical condition, are on blood thinners, or have concerns about your skin, consult a doctor or dermatologist before starting any new routine.