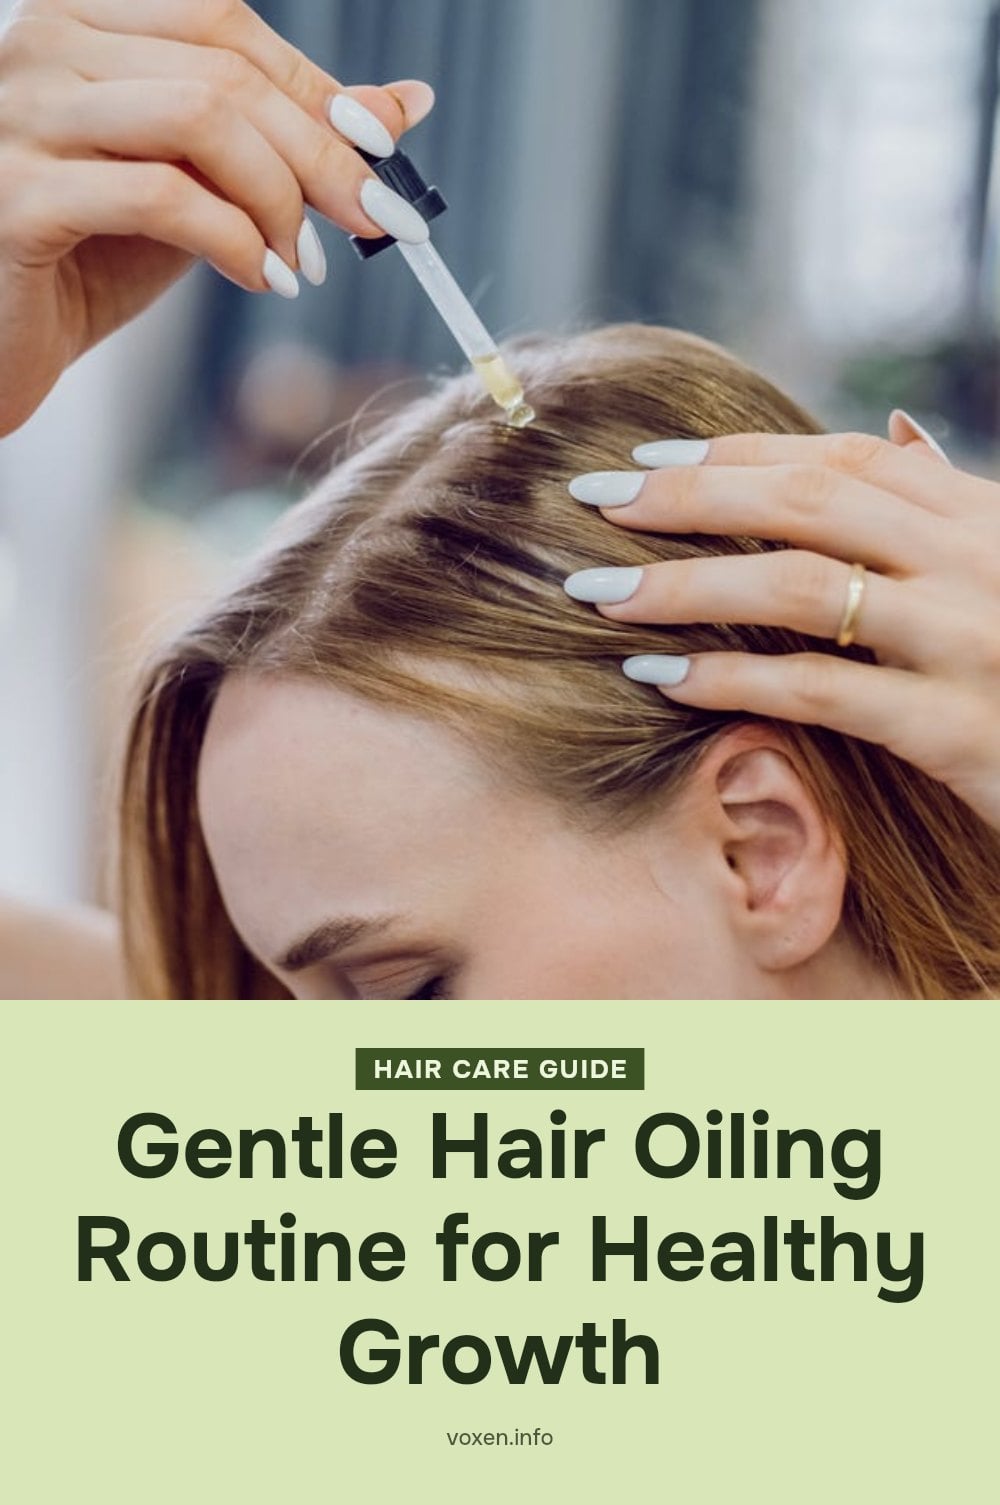
If your hair feels dry, frizzy, or just needs a boost, hair oiling might be the simple, natural routine you’ve been missing. This ancient Ayurvedic practice helps nourish your strands from the inside out, reducing damage and adding serious shine. In this article, I’ll walk you through everything you need to know to start oiling at home, from choosing the right oil to washing it out properly.
Key Takeaways
- Always detangle hair with a wide-tooth comb from ends to roots before applying any oil.
- Warm your oil for one minute in hot water to help it penetrate deeper into the hair shaft.
- Massage your scalp gently for at least five minutes using circular motions to stimulate circulation.
- Leave the oil on for a minimum of 1 hour and a maximum of 8 hours for best results.
- Wash thoroughly with a mild shampoo for three minutes to remove oil without stripping natural moisture.
What is Hair Oiling and Why Should You Try It?
Hair oiling is an ancient Ayurvedic practice from India that involves applying oil to your hair and scalp to nourish, condition, and protect. It helps reduce damage from water absorption, adds shine, reduces frizz, and promotes scalp health. The practice involves selecting an appropriate oil, applying it with a gentle massage, and allowing it to penetrate before washing. It’s a simple, natural way to improve your hair’s overall health and manageability.
Essential Tools and Oils for Your Hair Oiling Routine
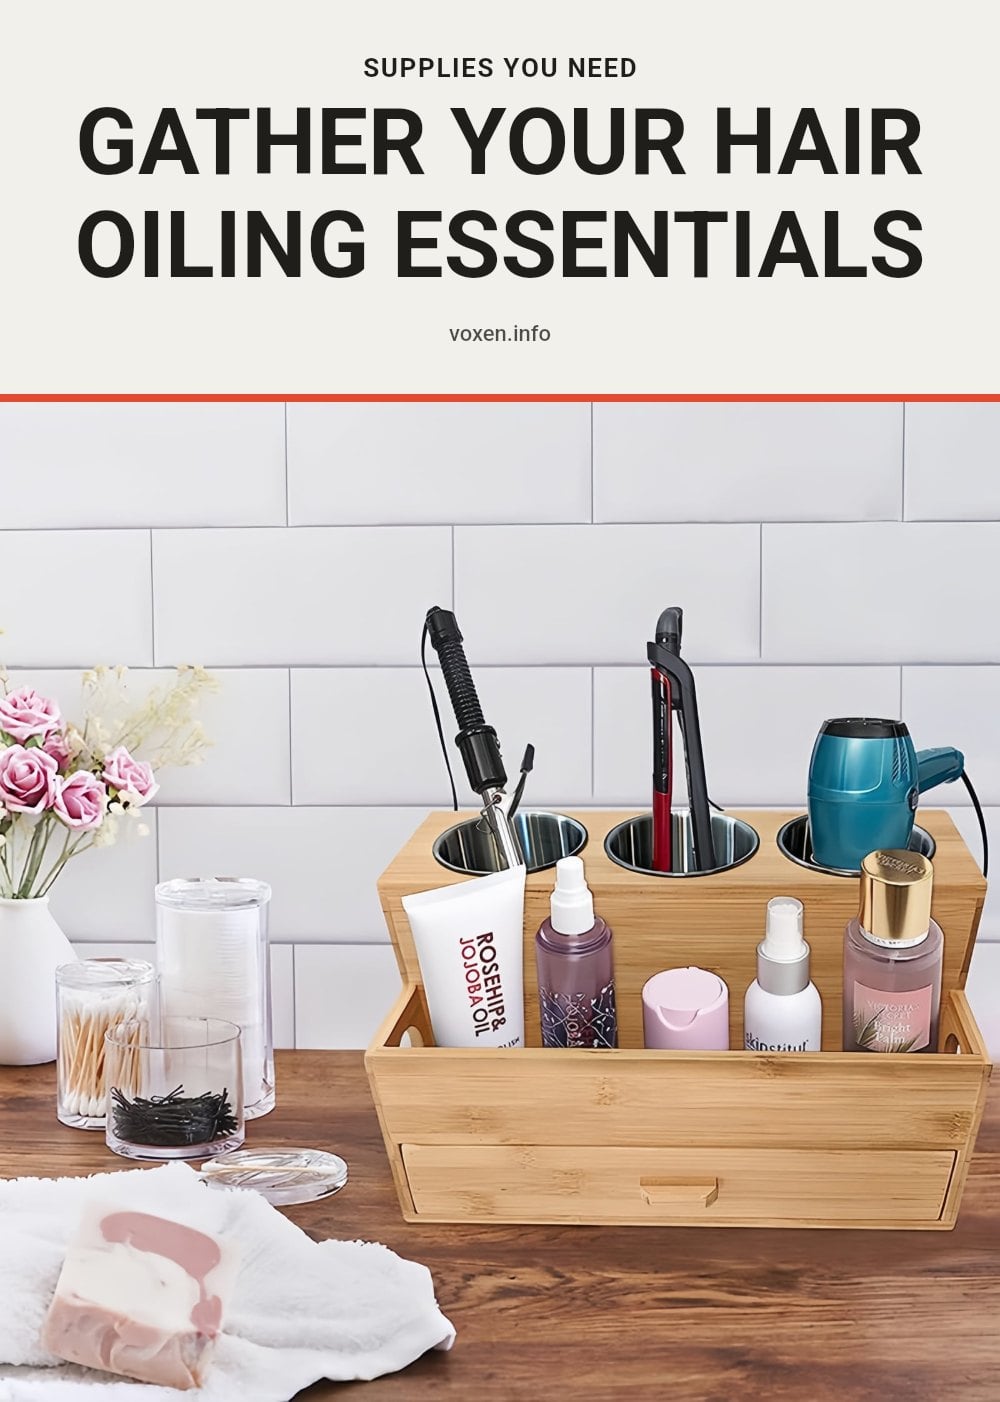
Before you start, gather the essentials for a smooth routine.
- Cold-pressed, organic, single-ingredient oil: Choose avocado for moisture or diluted rosemary for growth. These oils are free from additives that can clog pores or cause buildup.
- Wide-tooth comb: Crucial for detangling before oil application. It prevents breakage by gently working through knots.
- Q-tip: Helps with precise scalp application, ensuring even distribution without wasting oil.
- Shower cap or heat cap: A shower cap protects your hair and clothing; a heat cap aids oil penetration, especially for low porosity hair.
Your Step-by-Step Guide to Effective Hair Oiling
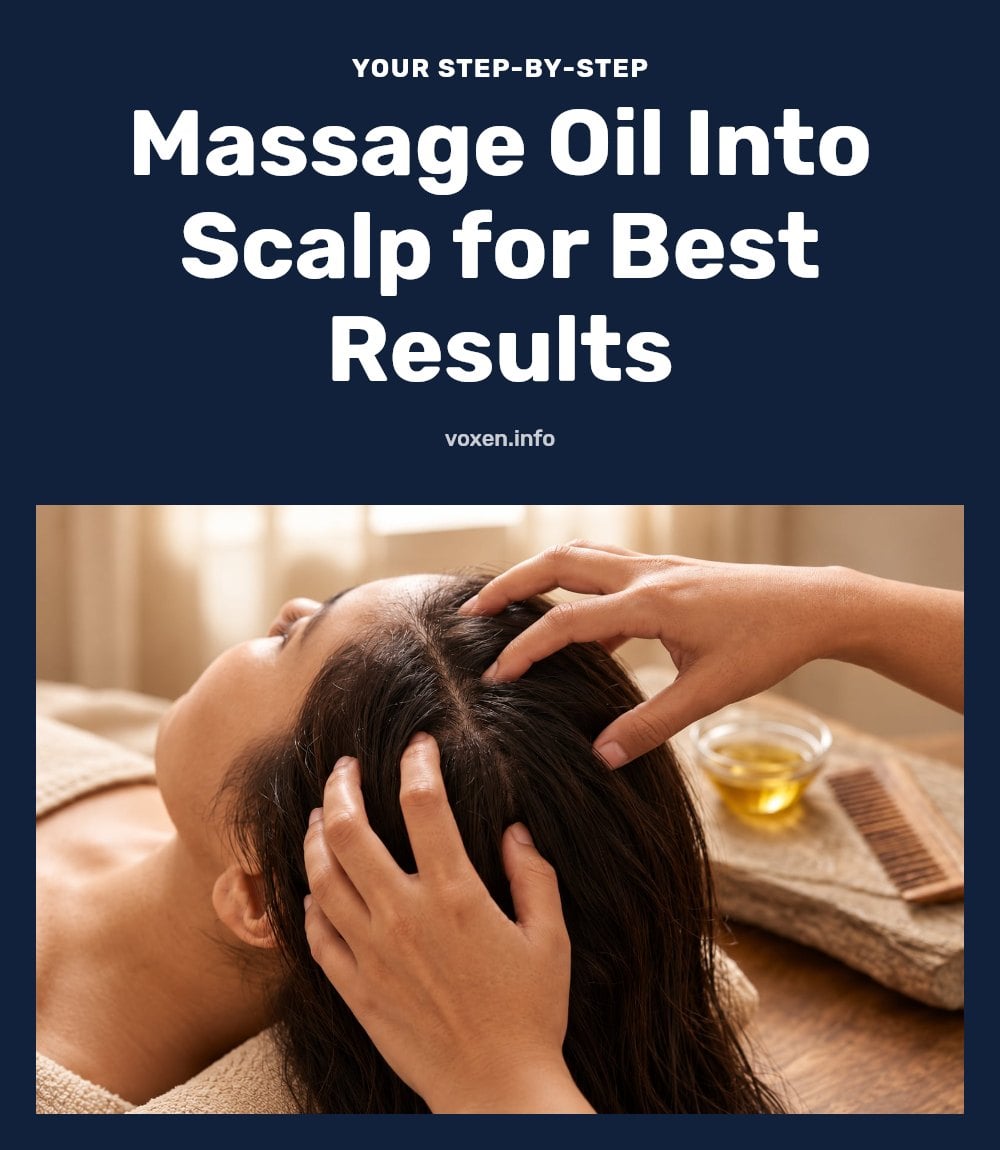
Follow this method for a thorough, effective hair oiling session.
- Detangle your hair: Use a wide-tooth comb, starting from the ends and working up to the roots. This prevents breakage and makes oil application smoother.
- Choose your oil: Pick a cold-pressed, organic, single-ingredient oil. If using essential oils like rosemary, dilute them with a carrier oil to avoid irritation.
- Warm the oil: Place the bottle in hot water for one minute. Warm oil penetrates deeper and promotes scalp circulation.
- Apply to scalp: Use a Q-tip to apply the oil evenly across your entire scalp. This ensures targeted coverage without over-saturating.
- Section and coat hair: Divide your hair into sections and apply a light layer of oil from roots to ends with your hands. Your hair should be slightly covered, not drenched.
- Massage gently: Use a scalp massager or your fingertips in circular motions for at least five minutes. This stimulates blood flow and supports hair growth.
- Cover with a shower cap: This protects your hair and prevents damage from tight hairstyles.
- Use a heat cap for low porosity hair: If your hair is low porosity, or for enhanced results, use a heat cap or a warm, damp microfiber towel to help the oil penetrate.
- Let it sit: Leave the oil on for a minimum of 1 hour and a maximum of 8 hours, or overnight occasionally. Avoid leaving it longer than 24 hours.
- Rinse with warm water: Soak your hair in warm water for one minute before shampooing. This helps loosen the oil.
- Shampoo thoroughly: Apply a quarter-sized amount of mild shampoo, emulsify it, and gently clean your hair for three minutes. This breaks down excess oil without stripping natural oils.
If you learn better by watching, this 10-minute video from Doro Cubillo shows every step. The how-to part starts at 0:21.
Pro Tips for Maximizing Your Hair Oiling Results
These extra tips will help you get the most from your routine.
- Always detangle first: Use a wide-tooth comb from ends to roots before applying oil. This prevents breakage and makes the process easier.
- Start with one tablespoon: Begin with just one tablespoon of oil and adjust based on your hair’s density and length. Less is more; too much oil leads to excessive shampooing that strips natural oils.
- Boost absorption for low porosity hair: If your hair is low porosity, use a heat cap or a warm, damp microfiber towel to significantly enhance oil absorption.
- Dilute essential oils: If using essential oils like rosemary, always dilute them with a carrier oil to prevent irritation.
Choosing the Best Oil for Your Hair Type
Different oils target different hair concerns, so match the oil to your hair’s needs. Coconut oil penetrates the shaft deeply, making it ideal for high porosity hair that soaks up moisture quickly. Argan oil adds shine and is rich in Vitamin E, which suits most hair types without weighing them down.
| Oil | Key Benefit | Best For |
|---|---|---|
| Coconut | Deep conditioning and penetration | High porosity, dry hair |
| Argan | Shine and Vitamin E | Most hair types |
| Castor | Thickness and growth support | Targeted scalp treatments |
| Jojoba | Mimics natural scalp sebum | Oily or dry scalps |
Castor oil is thicker, so use it sparingly on the scalp rather than the lengths. Jojoba balances oil production, which helps if your scalp swings between greasy and flaky. Choose one oil that matches your primary concern, and switch if your hair’s needs change.
Common Hair Oiling Mistakes to Avoid
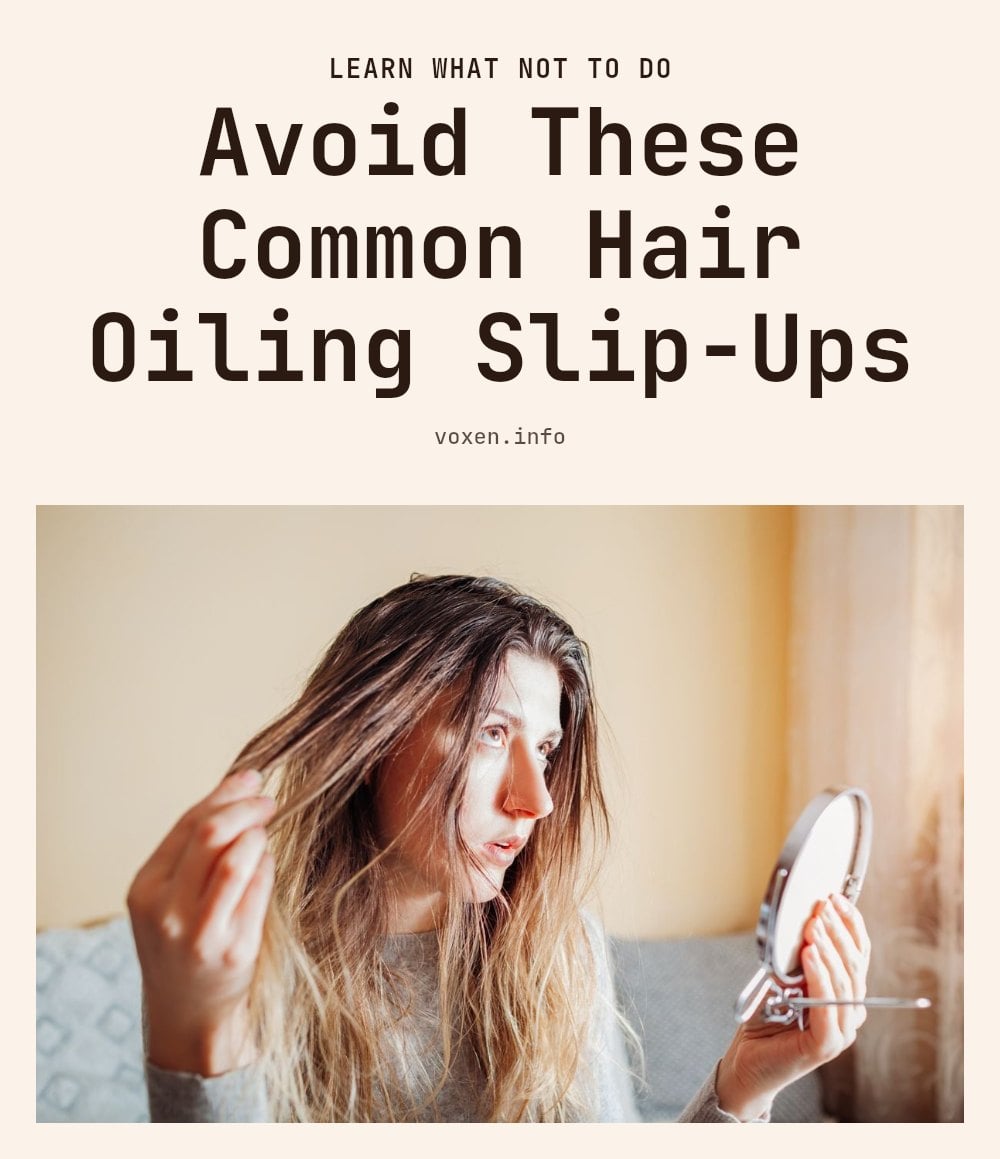
Even a good routine can backfire with these common errors. Avoid them to keep your hair healthy.
- Combing after oiling: Hair is more vulnerable to breakage when oiled. Detangle only before applying oil.
- Using the wrong oils: Mineral oil, baby oil, or lemon oil can damage or dry out hair. Stick to cold-pressed, organic options.
- Skipping the warm-up: Not warming the oil hinders deep penetration and scalp circulation. Warm it in hot water for one minute.
- Applying too much oil: Excess oil leads to excessive shampooing, which strips natural oils. Start with one tablespoon.
- Massaging too roughly or not at all: Rough massage causes breakage; no massage misses circulation benefits. Use gentle circular motions for at least five minutes.
- Tying hair too tightly: Tight styles increase vulnerability to breakage and split ends. Cover with a loose shower cap instead.
- Leaving oil on too long: More than 24 hours attracts dirt, causes buildup, and can lead to dandruff or hair loss. Stick to 1-8 hours.
Maintaining Your Hair Health After Oiling
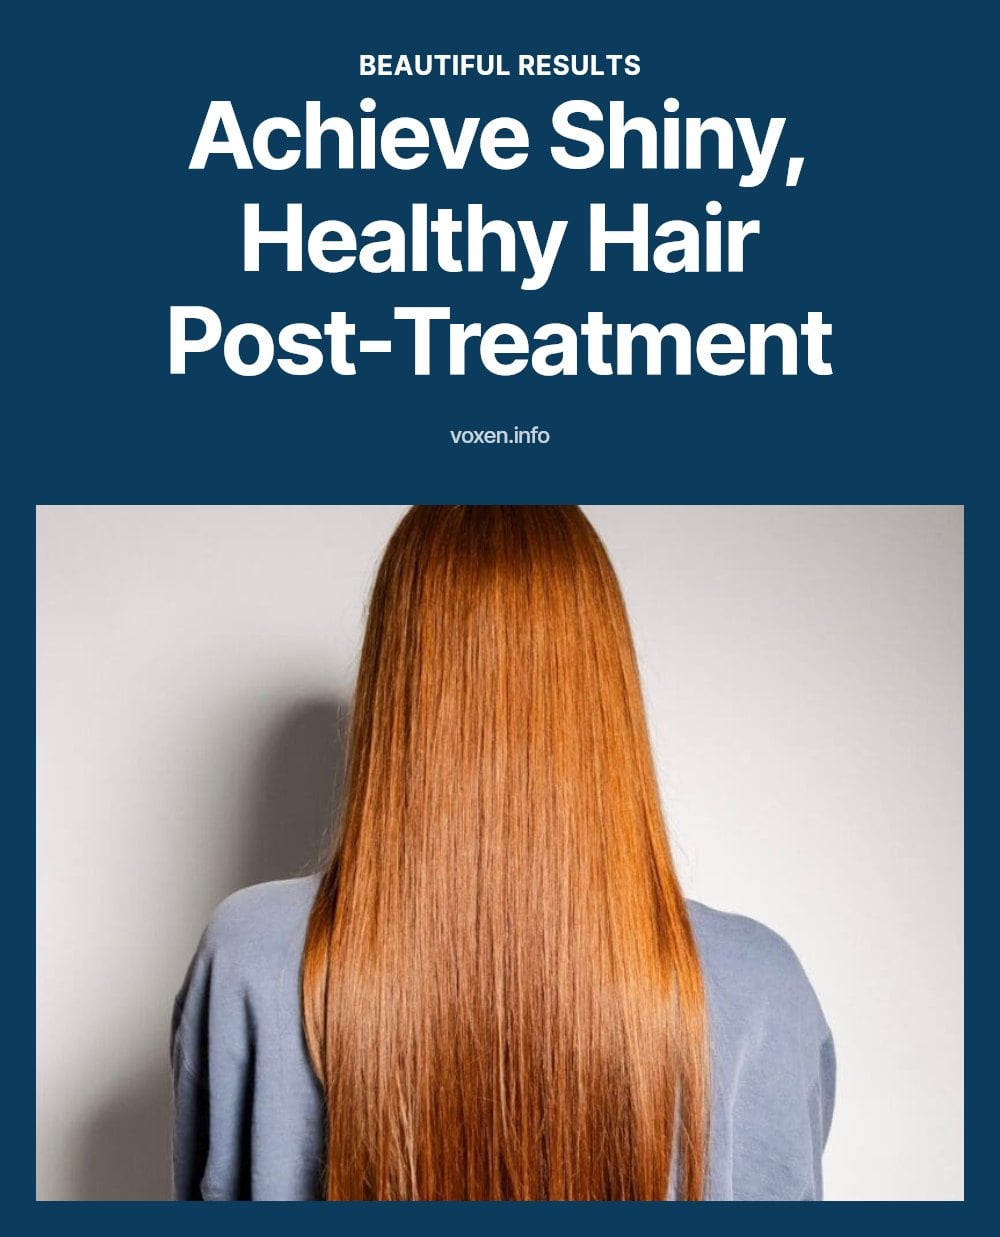
After washing out the oil, apply a gentle conditioner to seal in moisture. Aim to oil your hair 1-2 times per week for consistent results. Protect your hair from harsh styling and excessive heat to preserve the benefits. Visible improvements in hair texture and shine often appear after a few weeks of regular practice.
When to Consult a Professional About Your Hair and Scalp
If you experience persistent scalp irritation, redness, or itching after oiling, stop immediately and consult a dermatologist. For existing scalp conditions like severe dandruff, psoriasis, or eczema, always speak with a dermatologist before starting hair oiling. If you notice unusual hair loss or thinning that doesn’t improve with consistent oiling, seek professional medical advice. A hair stylist can offer personalized advice on oil types and routines based on your specific hair needs and concerns.
Frequently Asked Questions
How often should I do hair oiling?
For most hair types, oiling once or twice a week is ideal. This frequency gives your hair time to absorb the nutrients without risking buildup or greasiness. If your hair is very dry, you can start with twice a week and adjust based on how your hair responds.
Can I oil my hair if it’s already oily?
It’s best to avoid oiling already greasy hair, as it can make the problem worse. Oiling is meant for clean, dry hair before washing. If your scalp tends to be oily, focus the oil on your mid-lengths and ends instead, and reduce the frequency to once a week.
What if I have fine hair, will oiling weigh it down?
Fine hair can still benefit from oiling if you use a light hand. Start with just one tablespoon of a lightweight oil like argan or jojoba, and apply only a thin layer from mid-lengths to ends. Avoid heavy oils like castor on the scalp to prevent weighing your hair down.
Is hair oiling safe for color-treated hair?
Yes, oiling is generally safe for color-treated hair and can even help maintain moisture and shine. Stick to non-stripping oils like argan or coconut, and avoid leaving the oil on for longer than 8 hours. Always do a patch test first to ensure your color isn’t affected.
Can hair oiling help with dandruff?
Oiling may help alleviate mild dryness and flakiness by moisturizing the scalp. Some oils also have antimicrobial properties that support a healthy scalp environment. However, if you have severe dandruff or a scalp condition, consult a dermatologist before starting a routine.
Final Thoughts
For the best results, stick with a consistent routine of oiling your hair once or twice a week. Choose a cold-pressed, single-ingredient oil that matches your hair’s needs, and always detangle before applying. With regular care, you can expect to see improvements in texture and shine within a few weeks. Keep it simple, and your hair will thank you.
This article is for informational purposes only and does not constitute medical or professional advice. Results may vary based on individual hair type and condition. If you have a persistent scalp issue, unusual hair loss, or an allergic reaction, please consult a dermatologist or healthcare provider.