If you use a blow dryer, flat iron, or curling iron, you already know the heat can cause split ends, breakage, and frizz. A heat protectant is your first line of defense, but choosing the wrong formula for your hair type can make things worse instead of better. This article breaks down how to pick the right protectant for fine versus thick hair, how to apply it correctly, and common mistakes to skip so you can style with confidence.
Key Takeaways
- Choose a lightweight spray or mist for fine hair to avoid weighing it down.
- Opt for a cream, lotion, or serum for thick hair to provide ample protection and conditioning.
- Apply heat protectant to damp, towel-dried hair before blow-drying for even distribution.
- Keep heat tools at or below 350-375°F for fine or damaged hair, even with a protectant.
- Section your hair before applying protectant to ensure every strand is covered.
What is Heat Protectant and Why Do You Need It?
Heat protectant is a leave-in product you apply before using any hot tool. It lays a thin barrier over each strand that slows down heat conduction and spreads the temperature more evenly. This barrier helps preserve your hair’s natural moisture and protein, cutting down on breakage and dullness. The right formula depends on your hair type and the style you’re creating, so one size does not fit all.
How Heat Styling Damages Your Hair
What Heat Does to Your Hair
When you use a blow dryer or flat iron without protection, the high heat strips moisture from the hair shaft and denatures the keratin proteins that give hair its strength. Over time, this leads to split ends, breakage, frizz, and a dull appearance. Heat protectants work against this by coating the cuticle with ingredients that smooth it down and reduce friction during styling.
Key Ingredients That Help
Most heat protectants contain silicones like dimethicone or cyclomethicone, which form a flexible film on the hair. This film provides slip, so your tool glides instead of snagging. Natural oils and hydrolyzed proteins are also common; they help seal the cuticle and reinforce the hair’s structure. Silicones are very effective, but silicone-free options are available if you prefer to avoid them.
Choosing the Right Heat Protectant for Your Hair Type
Not all heat protectants work the same way. Your hair type determines which texture and formula will give you the best results without unwanted side effects.
| Hair Type | Best Format | Why It Works |
|---|---|---|
| Fine or thin | Lightweight spray or mist | Won’t weigh hair down or leave residue |
| Thick or coarse | Cream, lotion, or serum | Provides intense conditioning and higher heat protection |
Some protectants also offer UV protection, humidity resistance, or frizz control. If you live in a humid climate or spend time outdoors, those extras can make a real difference.
Tools and Products for Safe Heat Styling
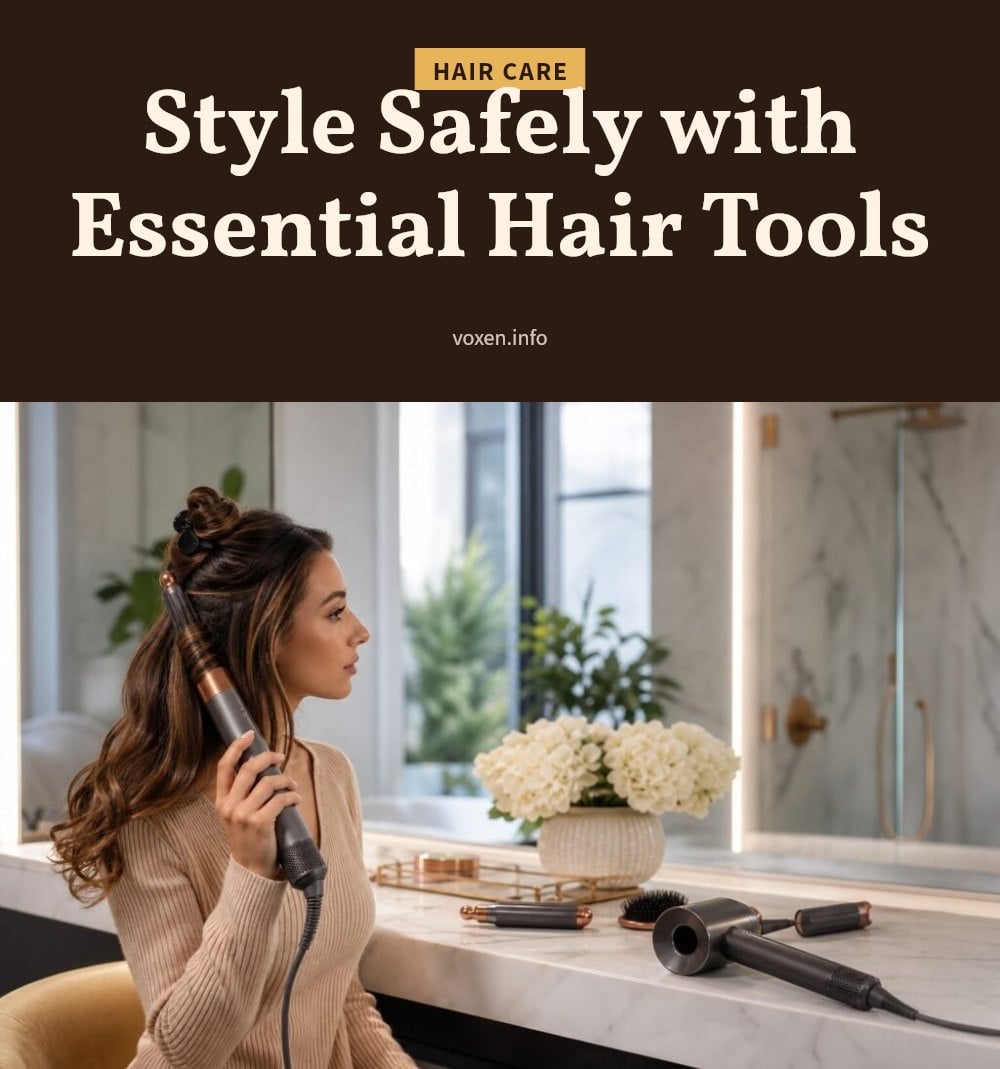
Before you start styling, gather everything you need. The basics are simple but each item plays a role in keeping your hair safe.
- Heat protectant choose a spray, cream, lotion, or serum matched to your hair type
- Hair clips or ties for sectioning hair so every strand gets covered
- Heat styling tools blow dryer, flat iron, or curling iron, ideally with adjustable temperature settings
Having sectioning clips on hand is a small step that makes a big difference in how evenly the protectant and heat are applied.
Step-by-Step: Applying Heat Protectant Effectively
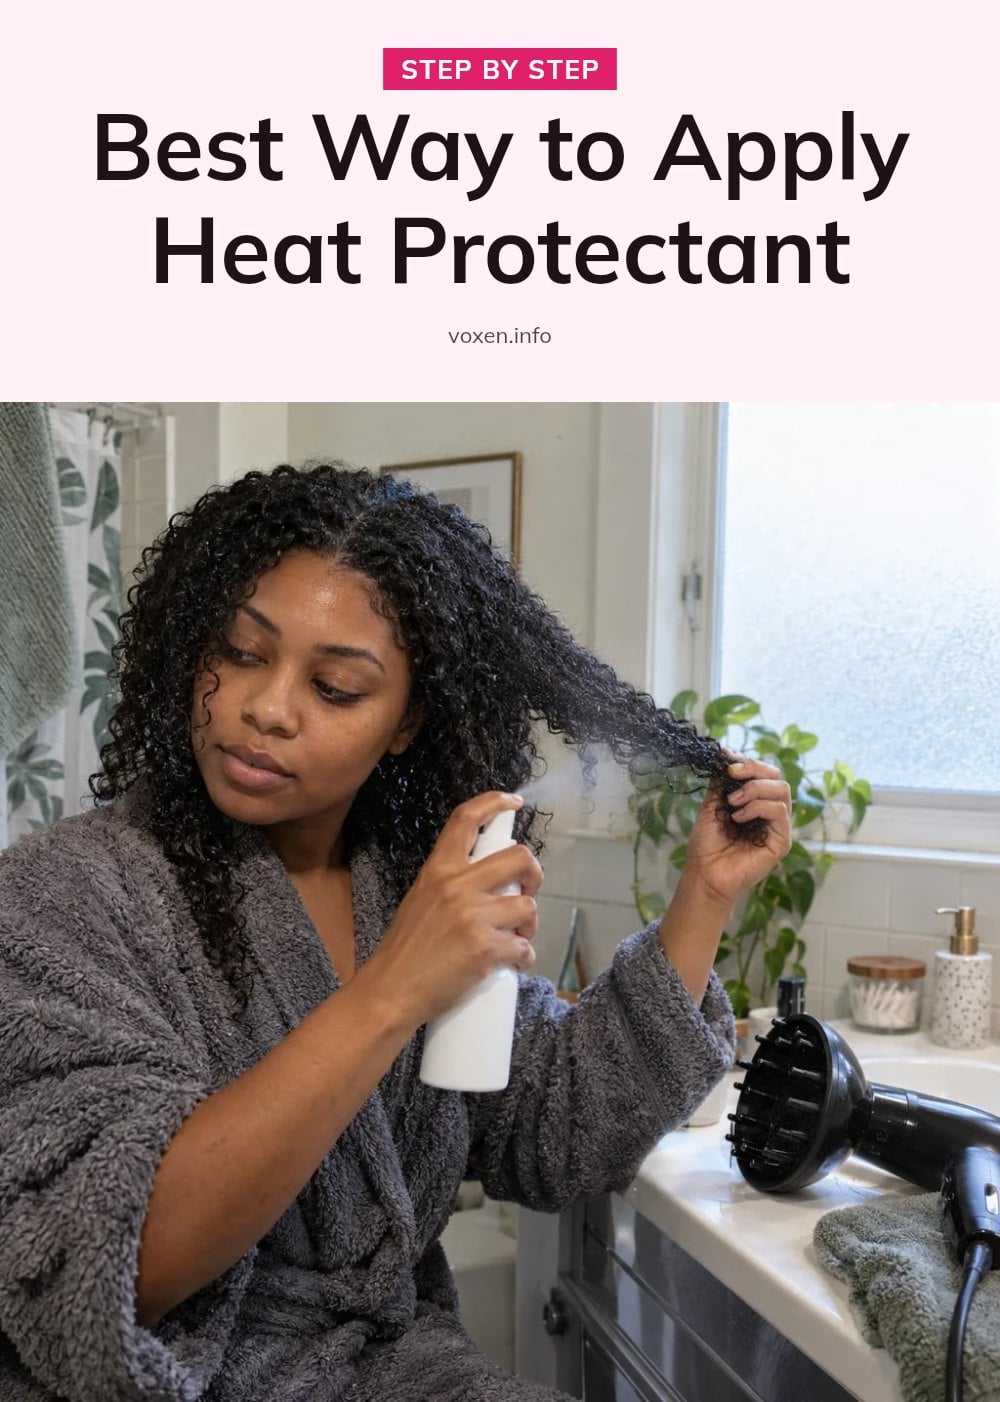
- Start with damp, towel-dried hair: Heat protectant spreads best when hair is still damp after washing. Squeeze out excess water with a towel, then apply the product before you pick up the blow dryer.
- Section your hair: Use clips or ties to divide your hair into 4-6 sections. This ensures every strand gets coated, not just the top layer. Focus the product on mid-lengths and ends, which are older and more fragile than the roots.
- Distribute evenly: Run a wide-tooth comb or your fingers through each section after applying. Uneven coverage leaves weak spots that can still suffer heat damage.
- Let it dry slightly: Wait 1-2 minutes for the protectant to set before turning on the blow dryer. A wet layer won’t form the protective barrier it needs to slow heat conduction.
- Use the lowest effective heat setting: Start with a medium or low temperature on your blow dryer, flat iron, or curling iron. You can always turn it up if needed, but higher heat increases the risk of split ends and breakage.
- Reapply for flat irons or curling irons: For extra protection, especially on thick hair, lightly mist or spray a small amount of protectant onto dry hair section by section before clamping down with the iron. This adds a second barrier without making hair sticky.
Common Heat Protectant Mistakes to Avoid
- Not using enough product: Thick or long hair needs more than a quick spritz. Skimping leaves sections completely exposed to heat damage.
- Applying unevenly: Spraying only the top layer or one side misses the hair underneath. Always section and distribute thoroughly.
- Using the wrong texture for your hair type: A heavy cream on fine hair makes it greasy and flat. A light spray on thick hair won’t provide enough protection.
- Applying to soaking wet hair: Water dilutes the protectant, so it can’t form a proper barrier. Towel-dry first until hair is damp, not dripping.
- Thinking heat protectant makes hair invincible: It reduces damage but doesn’t eliminate it. Cranking the tool to maximum heat still risks burning the cuticle and denaturing keratin.
Pro Tips for Maximizing Heat Protection
- Temperature control: For fine or damaged hair, keep the tool below 350-375°F (175-190°C). For thick or coarse hair, you can go up to 400-450°F (200-230°C), but never exceed that range even with a protectant.
- Sectioning is key: Always divide your hair into sections before applying protectant or heat. It takes the same amount of time but gives you even coverage and faster styling.
- Don’t rush: Let the protectant dry slightly before you start styling. A few seconds of waiting lets the barrier form fully, so the heat spreads evenly instead of hitting wet spots.
- Listen to your hair: If you hear sizzling or smell burning, your heat setting is too high or your hair is still too damp. Stop, lower the temperature, and make sure the hair is completely dry before continuing.
Frequently Asked Questions
Can I use heat protectant on dry hair?
Yes, but it depends on the product. Some heat protectants are designed for dry hair, especially for touch-ups before flat ironing or curling. If your protectant is labeled for damp application, it may not distribute evenly on dry hair. Check the instructions on your bottle to be sure.
How often should I use heat protectant?
Apply heat protectant every time you use a heat styling tool, even if it’s just a quick blow-dry or a single curl. Consistent use helps prevent cumulative damage like split ends and breakage. There’s no need to overdo it a light, even application each session is enough.
Do heat protectants really work?
Yes, they work by forming a barrier on the hair shaft that slows down heat conduction and distributes it more evenly. This reduces moisture loss and protein degradation, which are the main causes of heat damage. They aren’t a magic shield, but they make a real difference when used correctly.
Is heat protectant necessary for blow-drying?
Absolutely. Blow-drying still exposes your hair to high heat, which can strip moisture and weaken proteins over time. A heat protectant applied to damp hair before blow-drying helps guard against that damage. It’s just as important as using protectant with a flat iron or curling iron.
What ingredients should I look for in a heat protectant?
Look for silicones like dimethicone or cyclomethicone, which coat the hair and provide slip and heat protection. Hydrolyzed proteins and natural oils can also help smooth the cuticle and reduce friction. If you prefer silicone-free options, check for alternatives like glycerin or polyquaterniums, but confirm they offer heat protection.
Final Thoughts
Your hair type should guide your heat protectant choice: fine hair needs a lightweight spray, while thick hair benefits from a richer cream or serum. Apply it consistently before every heat styling session, and you’ll notice less damage over time. Stick to the lower end of the temperature range for your hair type, and you’ll keep your strands healthier without sacrificing style.