Whether you’re getting ready for a busy day or a special occasion, knowing how to braid your hair is a skill that opens up endless styling possibilities. This article walks you through the three classic braids every beginner should learn: the simple three-strand, the elegant French, and the raised Dutch braid.
With step-by-step instructions and practical tips, you’ll go from struggling with tangled sections to creating neat, lasting braids in no time.
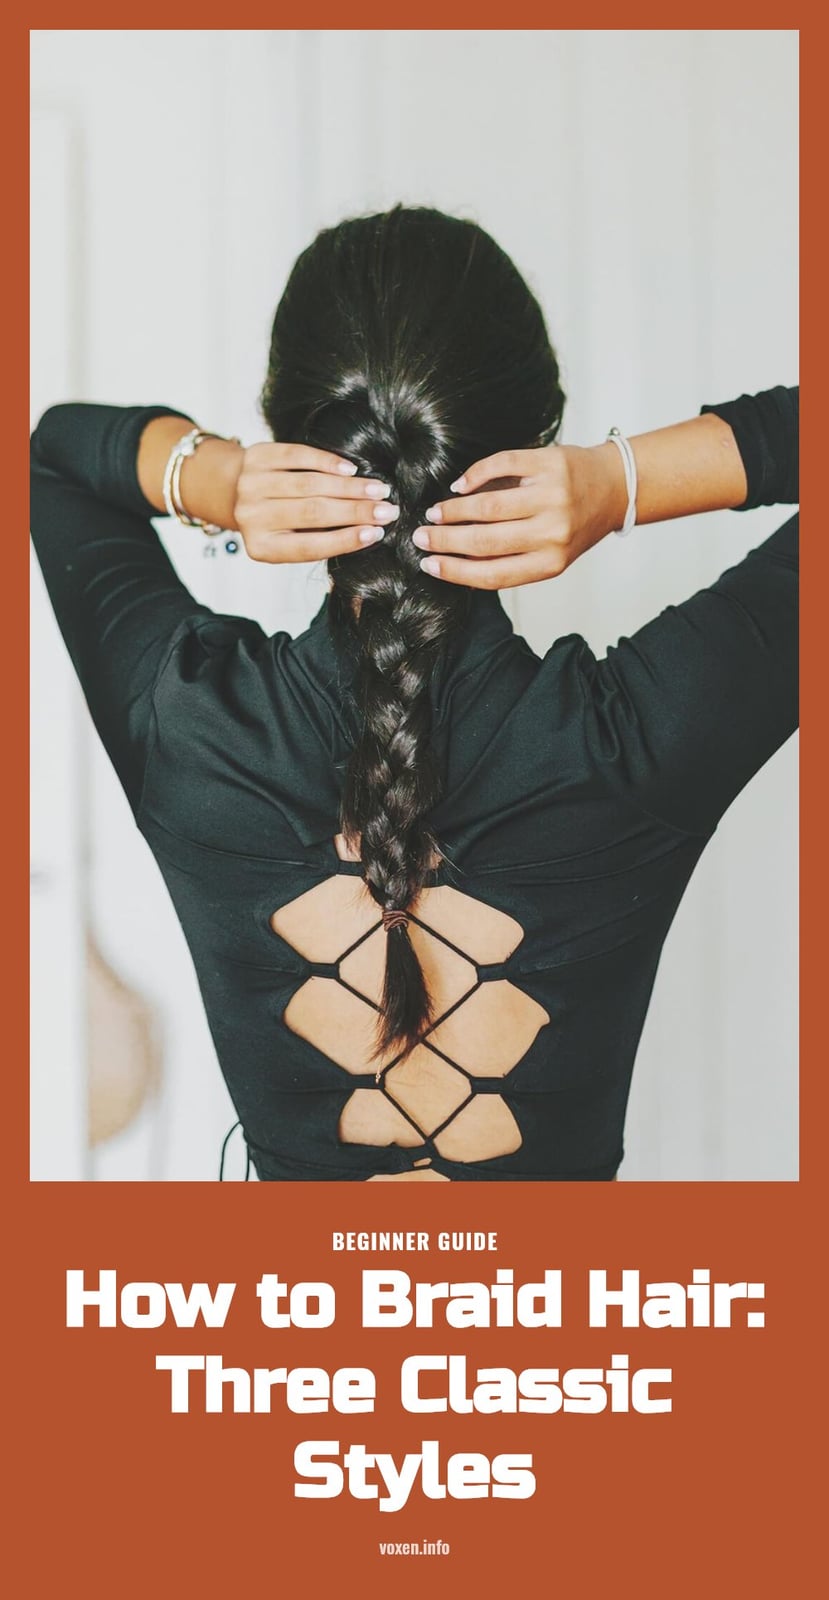
Key Takeaways
- Start with thoroughly detangled, slightly damp hair for smoother, less frizzy braids.
- The three-strand braid is the foundation; master it before trying French or Dutch styles.
- For a French braid, cross side sections over the middle strand and add new hair each time.
- For a Dutch braid, cross side sections under the middle strand for a raised, 3D look.
- Use a small elastic to secure the end firmly and prevent unraveling.
Mastering the Art of Hair Braiding
Braiding hair is the art of interlacing three or more sections of hair in a repeating pattern to create a secure, decorative style. The most basic technique is the three-strand braid, and once you master it, you have the foundation for more advanced styles like the French and Dutch braids. Practice is what turns clumsy attempts into neat, even braids. With just a few simple tools and a bit of patience, anyone can learn to braid.
Essential Tools for Perfect Braids
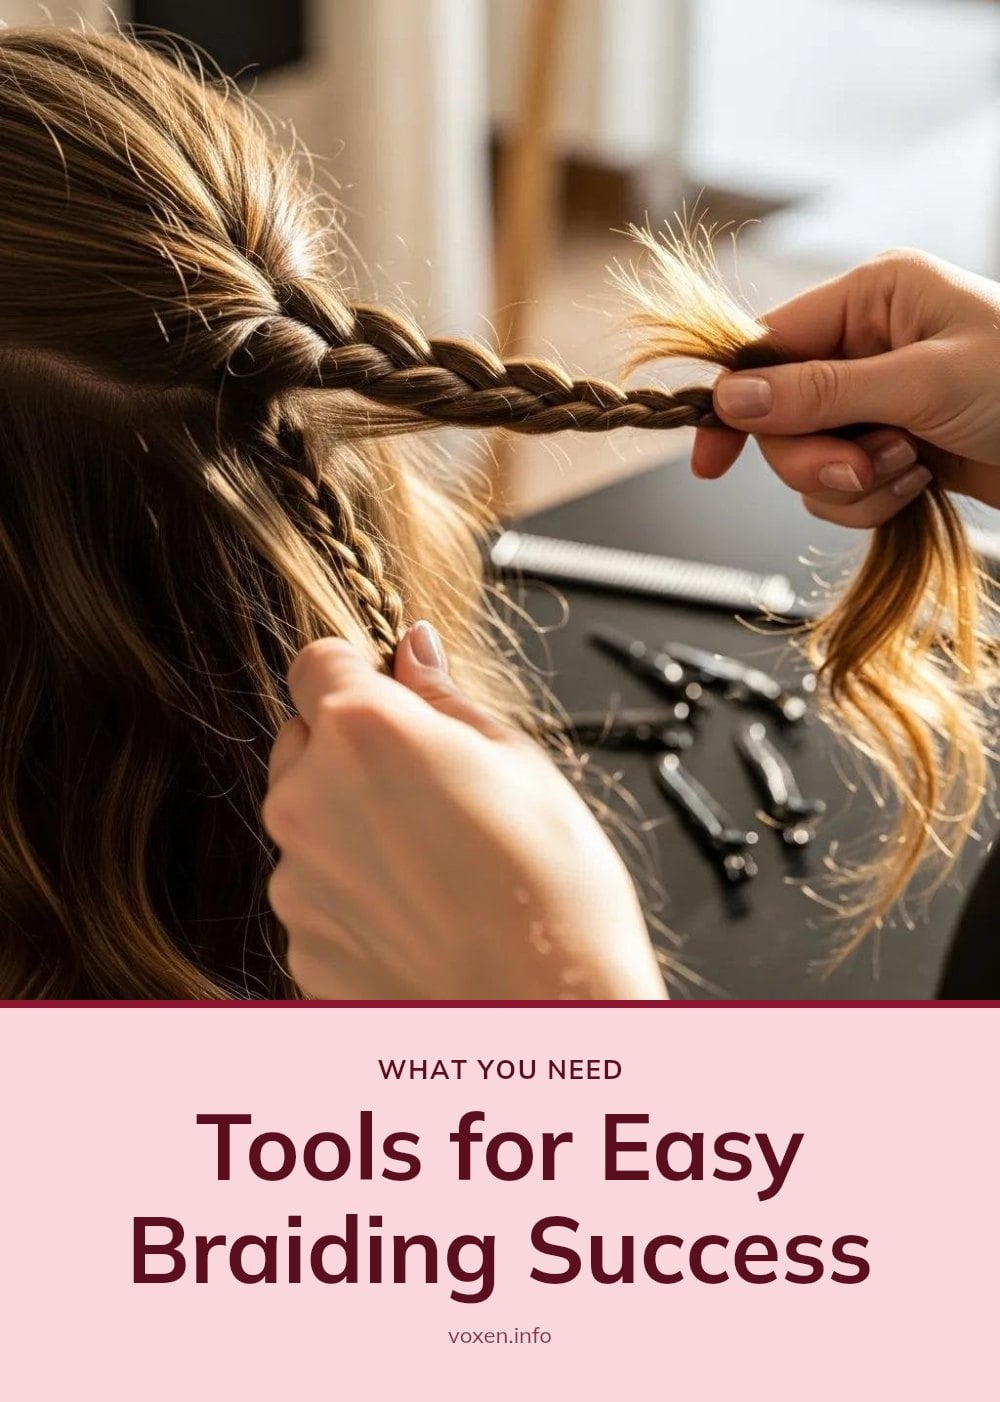
You do not need much to get started, but the right tools make a real difference.
- Hairbrush or comb: A must for detangling hair before you start. Smooth, knot-free sections are the base of any clean braid.
- Hair elastics: You need these to secure the end of your braid so it does not unravel minutes after you finish.
- Hair clips: Handy for holding sections out of the way, especially when you are learning French or Dutch braids and need to manage multiple strands.
- Styling cream, mousse, or hairspray: Optional, but they help control frizz and give your braid extra hold.
How to Do a Basic Three-Strand Braid
- Detangle the hair: Brush the section you plan to braid until it is completely smooth and free of knots. Tangled hair leads to snags and uneven strands.
- Divide into three sections: Split the detangled hair into three equal parts. Hold one in each hand and let the middle one hang.
- Cross the right over the middle: Take the rightmost section and cross it over the middle section. It becomes the new middle.
- Cross the left over the middle: Take the leftmost section and cross it over the new middle section. It becomes the new middle.
- Repeat the pattern: Keep alternating sides, always crossing the outside section over the middle, until you reach the ends of the hair.
- Secure the end: Wrap a hair elastic around the end of the braid firmly. Not too tight, just enough to hold it in place.
How to French Braid Step by Step
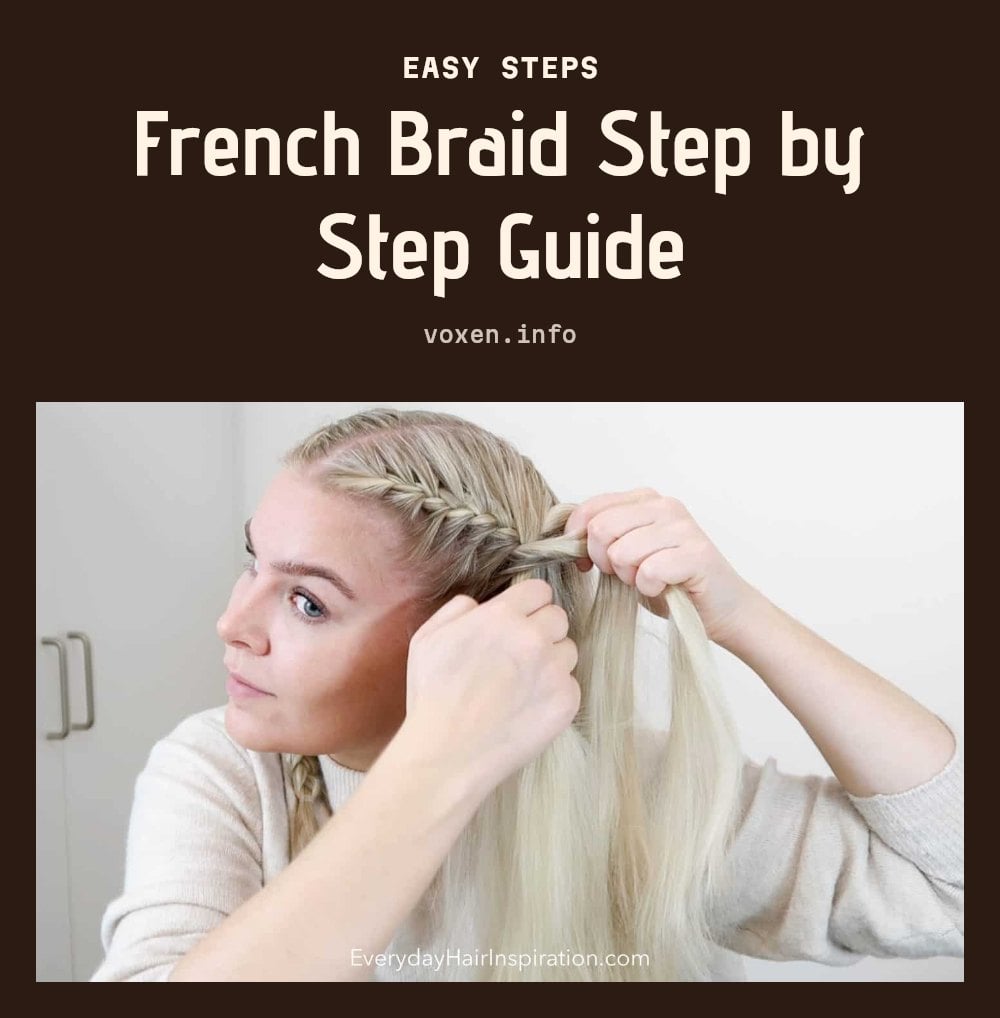
Spray the hair lightly with water before you begin to keep flyaways under control. This makes the strands easier to manage as you work.
- Section the crown: Detangle the hair, then gather a small triangle of hair at the crown where you want the braid to start.
- Split into three: Divide this section into three equal strands.
- Do one regular braid pass: Cross the left strand over the middle, then cross the right strand over the new middle. This sets the pattern.
- Adjust your grip: With your right hand, hold the rightmost strand over your forefinger, palm facing up. Pinch the middle strand between your pointer finger and thumb, and extend your middle finger to catch the next strand.
- Cross the left over: Bring the leftmost strand over the middle strand and catch it with your extended middle finger.
- Add hair on the left: Gather a new section of hair from the top-left side of the head and add it to the leftmost strand you just crossed over. Hold them together as one strand.
- Switch hands: With your left hand, hold the combined leftmost strand across your four fingers. Pinch the middle strand with your pointer finger and thumb, and extend your right middle finger.
- Cross the right over: Bring the rightmost strand over the middle strand and catch it with your extended right middle finger.
- Add hair on the right: Gather a new section from the top-right side and add it to the rightmost strand you just crossed over. Hold them as one.
- Continue alternating: Keep adding new sections from each side and crossing the working strand over the middle until all hair from the sides is incorporated. Use a comb to gather sections for a smoother result, though it may take a bit longer.
- Finish as a regular braid: Once all the hair is in, braid the remaining length as a three-strand braid and secure the end with a hair elastic. If the ends get tangled, pause and comb them out before continuing.
Here is the method in action: Princess Hairstyles demonstrates it in about 6 minutes. The how-to part starts at 0:27.
Understanding the Dutch Braid
Understanding the Dutch Braid
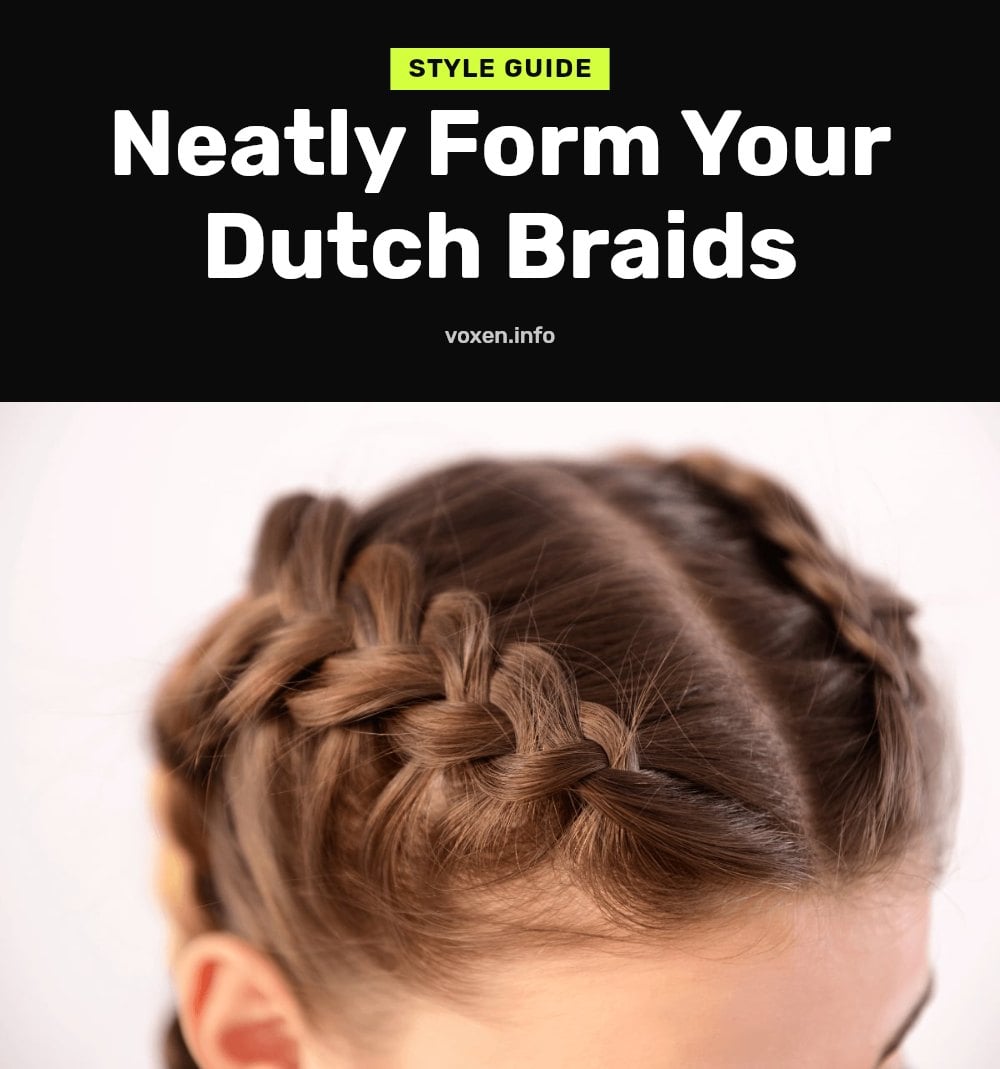
The Dutch braid is often called an ‘inside-out’ French braid. The technique is nearly identical, with one key difference in how the strands are crossed. Instead of crossing the hair sections over the middle strand, you cross them under the middle strand.
This ‘under’ crossing motion makes the braid stand out from the head. It creates a raised, more prominent, and often more dramatic look compared to the flatter French braid. The process of starting at the crown and incorporating new sections of hair from the sides as you go down the head remains the same as the French braid, just with the ‘under’ technique.
Expert Tips for Flawless Braiding
Expert Tips for Flawless Braiding
Practice Makes Perfect: Do not get discouraged if your first attempts are not flawless. Braiding takes time and consistent practice to master.
Start with Detangled Hair: Always ensure hair is thoroughly combed and free of knots before you begin to avoid snags and uneven sections.
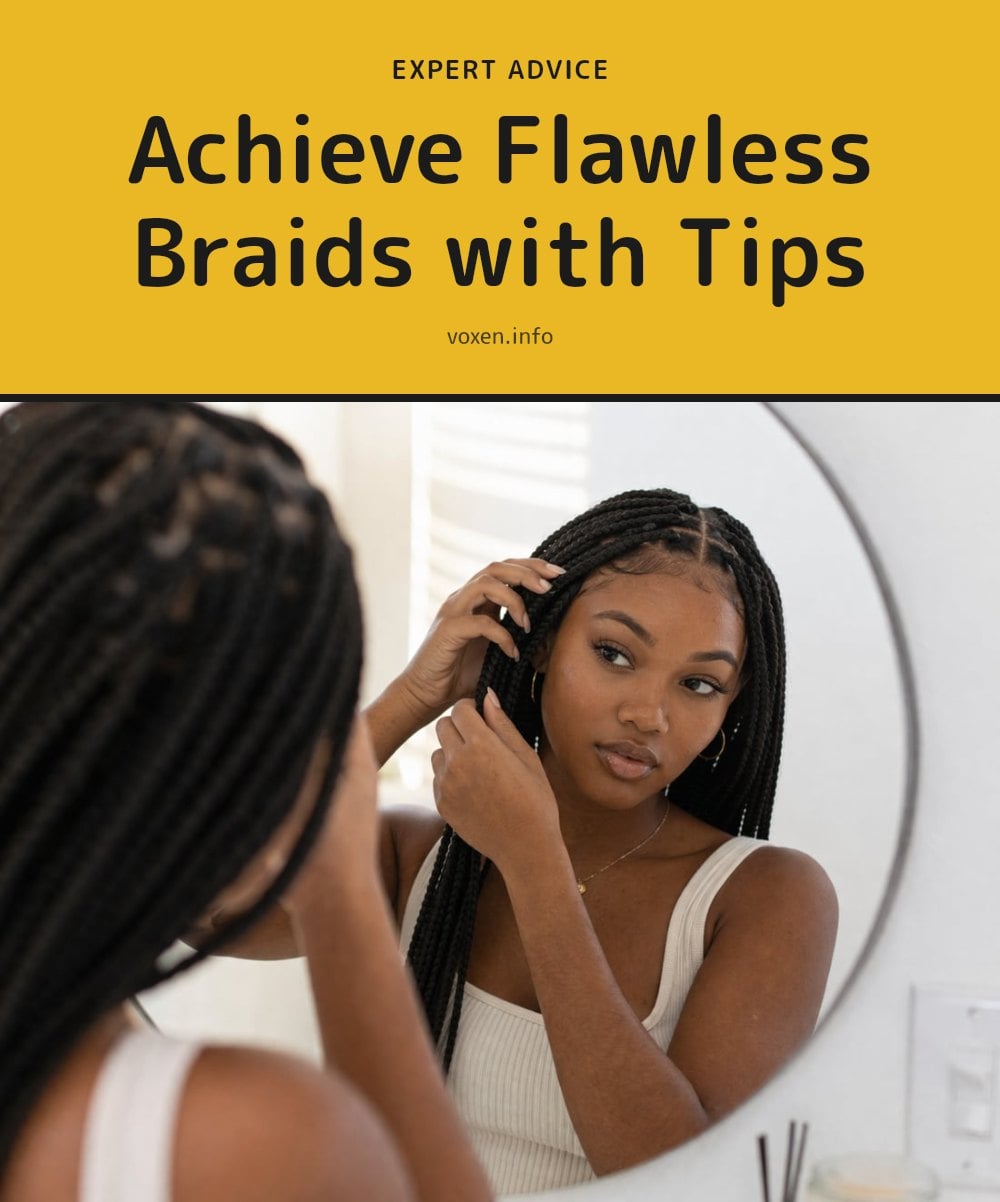
Use a Mirror: When braiding your own hair, using a mirror or even two for a back view can significantly help you see what you are doing.
Even Tension is Key: Try to maintain consistent tension on all three strands throughout the braiding process for a neat and symmetrical result.
Slightly Damp Hair Helps: Braiding on slightly damp hair or hair with a bit of styling product can help reduce flyaways and make the hair easier to manage.
Fix Mistakes as You Go: It is often easier to correct small errors immediately rather than trying to fix a tangled mess at the end of the braid.
Common Braiding Mistakes and How to Avoid Them
Common Braiding Mistakes and How to Avoid Them
Not Detangling Hair: Starting with tangled hair makes braiding difficult, painful, and leads to messy, uneven sections. Always comb hair thoroughly first.
Uneven Tension: If you pull some strands tighter than others, your braid will look lopsided or bumpy. Strive for consistent, gentle tension on all sections.
Ignoring Flyaways: Loose hairs can make your braid look messy. Use a little water or styling cream on your hands to smooth them down as you braid.
Starting with Large Sections (French/Dutch): For French and Dutch braids, beginning with sections that are too large can make the braid less defined. Start with smaller, manageable sections.
Forgetting to Secure the End: A braid will quickly unravel if not secured properly. Always use a good quality hair elastic that is not too tight to finish your braid.
How Long It Takes to Learn and Perfect Braiding
How Long It Takes to Learn and Perfect Braiding
Initial Learning: Mastering the basic three-strand braid can take anywhere from a few minutes to a couple of short practice sessions.
French and Dutch Braids: These more intricate styles typically require several practice sessions, perhaps 30 minutes to an hour each, over a few days or weeks to get comfortable with the hand movements and adding hair.
Achieving Neatness and Speed: Consistent practice over a few months can significantly improve your speed and the neatness of your braids, allowing you to create complex styles with ease.
Cost: Learning to braid requires minimal investment, primarily a good brush or comb and hair elastics, which are generally very affordable.
Frequently Asked Questions
What’s the difference between a French and a Dutch braid?
In a French braid, you cross the outer sections over the middle strand. In a Dutch braid, you cross them under the middle strand. This makes the Dutch braid sit on top of the hair, creating a raised, 3D effect, while the French braid lies flatter.
How can I make my braids last longer?
Start with hair that’s slightly damp or has a bit of texture from dry shampoo or styling cream. Braid with even tension, and secure the ends with a small, tight elastic. A light mist of hairspray over the finished braid can also help hold it in place longer.
Can I braid short hair?
Yes, but you’ll need to use smaller sections and work with hair that’s at least chin-length. For French or Dutch braids, start at the crown and only add sections from the sides as you go. A loose, slightly messy braid can actually look great on shorter hair.
What are some common mistakes to avoid when braiding?
The biggest ones are not detangling hair first, using uneven tension, and forgetting to secure the end. For French and Dutch braids, starting with a section that’s too large or not adding new hair smoothly can cause bumps. Go slowly and fix issues as you notice them.
What is the easiest braid to do?
The three-strand braid is the simplest. You just divide the hair into three equal sections and cross the right over the middle, then the left over the new middle, repeating until you reach the ends. It’s the foundation for all other braids.
Final Thoughts
My tip: Start by practicing the basic three-strand braid on a friend or a mannequin head until the motion feels natural. Once you’re comfortable, move on to the French braid, which takes a few sessions to get smooth. Expect your first attempts to be a little uneven; that’s normal. With consistent practice, you’ll be able to create secure, polished braids in under 10 minutes.