Want plumper-looking lips without needles or expensive treatments? You can achieve a fuller pout in just a few minutes using simple makeup tricks. This article walks you through the best lip liner and gloss techniques, from overlining to highlighting, so you can create the illusion of volume that lasts all day.
Key Takeaways
- Overline just slightly outside your natural lip line for a subtle, natural-looking plump.
- Choose a lip liner that matches your natural lip color or is one shade deeper than your lipstick.
- Apply a lighter shade of gloss or lipstick to the center of your lips to reflect light and add volume.
- Finish with a high-shine gloss on the center of your lips for an instant plumping effect.
- Always exfoliate and moisturize your lips first for a smooth, even canvas.
How to Plump Your Lips with Makeup
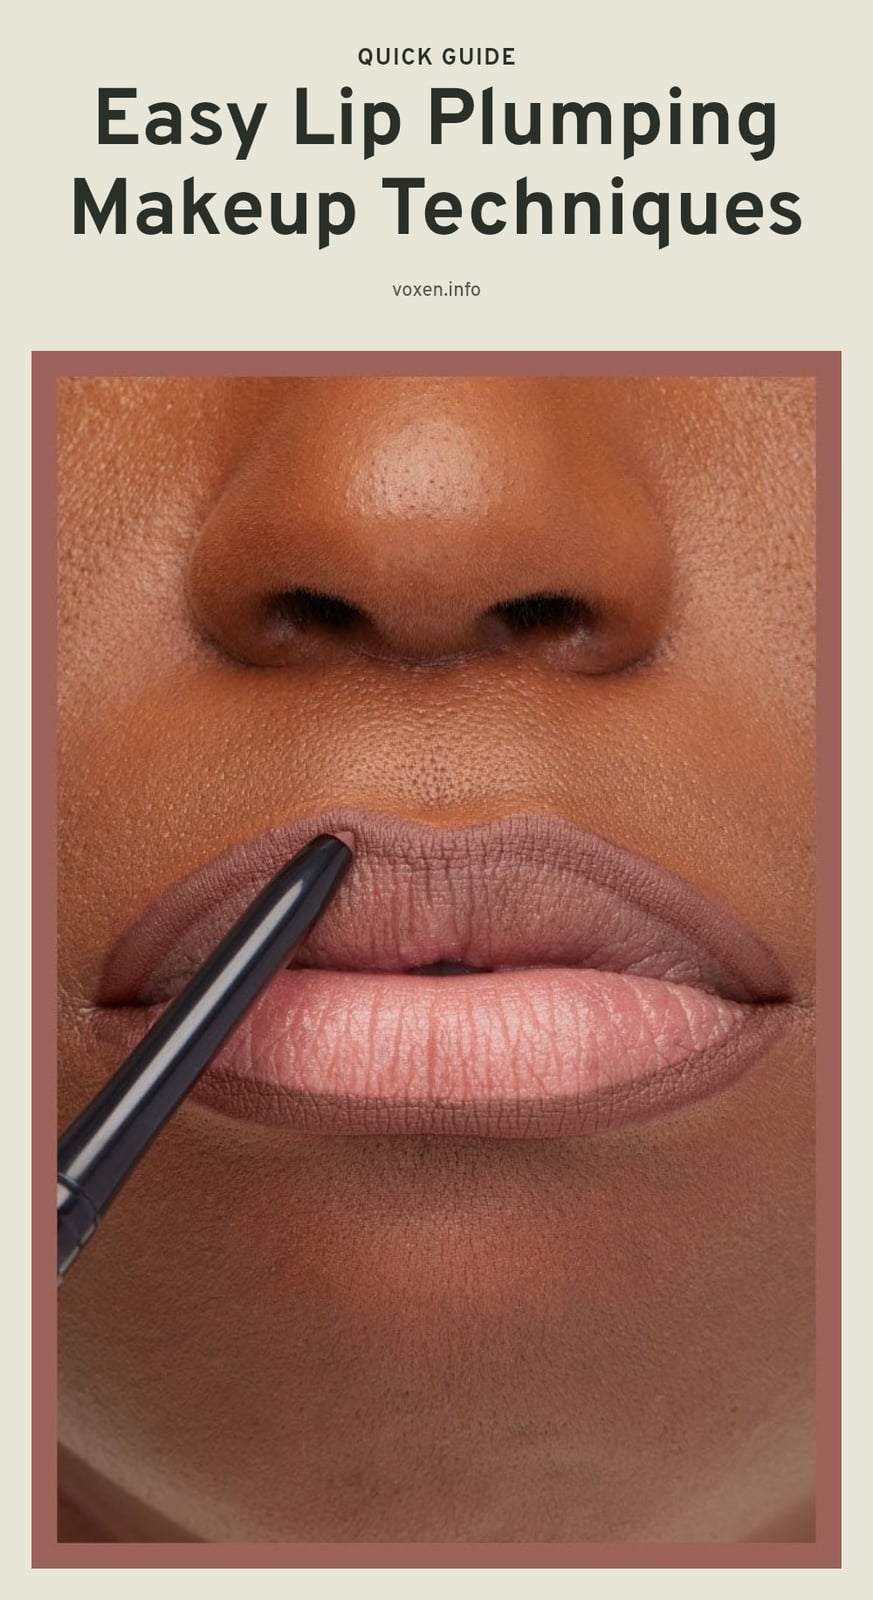
You can make your lips look fuller in minutes with just makeup. The trick is to use a lip liner to slightly overline your natural lip shape, then apply a lighter shade of gloss or lipstick to the center of your lips. Finish with a high-shine gloss that reflects light and creates the illusion of more volume. For a temporary extra boost, try a gloss with peppermint oil, which causes a mild tingling and slight swelling. These are non-invasive techniques that give instant, temporary results.
1. Start with Smooth, Hydrated Lips
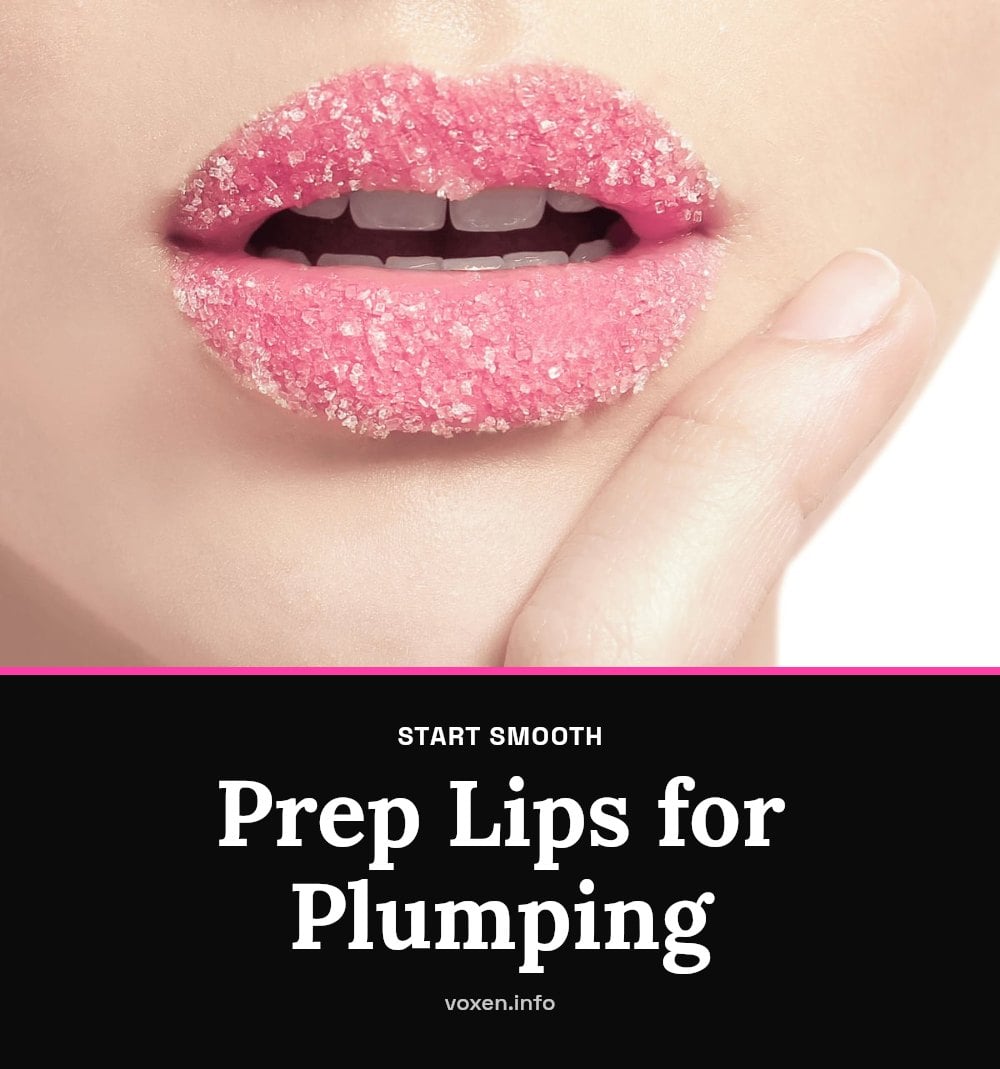
Dry, flaky lips make any plumping effect look uneven and less noticeable. Start by gently exfoliating with a soft lip scrub or a damp washcloth to remove dead skin. Then apply a nourishing lip balm and let it soak in for a minute or two.
My tip: A smooth, hydrated surface allows your liner and gloss to glide on without catching on dry patches. It also helps light reflect evenly across your lips, which is key to the illusion of fullness.
2. Prime for Lasting Power
Before you reach for your liner, prep your lips with a thin layer of lip primer or a dab of concealer around the edges. This blurs your natural lip line slightly, making any overlining look more seamless and natural.
Primer also keeps your lip liner and lipstick from feathering or bleeding into fine lines around your mouth. It creates a neutral, even base that makes your chosen colors pop more vibrantly, contributing to a polished and plumper appearance.
3. Choose the Right Lip Liner Shade
For a natural-looking plump, pick a lip liner that matches your natural lip color or is one shade deeper than your lipstick or gloss. A nude or light-colored liner can also define your outer lip edges for a subtle lift without looking obvious.
My tip: Avoid liners that are significantly darker than your lipstick. A dark outline creates a harsh, unnatural ring that actually makes lips look smaller and draws attention away from the fullness you are trying to create.
4. Master the Overlining Technique
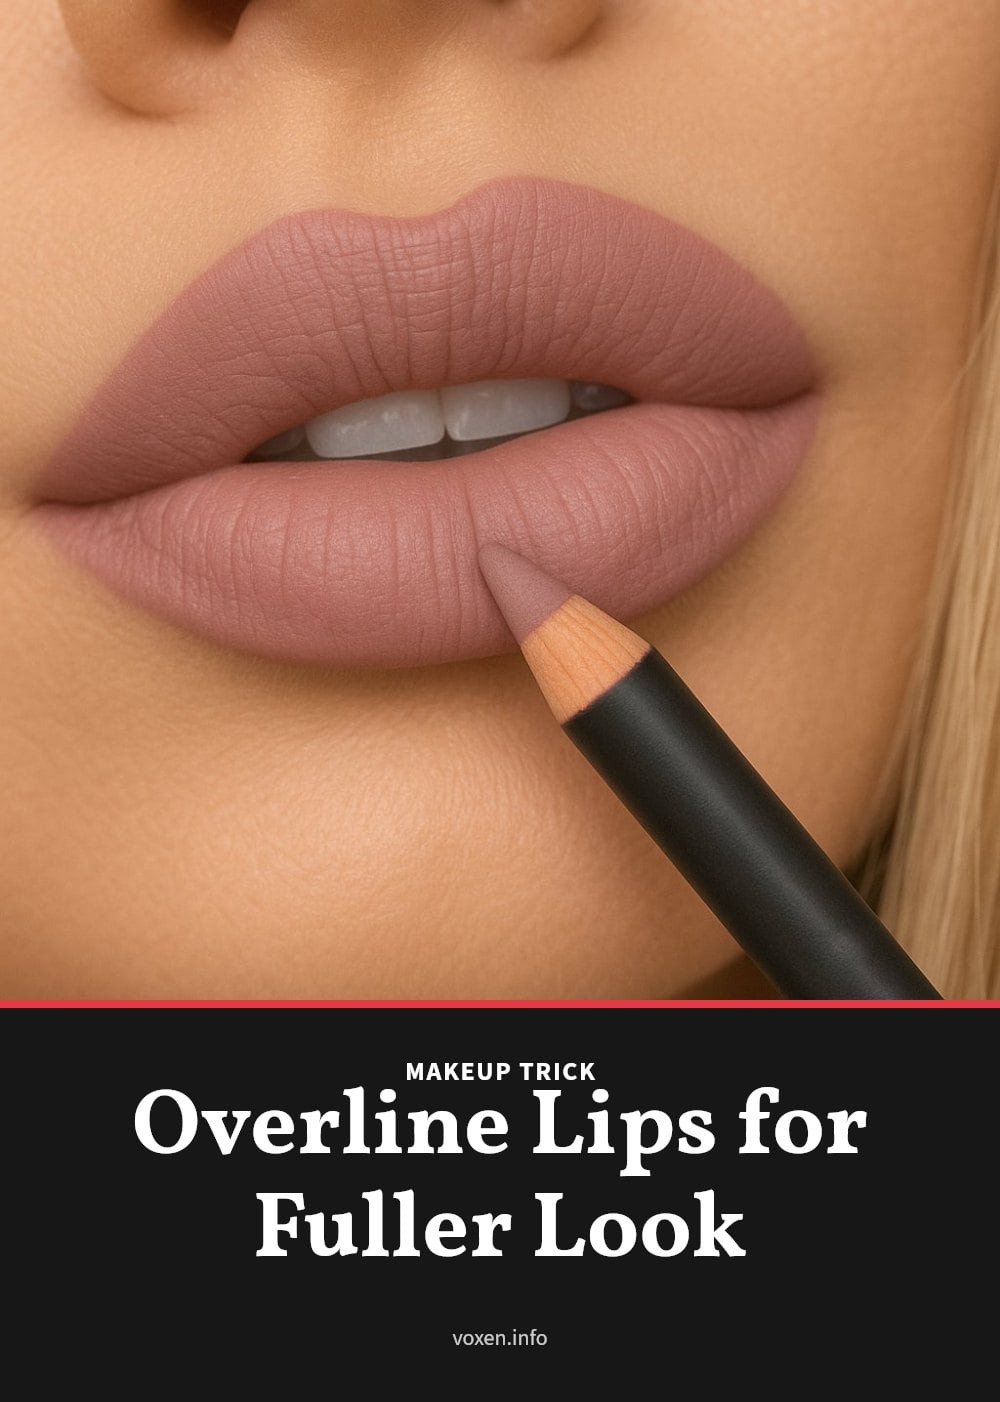
Take your lip liner and gently trace just outside your natural lip line, focusing on the cupid’s bow and the center of your bottom lip. These are the areas where light naturally hits, so a slight extension there creates the most convincing volume. Connect the overdrawn lines to the corners of your mouth by following your natural lip line exactly, do not overline the corners.
The key is subtlety: keep the extension minimal. Overlining too far makes the result obvious and unnatural, which defeats the whole purpose. A tiny shift is enough to create a fuller appearance.
5. Fill in Your Lips with Liner
After you have your outline, use the same lip liner to lightly fill in your entire lips. This step creates a solid, even base that helps your lipstick or gloss last longer and appear more vibrant throughout the day.
Filling in also prevents any harsh lines from showing through as your lip product wears off. The seamless transition between the liner and your lip color keeps the plumping effect looking natural, not like a drawn-on outline.
6. Apply a Lighter Lipstick or Gloss
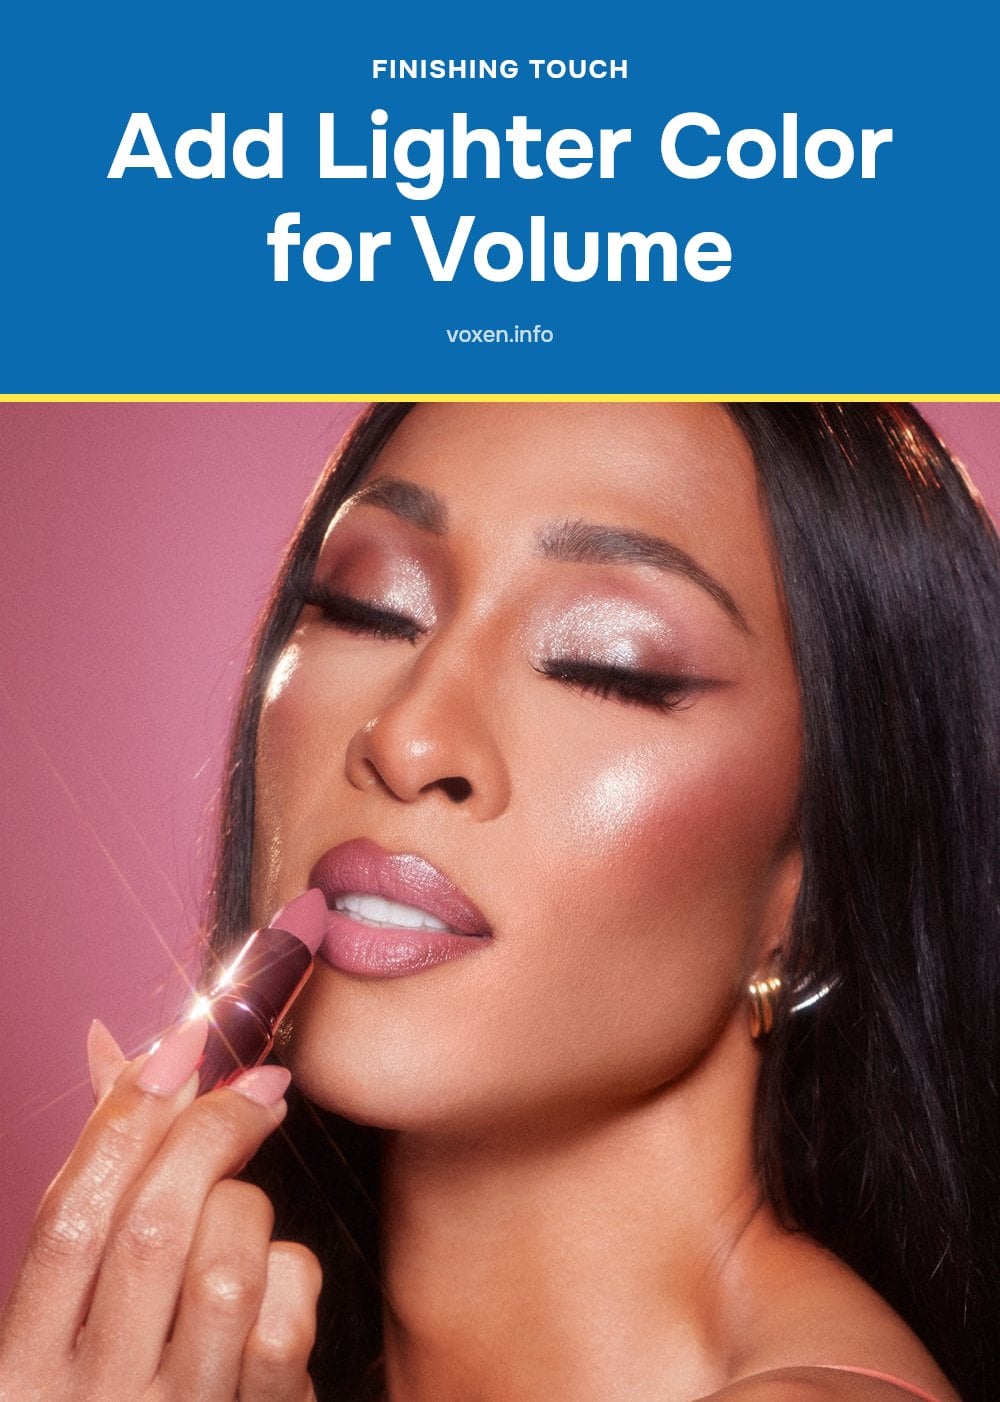
Choose a lighter shade of lipstick or gloss, nude, light pink, or a shade close to your natural lip color, and apply it to the center of your upper and lower lips. The lighter color reflects more light, making that area appear to come forward, which creates the illusion of extra volume.
Blend gently outward from the center using your finger or a lip brush, creating a smooth gradient from the lighter center to the slightly darker liner at the edges. This contouring effect mimics natural fullness.
7. Finish with High-Shine Gloss
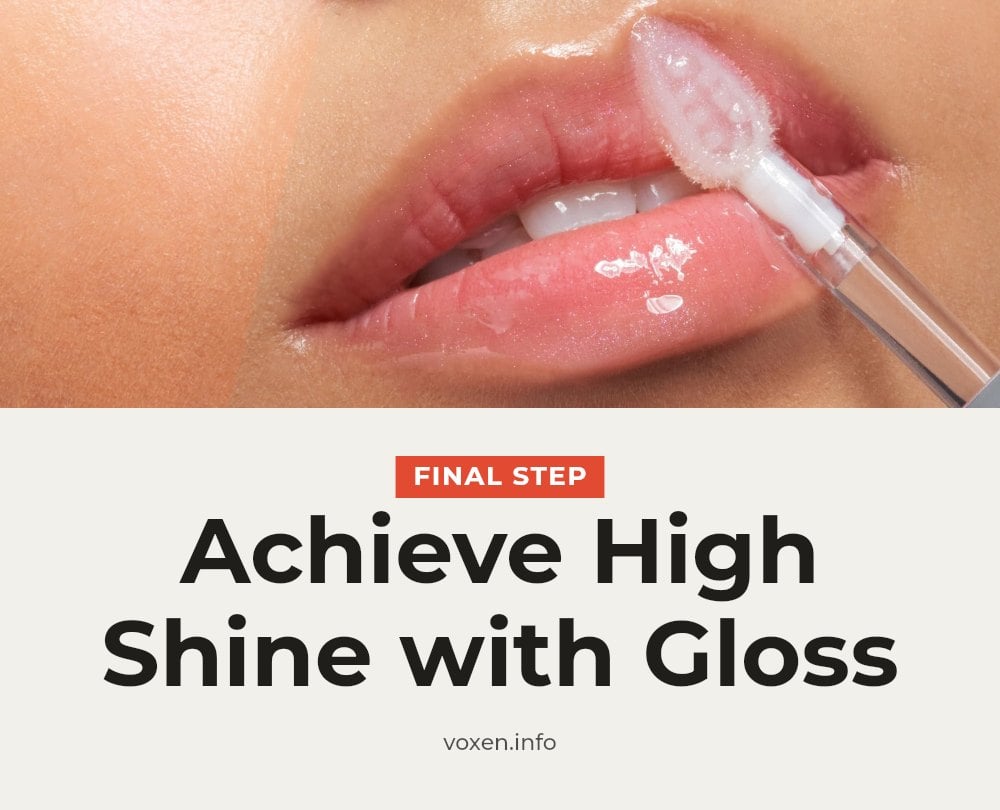
Dab a high-shine lip gloss, clear or tinted, onto the center of your upper and lower lips. The reflective quality of gloss catches and bounces light, which makes your lips look larger and more luscious instantly.
Tip: A little goes a long way. Apply a small dot to each center and press your lips together to spread it. Too much gloss feels sticky and can bleed past your lip line, ruining the clean, plump look you just created.
8. Add a Plumping Gloss Boost
For an extra temporary boost, reach for a lip plumping gloss that contains ingredients like peppermint oil or capsaicin. These ingredients cause a mild, temporary tingling sensation and slight swelling, which enhances the plumping effect from your makeup. Caution: Always perform a patch test if you have sensitive skin, and discontinue use if you experience excessive stinging or irritation. Avoid applying these glosses to chapped or irritated lips, as the tingling can become uncomfortable.
9. Highlight Your Cupid’s Bow
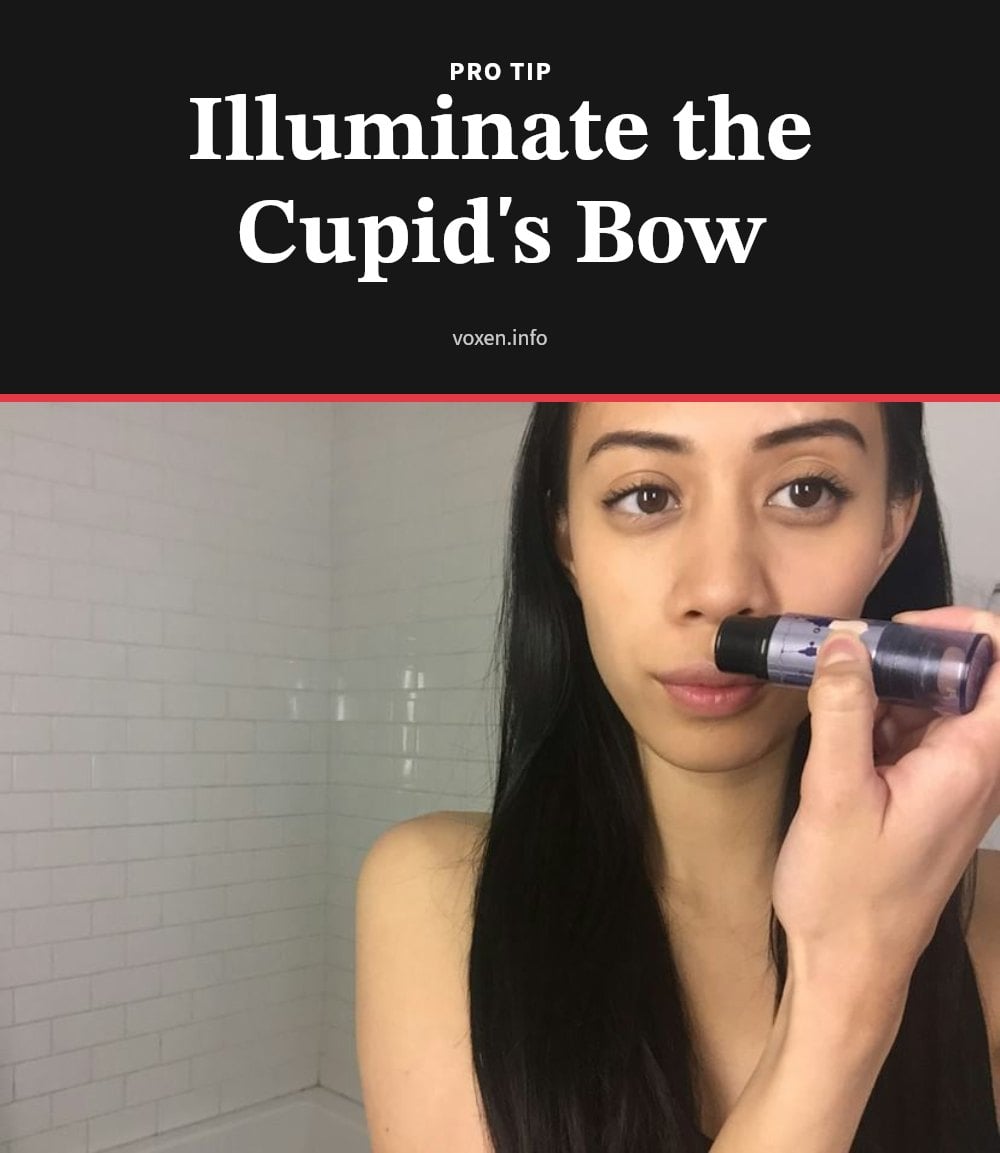
Dab a small amount of highlighter, either a powder or liquid formula, onto your cupid’s bow, the dip in the center of your upper lip. This subtle touch emphasizes the curve of your upper lip, creating an optical illusion that makes your lips appear more defined and fuller. The highlighter draws light to the area, further enhancing the overall plumping effect of your lip makeup.
10. Clean Up Your Edges
After applying all your lip products, use a small, flat brush with a tiny bit of concealer or foundation to clean up around your lip line. This creates crisp, sharp edges, making your lips look more defined and polished, which contributes to the illusion of a fuller shape. A clean lip line ensures your plumping efforts look intentional and professional, not messy.
11. Blend for a Seamless Finish
Ensure all your products, liner, lipstick, and gloss, are well-blended, especially where different shades meet. Use a lip brush for precise application and blending, creating a seamless transition between colors and avoiding harsh lines. Proper blending is crucial for a natural-looking plump effect, making it appear as if your lips are naturally fuller, not just painted on.
Common Lip Plumping Mistakes to Avoid
Overlining Too Much: Extending your lip liner too far beyond your natural lip line can look obviously fake and unnatural. My tip: Stick to just slightly outside your natural border for a subtle enhancement.
Clashing Liner Colors: Using a lip liner color that is significantly darker or doesn’t complement your lipstick or natural lip tone. My tip: Always choose a liner that matches your natural lip color or is one shade deeper than your chosen lip color.
Not Blending Properly: Leaving harsh, unblended lip liner lines. My tip: Gently blend your lip liner inwards with your finger or a lip brush to create a soft, seamless transition.
Applying to Dry/Chapped Lips: Using plumping glosses or makeup on dry, chapped, or irritated lips. My tip: Always exfoliate and moisturize your lips first to ensure a smooth, comfortable application and prevent discomfort from plumping glosses.
Frequently Asked Questions
How long do plumping gloss effects last?
Plumping gloss effects typically last for a few hours. The tingling and mild swelling from ingredients like peppermint oil or capsaicin are temporary, so you may need to reapply the gloss to maintain the plumping look throughout the day.
Can I use a plumping gloss every day?
Yes, you can use a plumping gloss daily as long as your lips are not irritated. If you have sensitive skin, do a patch test first and discontinue use if you experience excessive stinging or burning. Avoid applying it to chapped or broken skin.
What’s the best lip liner color for a natural look?
The best lip liner color for a natural look is one that matches your natural lip color or is one shade deeper than your lipstick or gloss. A nude or light-colored liner can also define your outer lip edges subtly without looking obvious.
Do lip plumping devices really work?
Lip plumping devices, such as suction-based tools, can temporarily increase blood flow to the lips, causing mild swelling. Results are short-lived and typically last less than an hour. They are not a substitute for makeup techniques and may cause bruising if used too aggressively.
Can I make my lips look fuller without makeup?
Yes, you can enhance lip fullness without makeup by keeping your lips hydrated with balm, gently exfoliating regularly, and staying well-hydrated overall. However, these methods provide subtle, natural results and won’t create the dramatic volume that makeup techniques like overlining and gloss can achieve.
Final Thoughts
For the most convincing plump, focus on the overlining technique and a high-shine gloss. Keep your liner just slightly outside your natural lip line and blend well. Results are immediate and last as long as your makeup stays on, so reapply gloss as needed. With a little practice, you can master this look in minutes.
This article is for informational purposes only and is not a substitute for professional medical or dermatological advice. If you experience persistent irritation, allergic reactions, or other concerns from lip products, consult a healthcare provider or dermatologist.