Dry, flaky lips can be a real nuisance, especially when your favorite lipstick settles into every little crack. A simple honey and sugar lip scrub can gently buff away dead skin and leave your lips feeling noticeably smoother. In this article, I’ll walk you through a basic recipe, step-by-step instructions, pro tips, and creative variations to help you get the softest lips possible.
Key Takeaways
- Mix 2 parts fine sugar with 1 part honey for a balanced scrub.
- Use brown or superfine white sugar to avoid scratching delicate lip skin.
- Scrub gently in a circular motion for 1-2 minutes, then rinse with lukewarm water.
- Always follow up with a hydrating lip balm to lock in moisture.
- Don’t exfoliate more than 2-3 times a week to prevent irritation.
Why This Honey and Sugar Lip Scrub Works Wonders
Fine sugar granules gently buff away dead skin cells, leaving lips noticeably smoother. Honey pulls moisture into the skin and calms irritation, making this duo a powerful remedy for dryness and flakiness. After exfoliating, your lips absorb balms more effectively, and lipstick glides on without settling into cracks. This natural scrub preps your lips for a flawless finish.
Simple Honey Sugar Lip Scrub Recipe
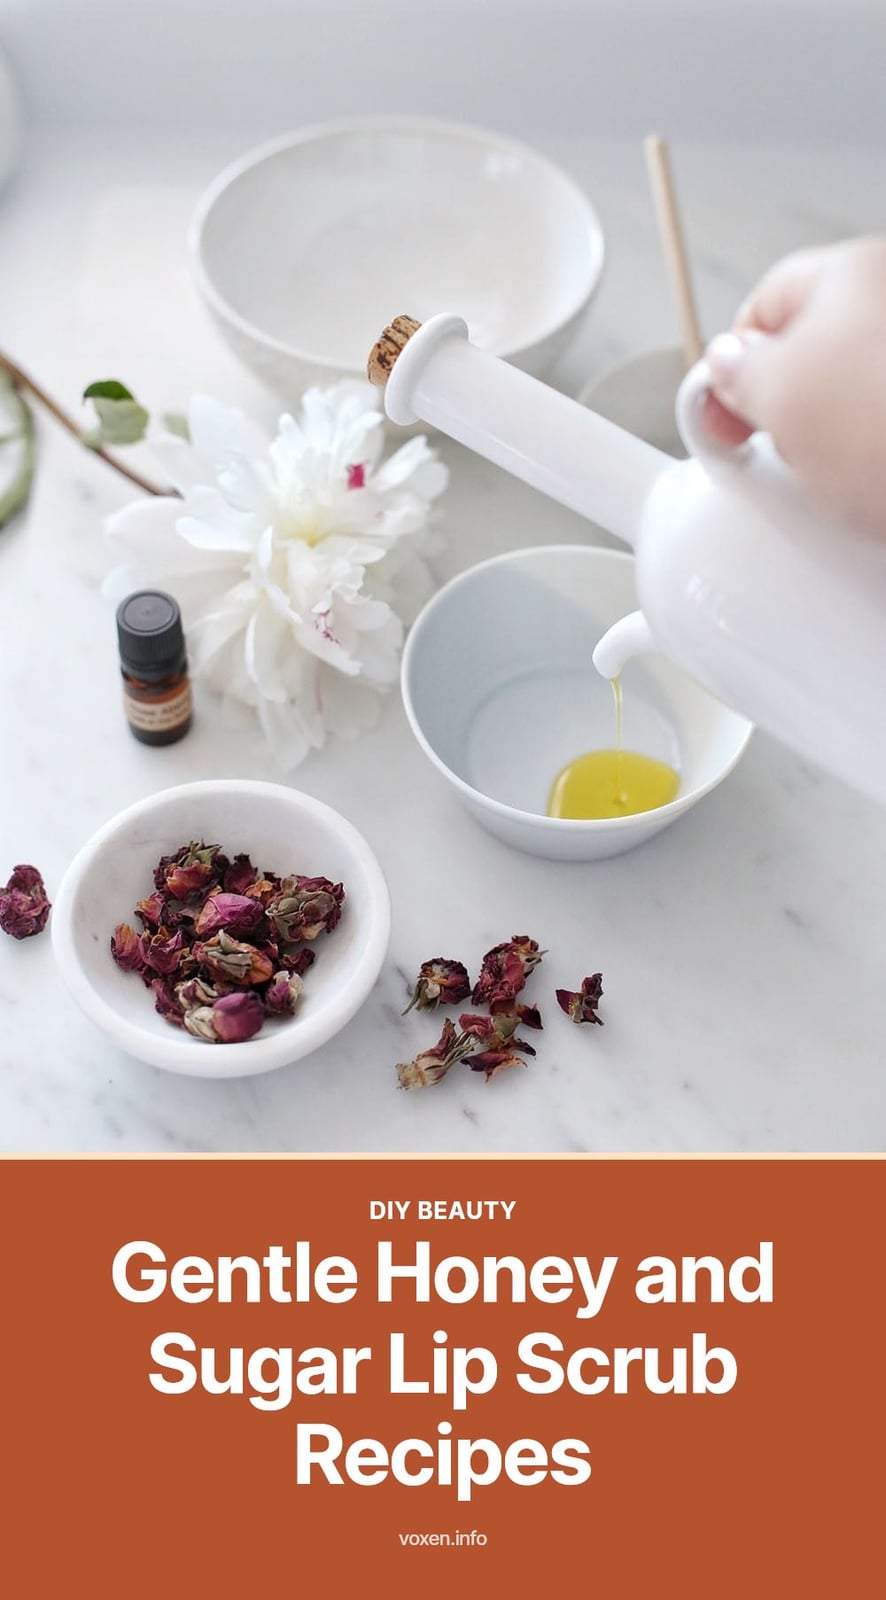
Mix 2 parts fine-grained sugar (brown or superfine white) with 1 part honey (raw or regular). For extra moisture, add 1/2 part carrier oil such as olive, coconut, or jojoba. A dash of vanilla extract adds a pleasant scent. This yields enough for one or two applications.
Step-by-Step: Making and Using Your Lip Scrub
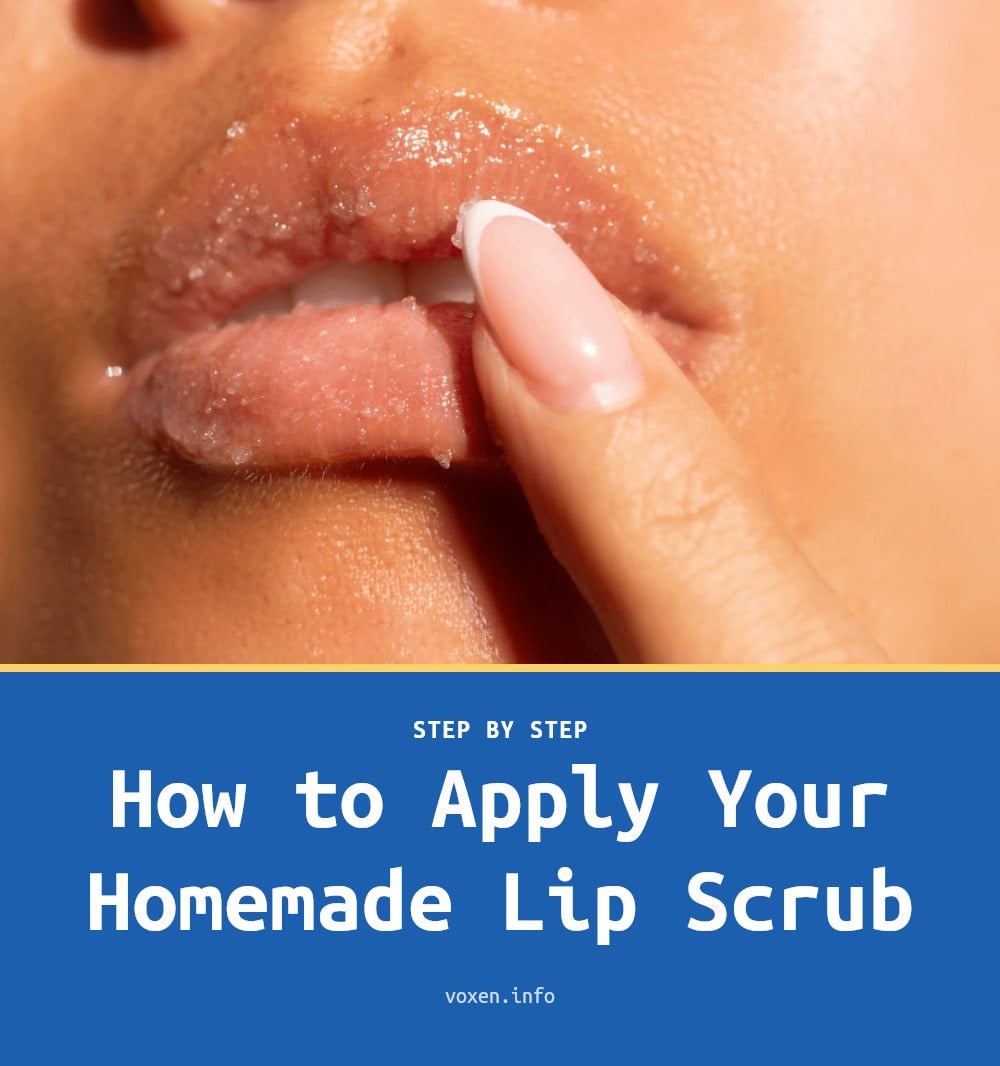
Combine the ingredients: In a small bowl, mix 2 parts fine-grained sugar with 1 part honey. If you are using a carrier oil, add up to 1/2 part and stir until a thick paste forms. The consistency should be spreadable but not runny.
- Prep your lips: Start with clean, damp lips. Wet them slightly with lukewarm water so the scrub glides smoothly and does not tug at the skin.
- Apply the scrub: Scoop a pea-sized amount with a clean finger. Gently spread it over your lips in a thin, even layer. You do not need much to cover both lips.
- Massage gently: Use your fingertip to rub the scrub in small, circular motions. Focus on areas with visible flakes, but keep the pressure light. Continue for 1 to 2 minutes. Stop sooner if you feel any discomfort.
- Rinse thoroughly: Rinse your lips with lukewarm water, using your fingers to wipe away all sugar granules. Make sure no grit remains, as leftover sugar can feel grainy and dry out the skin later.
- Seal in moisture: Pat your lips dry with a soft towel. Immediately apply a hydrating lip balm or treatment to lock in the moisture and protect the freshly exfoliated skin.
Here is the method in action: TiffyQuake demonstrates it in about 3 minutes. The how-to part starts at 0:20.
Pro Tips for the Best Lip Scrub Experience
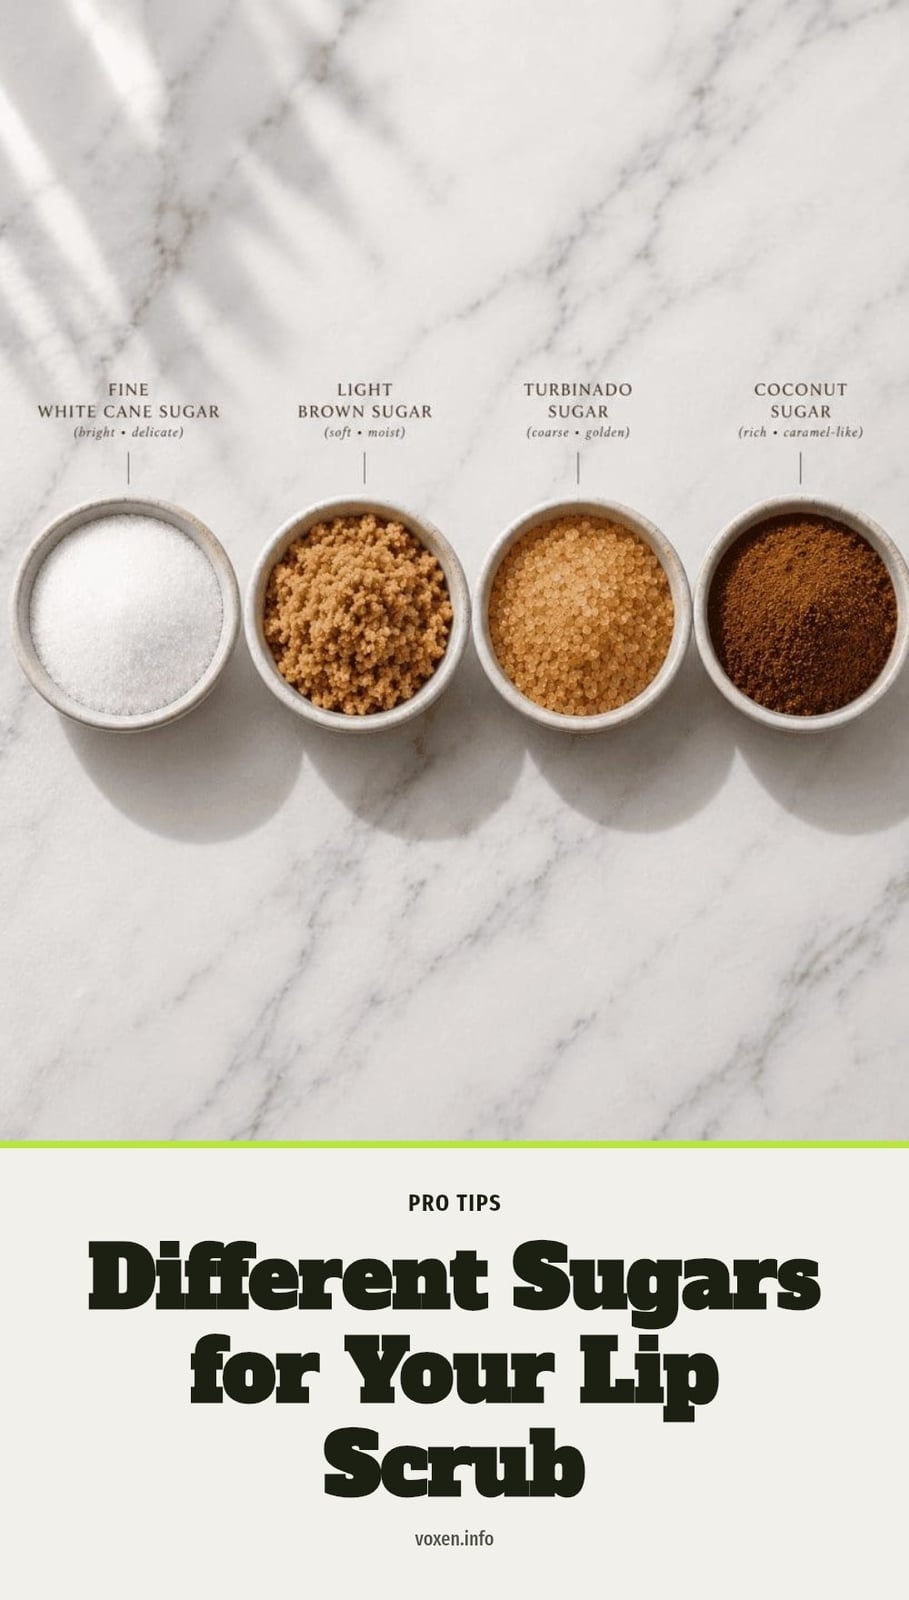
- Choose the Right Sugar: Brown sugar or superfine white sugar provides gentle exfoliation. Coarse granules can scratch and irritate lip skin.
- Patch Test First: If you have sensitive skin, test a tiny amount of the scrub on a small area of skin before using it on your lips.
- Don’t Over-Exfoliate: Limit use to 2-3 times a week. Too much exfoliation can cause redness, sensitivity, and dryness.
- Always Follow Up: Apply a nourishing lip balm immediately after scrubbing to lock in moisture and maximize the benefits.
Creative Variations for Your Homemade Lip Scrub
Creative Variations for Your Homemade Lip Scrub
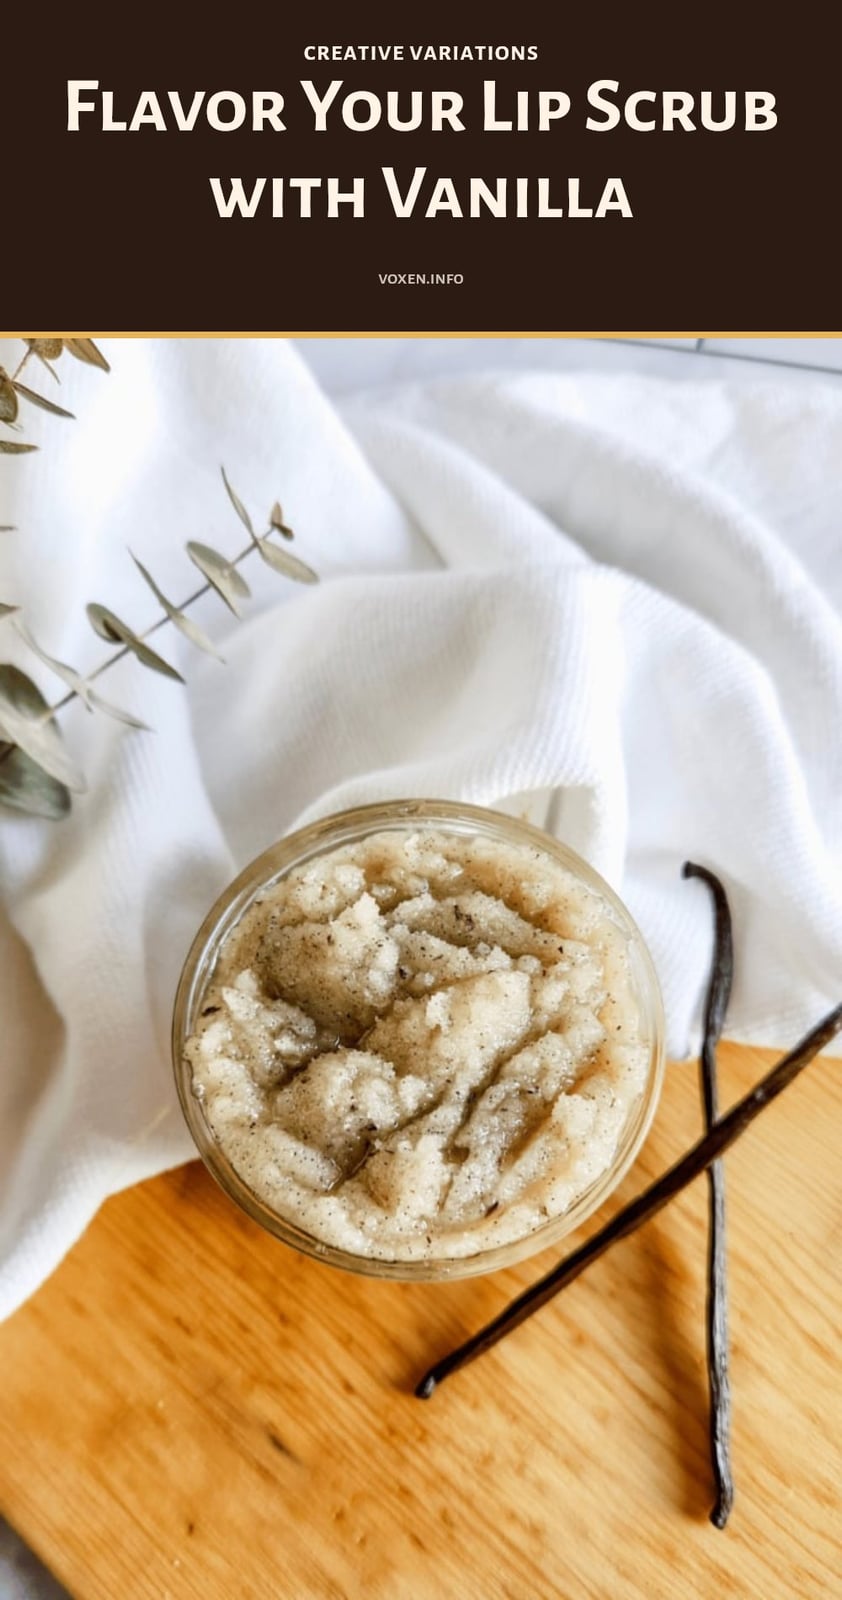
Add a tiny amount of vanilla extract for a sweet scent and flavor. Be mindful not to overdo it, as too much can make the scrub runny. For a refreshing tingle and slight plumping effect, incorporate a drop of diluted peppermint essential oil. Use extreme caution if you have sensitivities, and skip it entirely if you are unsure.
For extra nourishment, increase the carrier oil slightly or use shea butter as a base. This creates a richer, more emollient scrub that glides on smoothly. Experiment with different natural sweeteners like maple syrup for a unique twist. The consistency will be thinner, so adjust the sugar amount to maintain a paste-like texture.
Proper Storage for Your Homemade Lip Scrub
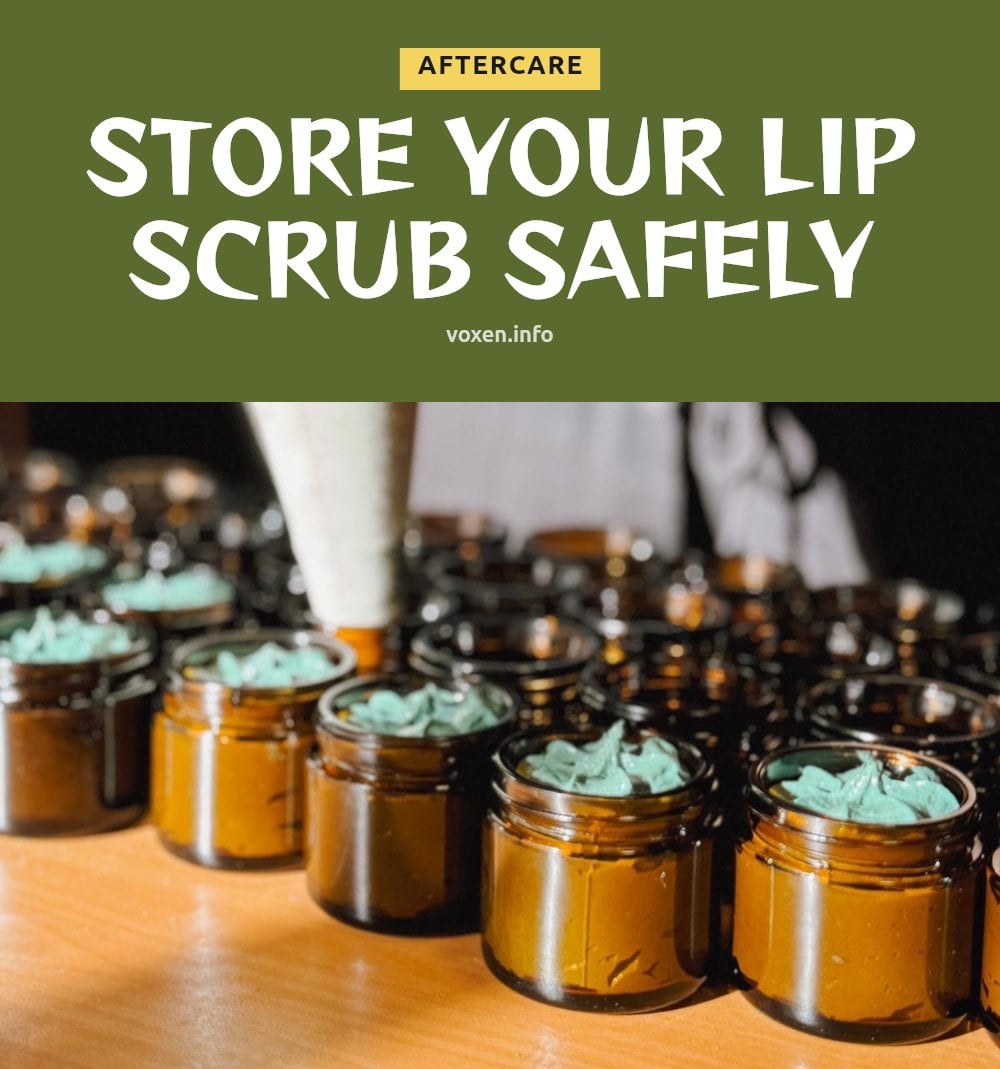
Proper Storage for Your Homemade Lip Scrub
Store your homemade lip scrub in a clean, airtight container to prevent contamination and maintain freshness. A small glass jar with a tight lid works well. Keep the container in a cool, dry place away from direct sunlight or extreme temperatures.
Use a clean spoon or spatula to scoop out the scrub rather than your fingers. This avoids introducing bacteria into the mixture. Discard the scrub if you notice any signs of mold, an unusual odor, or a change in texture. Homemade scrubs typically last a few weeks, so make small batches and use them up quickly.
Common Lip Scrub Mistakes to Avoid
Scrubbing Too Vigorously: Using excessive pressure can irritate and damage delicate lip skin. Always use a gentle, circular motion.
Using Coarse Sugar: Large, sharp sugar granules can scratch your lips. Stick to fine-grained sugars like brown or superfine white.
Exfoliating Broken Skin: Never use a lip scrub on chapped, cracked, or irritated lips. It can worsen the condition and cause pain.
Forgetting Lip Balm: Skipping the post-scrub lip balm negates the moisturizing benefits and can leave lips feeling drier. Always follow up with hydration immediately after rinsing.
Frequently Asked Questions
How often should I use a lip scrub?
For most people, exfoliating 2-3 times a week is enough to keep lips smooth without overdoing it. If your lips are very dry, you might start with once a week and see how they respond. Over-exfoliating can lead to redness and sensitivity, so it’s better to err on the side of caution.
Can I use regular table sugar for a lip scrub?
Regular table sugar is often too coarse and can scratch the delicate skin on your lips. It’s better to use fine-grained sugars like brown sugar or superfine white sugar. These provide gentle exfoliation without the risk of micro-tears, leaving your lips smooth rather than irritated.
What if my lips are very chapped or cracked?
If your lips are cracked or have open sores, skip the scrub entirely until they heal. Scrubbing broken skin can worsen irritation and lead to further damage. Focus on hydrating with a rich balm or ointment, and once your lips are intact, you can resume gentle exfoliation.
How long does homemade lip scrub last?
Stored in a clean, airtight container in a cool, dry place, a homemade sugar and honey scrub can last for a few weeks. Because it contains no preservatives, always check for signs of mold or an off smell before each use. If you notice any changes, discard it and make a fresh batch.
Can I add essential oils to my lip scrub?
You can, but with caution. Essential oils like peppermint can add a refreshing tingle, but they must be properly diluted, and you should avoid them if you have sensitivities or allergies. A single drop is usually enough. If you experience any stinging or redness, stop using the scrub immediately.
Final Thoughts
For the best results, stick to the 2:1 sugar-to-honey ratio and use fine-grained sugar. Apply the scrub with gentle circular motions for about a minute, rinse, and immediately follow with your favorite balm. You’ll notice smoother lips right away, and with regular use 2-3 times a week, you can keep flakiness at bay. Just remember to listen to your lips: if they feel irritated, give them a break.