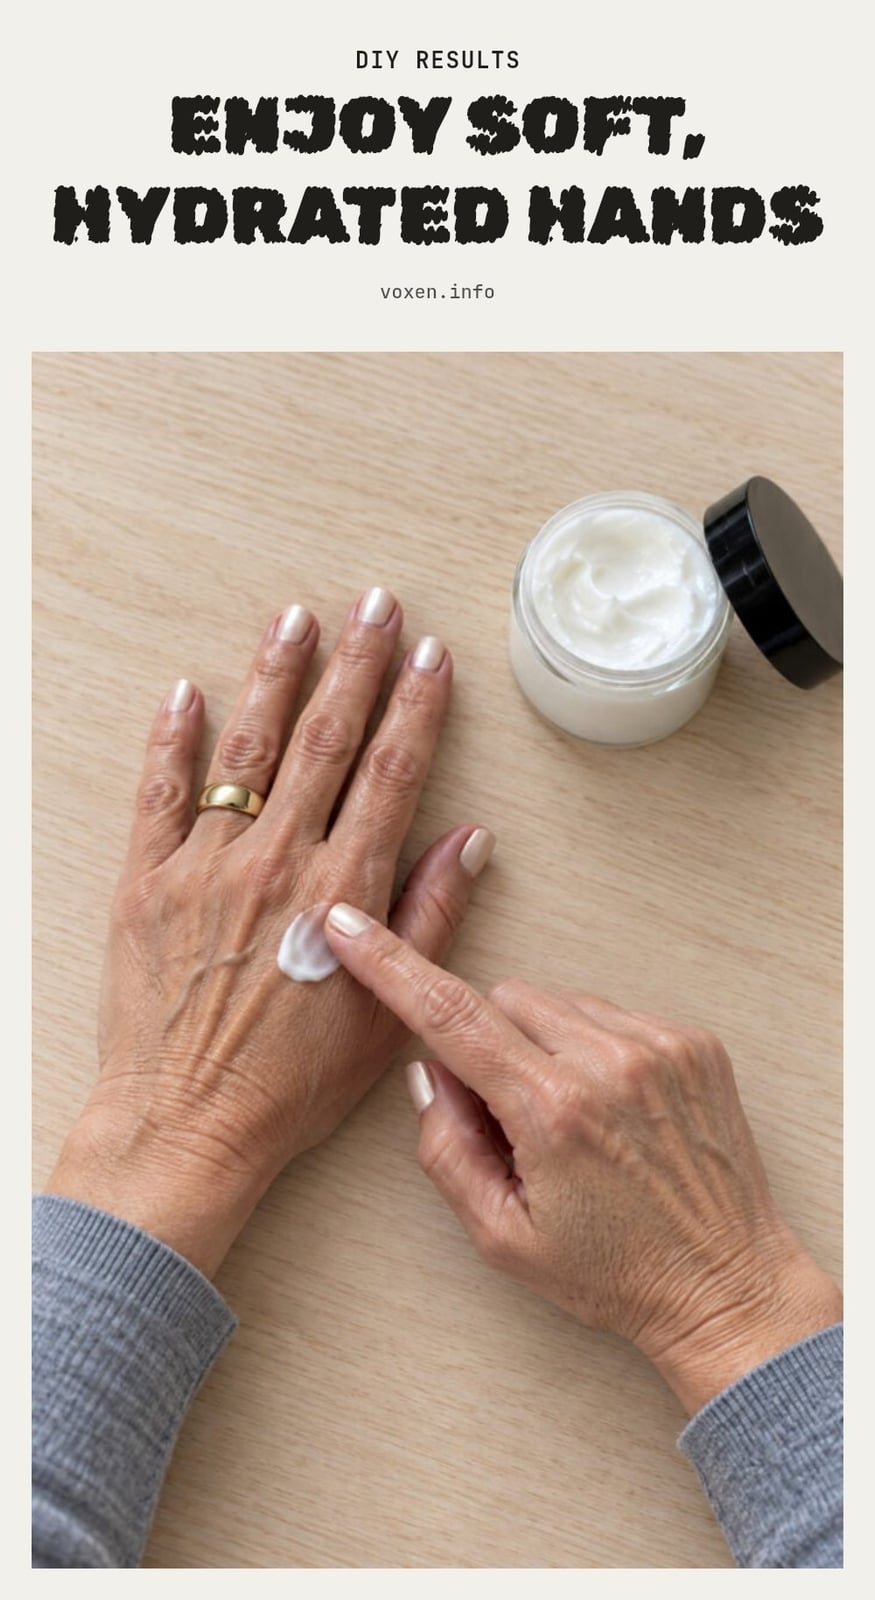
If your hands feel dry and tight no matter how much lotion you buy, a homemade recipe might be the simple fix you need. I’ve found that making your own coconut oil lotion is not only easy but also lets you skip the long ingredient lists. This article walks you through a basic recipe, step-by-step instructions, and storage tips so you can create a moisturizing hand lotion right in your kitchen.
Key Takeaways
- Sanitize all tools and containers with hot soapy water and rubbing alcohol before starting.
- Melt coconut oil, shea butter, and beeswax gently using a double boiler to preserve their properties.
- Add optional essential oils (10-15 drops per 4 oz) only after the mixture has cooled slightly.
- Store your finished lotion in an airtight container in a cool, dark place for up to 3-6 months.
- Always do a patch test on your inner wrist and wait 24 hours before using the lotion widely.
Why This Homemade Lotion Works Wonders for Dry Hands
Homemade lotions for dry hands deliver deep moisture and create a protective barrier on your skin. They combine emollients like coconut oil and butters to smooth skin and reduce water loss. This recipe focuses on natural ingredients, giving you effective, chemical-free hydration without the additives found in store-bought products.
Simple Coconut Oil Lotion Recipe for Dry Hands
This simple recipe yields about 4 oz (120ml) of lotion. Prep time is 15 minutes, plus 1-2 hours to set.
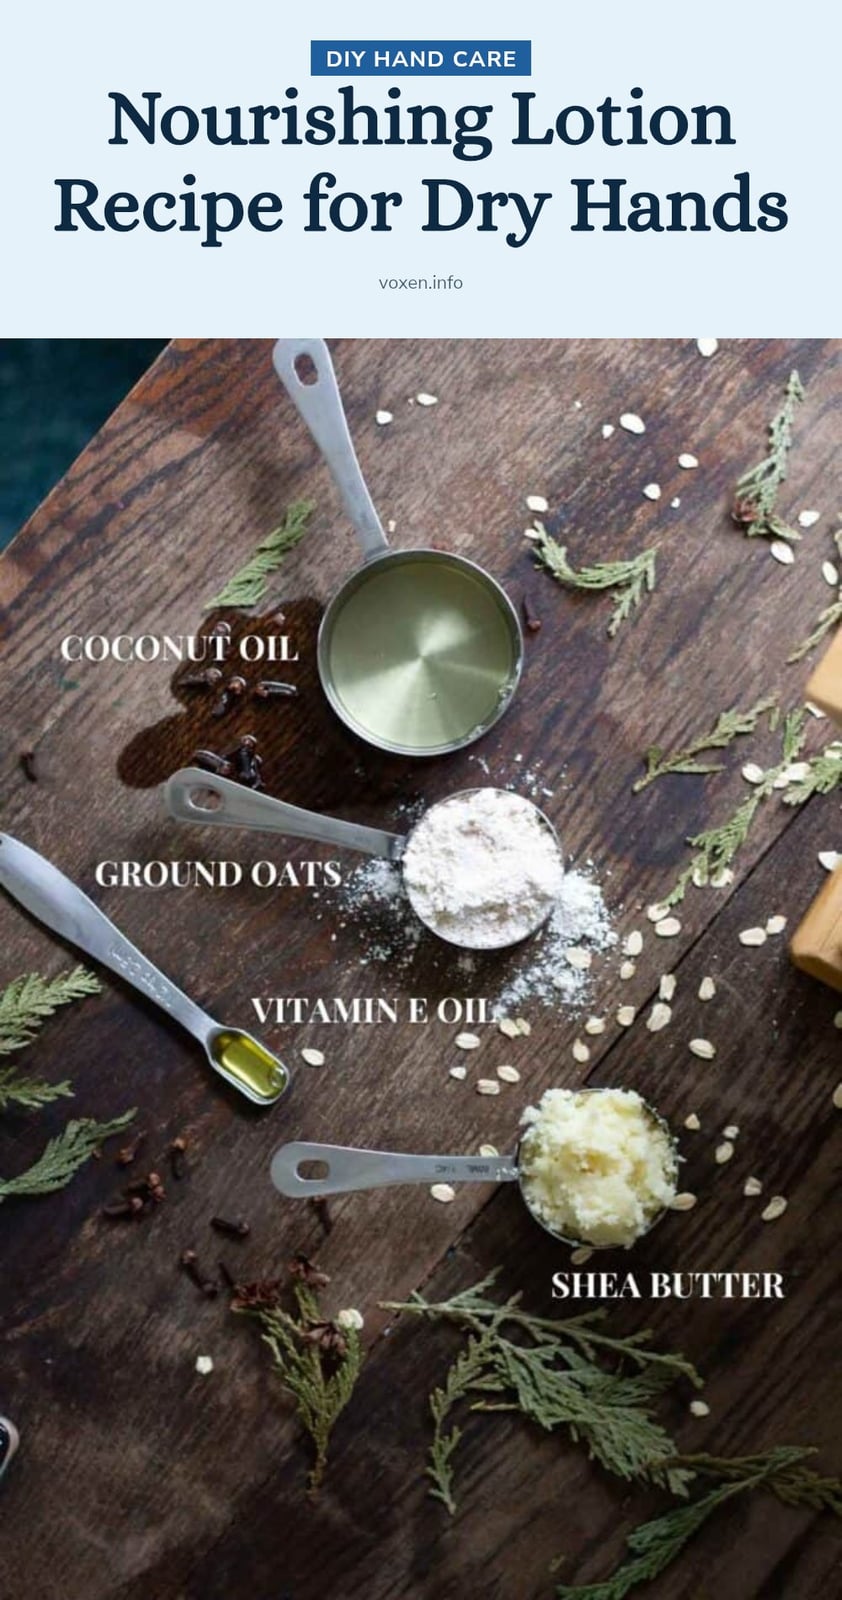
- 2 tbsp coconut oil
- 2 tbsp shea butter
- 1 tbsp beeswax pellets
- Optional: 10-15 drops essential oil (like lavender)
- Optional: 1 tsp Vitamin E oil
Melt and combine for a nourishing, protective hand lotion.
Step-by-Step: Making Your Own Moisturizing Hand Lotion
Sanitize your tools: Wash bowls, spatulas, and containers with hot soapy water, then wipe with rubbing alcohol. This prevents bacterial contamination.
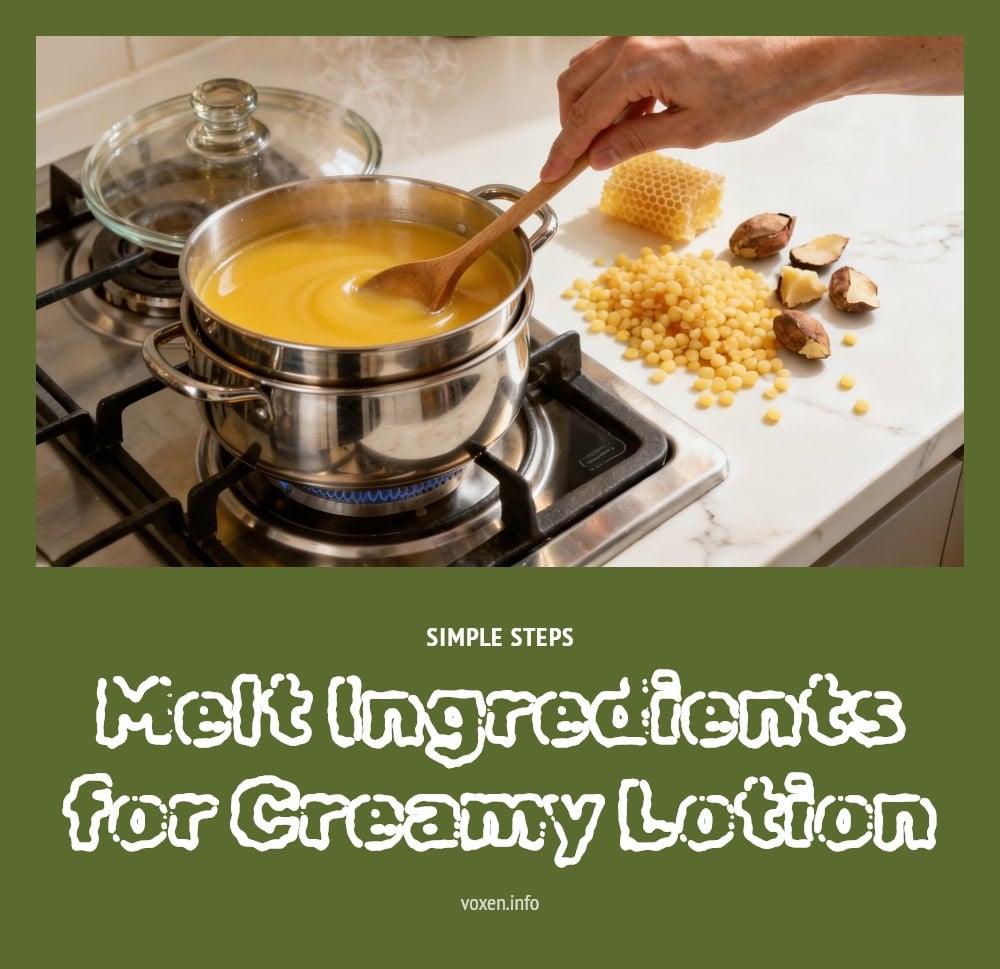
- Melt the solids: Set up a double boiler (or a heat-safe bowl over simmering water). Add coconut oil, shea butter, and beeswax. Stir gently until fully melted.
- Cool slightly: Remove from heat and let the mixture cool slightly, just until it’s warm to the touch but not hot. This prevents heat from degrading essential oils or Vitamin E.
- Add optional ingredients: Stir in essential oils and Vitamin E, if using. Mix well.
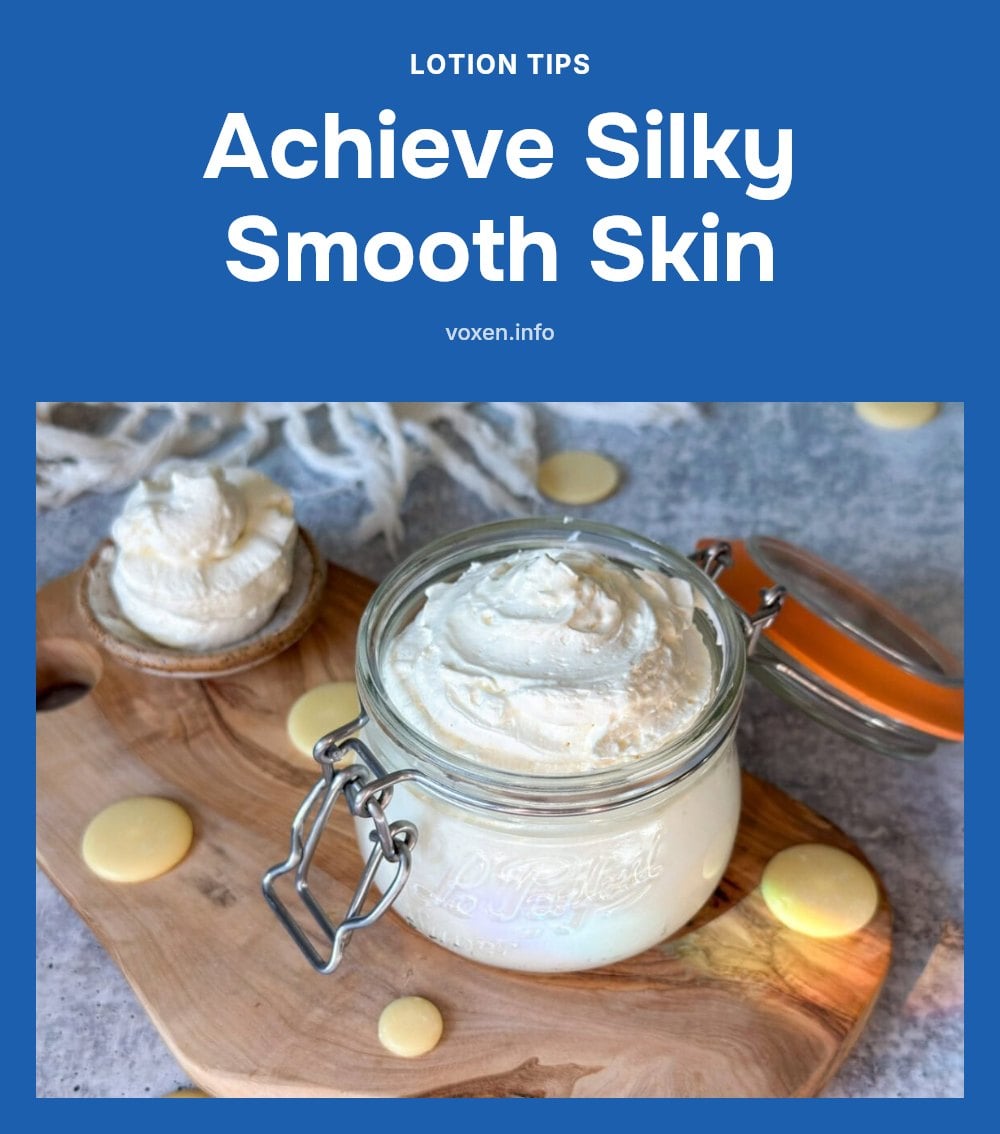
- Pour and set: Carefully pour the liquid into your clean, airtight containers. Let it cool undisturbed for 1-2 hours until it solidifies.
Your lotion is ready to use. Store it in a cool, dark place.
Here is the method in action: Connie Riet demonstrates it in about 7 minutes. The how-to part starts at 1:11.
Expert Tips for Your Best DIY Lotion
Follow these tips for the best results:
- Patch test first: Apply a small amount to your inner wrist and wait 24 hours to check for any reaction.
- Use food-grade ingredients: High-quality oils and butters are safer and more effective for your skin.
- Vitamin E oil: It acts as an antioxidant to extend the freshness of the oils in this water-free recipe.
- Adjust consistency: For a thicker lotion, add a bit more beeswax; for a thinner one, reduce it by half a teaspoon.
Customizing Your Lotion: Essential Oils and Other Variations
Customizing Your Lotion: Essential Oils and Other Variations
Essential oils can add a natural fragrance, but use them sparingly. A good rule is 10-15 drops per 4 oz of lotion, diluted into the cooled oil mixture to avoid irritation. Shea butter is rich in vitamins A and E, known for its healing properties, while cocoa butter forms a strong protective barrier to lock in moisture. You can interchange them or combine both. This recipe stays anhydrous (water-free) for simplicity and safety, skipping the need for complex preservatives that water-based lotions require.
Proper Storage for Your Homemade Lotion
Proper Storage for Your Homemade Lotion
Store your lotion in a clean, airtight container to keep out contaminants and moisture. Keep it in a cool, dark place away from direct sunlight and heat. Without preservatives, homemade lotions typically last 3-6 months. Caution: Discard immediately if you notice any unusual smell, color, or texture, as these are signs of spoilage.
Common Mistakes to Avoid When Making DIY Lotion
Common Mistakes to Avoid When Making DIY Lotion
- Not Sanitizing Equipment: Always wash tools and containers with hot soapy water and wipe with rubbing alcohol to prevent bacterial contamination.
- Adding Tap Water: Avoid adding water without a proper preservative system; it can lead to spoilage and mold growth.
- Overheating Ingredients: Melt oils and butters gently using a double boiler. High heat can degrade their beneficial properties.
- Using Too Much Essential Oil: Excessive amounts can cause skin irritation. Always dilute and use sparingly, sticking to recommended amounts.
Frequently Asked Questions
How long does homemade lotion last?
Without preservatives, homemade lotion typically lasts 3 to 6 months when stored in a clean, airtight container in a cool, dark place. If you notice any change in smell, color, or texture, discard it right away.
Can I use other oils instead of coconut oil?
Yes, you can substitute coconut oil with other liquid oils like jojoba, almond, or olive oil. Keep in mind that different oils have different absorption rates and shelf lives, so the texture and feel of your lotion may change.
Why is my homemade lotion grainy?
Graininess usually happens when the mixture cools too quickly or unevenly. To avoid this, melt the ingredients gently and let them cool slowly at room temperature. Stirring occasionally as it cools can also help create a smoother texture.
Do I need to add a preservative to my lotion?
If your recipe contains water, you must use a preservative to prevent bacterial growth. This recipe is anhydrous (water-free), so no preservative is needed. Avoid adding tap water unless you include a proper preservative system.
Is homemade lotion safe for sensitive skin?
It can be, but it depends on the ingredients you choose. Coconut oil, shea butter, and beeswax are generally well-tolerated, but everyone’s skin is different. Always perform a patch test on your inner wrist and wait 24 hours before full use.
Final Thoughts
For lasting relief from dry hands, stick with this simple coconut oil recipe and store it properly. Expect the lotion to stay fresh for about 3 to 6 months if you keep it in an airtight container away from heat and light. My tip: always do a patch test first to make sure your skin agrees with the ingredients.
This article is for informational purposes only and is not a substitute for professional medical advice. If you have a persistent skin condition or a serious reaction, please consult a dermatologist or healthcare provider.