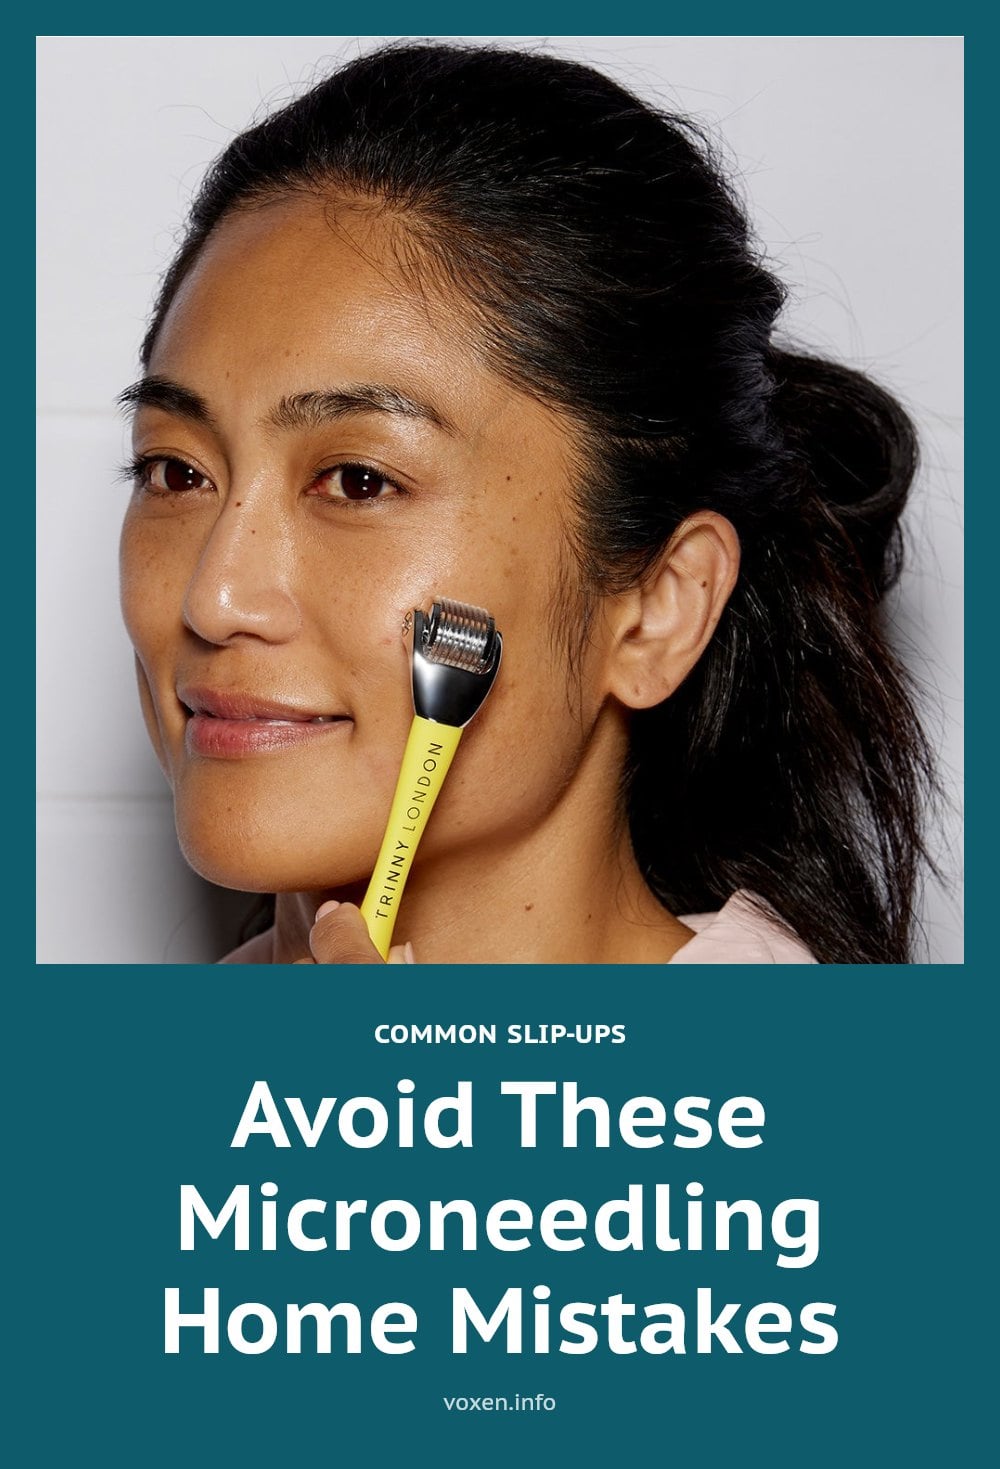
You have probably seen the glowing reviews and wondered if you can get those results at home with a derma roller or pen. The honest answer is yes, but only if you avoid the most common mistakes that can turn a promising treatment into a source of irritation, infection, or scarring. This article walks you through the essential do’s and don’ts, the correct technique, and the aftercare that makes all the difference.
Key Takeaways
- Always sterilize your device with 70% isopropyl alcohol before and after each use.
- Use only needle lengths of 0.5mm or shorter for at-home microneedling.
- Apply light, even pressure to avoid tearing the skin and causing scarring.
- Space sessions 2-4 weeks apart to allow your skin adequate recovery time.
- Wear broad-spectrum SPF 30+ daily after treatment to prevent UV damage.
The Biggest Microneedling Mistakes to Avoid at Home
The biggest microneedling mistakes at home come down to hygiene, pressure, and patience. Unsterilized devices are a major risk for infection, so skipping the alcohol soak is never worth it. Using too much pressure can tear skin and cause scarring, while needle lengths over 0.5mm are generally too long for safe at-home use. Over-frequent treatments disrupt the skin barrier and cause inflammation, and neglecting sun protection after treatment can lead to hyperpigmentation. Avoid these five errors, and you are already ahead of most DIY attempts.
Essential Tools for Safe At-Home Microneedling
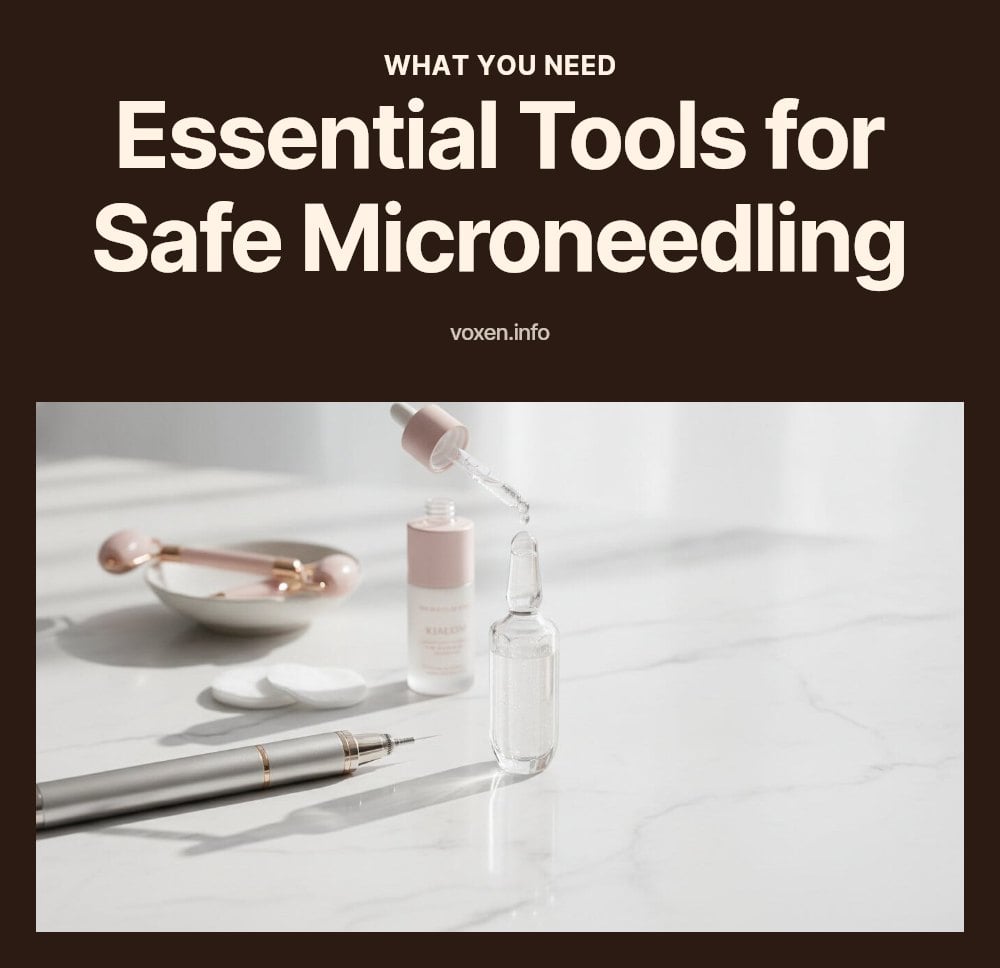
Before you start, gather the right tools. Only use derma rollers or pens with needle lengths 0.5mm or shorter, since longer needles belong in a professional setting. You will also need:
- 70% isopropyl alcohol: Critical for sterilizing your device before and after each use.
- Gentle cleanser: Prepares your skin without irritation.
- Hyaluronic acid serum: Ideal for post-treatment hydration.
- Broad-spectrum SPF 30+: Non-negotiable for sun protection.
Having these on hand makes the process safer and more effective.
Step-by-Step: Correct At-Home Microneedling Technique
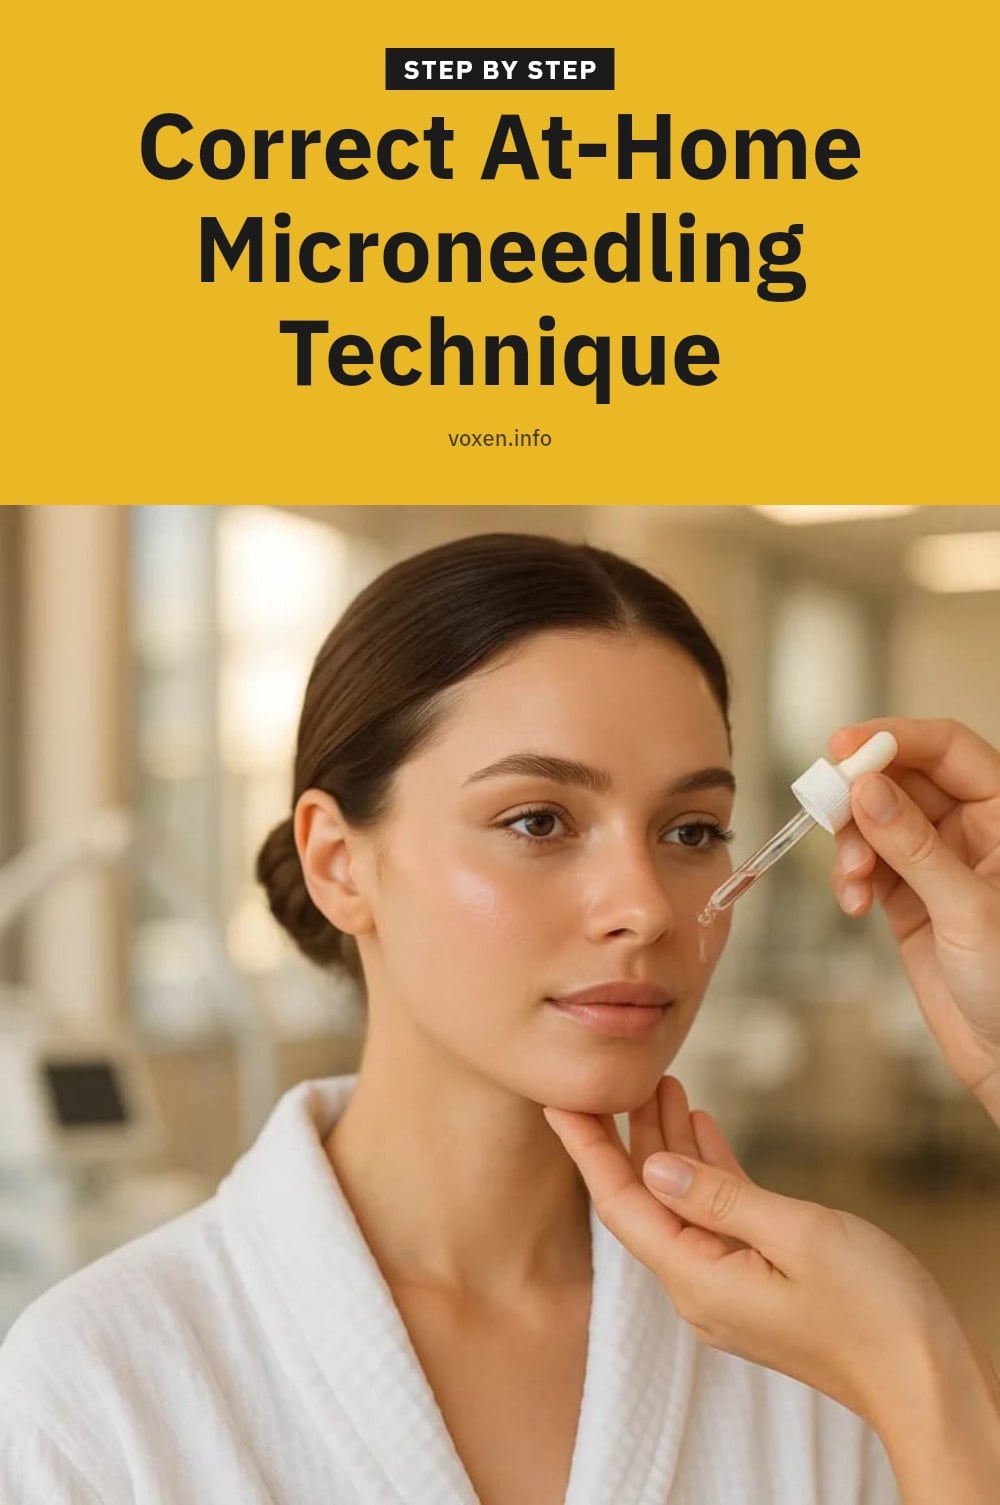
Follow these steps for a safe at-home microneedling session.
- Sterilize your device: Soak your roller or pen in 70% isopropyl alcohol for at least 10 minutes before and after each use. This kills bacteria that could cause infection.
- Cleanse your face: Wash with a gentle cleanser to remove all makeup, oil, and impurities. Your skin must be completely clean before the needles touch it.
- Roll with light pressure: Apply light, even pressure, rolling in different directions: vertical, horizontal, and diagonal. Do not press hard, as excessive force can tear the skin. Stick to needles 0.5mm or shorter.
- Apply hydrating serum: Immediately after rolling, apply a hyaluronic acid serum. The micro-channels help it absorb deeply, aiding recovery.
- Protect with sunscreen: For the next few days, apply broad-spectrum SPF 30+ every morning. Your skin is more vulnerable to UV damage after treatment.
Wait 2-4 weeks between sessions to let your skin recover fully.
Common Microneedling Mistakes and How to Fix Them
Here are the most common microneedling mistakes and how to fix them.
- Using unsterilized equipment: Always sterilize with 70% isopropyl alcohol before and after each use.
- Applying too much pressure: Use light, even pressure to avoid tearing the skin.
- Using needles that are too long: Stick to 0.5mm or shorter for at-home use.
- Microneedling too often: Allow 2-4 weeks for skin recovery between sessions.
- Neglecting sun protection: Apply broad-spectrum SPF 30+ daily.
- Not cleansing skin properly: Thoroughly cleanse before starting to prevent infection.
Correct these habits, and your results will be safer and more consistent.
Essential Aftercare for Microneedled Skin
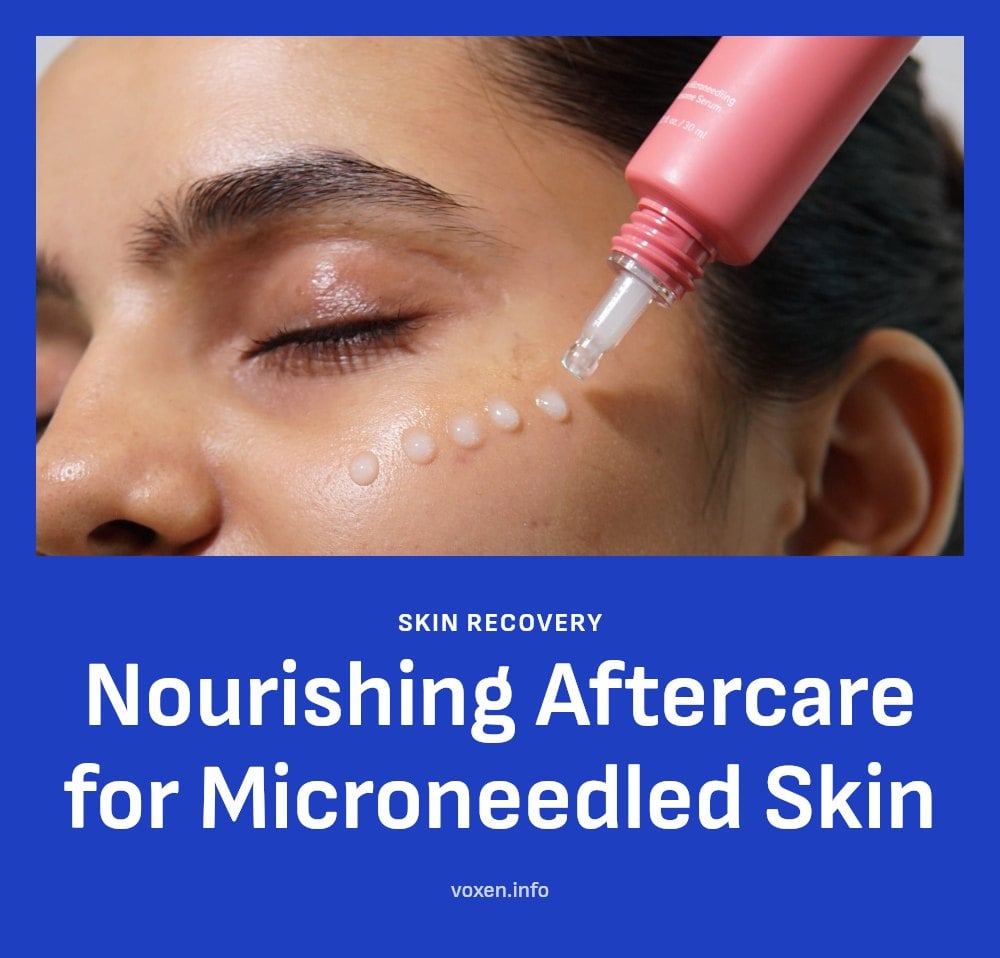
Right after microneedling, apply a gentle, hydrating serum like hyaluronic acid. This calms the skin and boosts absorption while the micro-channels are open. Avoid harsh active ingredients such as retinoids, AHAs, or BHAs for at least 3-5 days to prevent irritation.
Tip: Stick to a simple routine: gentle cleanser, moisturizer, and broad-spectrum SPF 30+ every single day. Sun protection is non-negotiable after treatment because your skin is extra vulnerable to UV damage. Wait 2-4 weeks before your next session to give your skin full recovery time.
How to Prevent Microneedling Complications
Preventing complications starts with sterile habits. Always use a clean device and replace derma rollers after 10-15 uses or swap needle cartridges with each session. Educate yourself on proper technique and stick to needle lengths 0.5mm or shorter for at-home use.
Caution: Never microneedle over active acne, eczema, rosacea, or any irritated skin. Listen to your skin and skip a session if it feels sensitive. Commit to a consistent aftercare routine, especially daily sun protection. And never share your device with anyone. It can transmit bloodborne pathogens.
When to See a Professional for Microneedling
See a dermatologist or licensed professional if you want deeper treatments with needle lengths over 0.5mm. Also seek professional advice if you have active acne, eczema, rosacea, or other inflammatory skin conditions, microneedling can worsen these.
Caution: Stop at-home microneedling and consult a doctor if you notice signs of infection: excessive redness, swelling, pus, or fever. If unusual scarring or persistent irritation develops, a professional evaluation is needed. Avoid microneedling entirely if you have a history of keloid scarring.
Understanding Microneedling Timeline and Expectations
Microneedling results are not instant. For collagen induction, plan on 3-6 sessions spaced 2-4 weeks apart. Full results typically become visible several months after your last treatment.
Good to know: At-home devices are much less expensive than professional treatments, but remember ongoing costs: replacing rollers or cartridges, buying hydrating serums, and stocking up on broad-spectrum SPF 30+. Budget for these to maintain your routine safely.
Frequently Asked Questions
Can microneedling get rid of acne scars?
Microneedling can help improve the appearance of acne scars by stimulating collagen production, which fills in depressed scars over time. However, results are gradual and usually require multiple sessions. For deep or stubborn scars, professional treatments with longer needles may be more effective. At-home devices are best for mild textural improvements.
How long does it take to see results from at-home microneedling?
Do not expect immediate changes. For collagen induction, you will typically need 3 to 6 sessions spaced 2 to 4 weeks apart. Most people start noticing improvements in skin texture and tone after a few sessions, but full results can take several months after your last treatment to become visible.
What should I put on my face after microneedling?
Right after microneedling, apply a gentle, hydrating serum like hyaluronic acid to calm the skin and boost absorption. Avoid harsh active ingredients such as retinoids, AHAs, or BHAs for at least 3 to 5 days. Stick to a simple routine of cleanser, hydrating serum, and moisturizer, and always use broad-spectrum SPF 30+ during the day.
Is microneedling painful at home?
At-home microneedling with needle lengths of 0.5mm or shorter is generally well-tolerated. You may feel a mild prickling or scratching sensation, but it should not be intensely painful. If you experience sharp pain, bleeding, or severe discomfort, you are likely using too much pressure or a needle length that is too long for home use.
Can microneedling make my skin worse?
Yes, if done incorrectly. Common mistakes like using unsterilized equipment, applying too much pressure, or microneedling over active acne or irritated skin can lead to infection, scarring, or worsened inflammation. Sticking to proper hygiene, technique, and aftercare is essential to avoid making your skin worse.
Final Thoughts
If you take one thing away, let it be this: hygiene and patience are non-negotiable. Stick to needle lengths of 0.5mm or shorter, always sterilize, and never rush the process. Realistic expectations matter here; you will likely need 3 to 6 sessions spaced weeks apart before you notice a real change in texture or tone, with full results appearing months after your last session. When you treat your skin with the same care a professional would, at-home microneedling can be a safe and effective addition to your routine.
This article is for informational purposes only and is not a substitute for professional medical advice. Microneedling involves creating micro-injuries in the skin and carries risks if not performed correctly. Consult a dermatologist or licensed skincare professional before starting any at-home microneedling routine, especially if you have a skin condition or a history of scarring.